Overview OverviewPalo Alto GlobalProtect is USF's virtual private network that is used for secure connections to on-campus resources. This guide will
assist with the installation and launching of Palo Alto GlobalProtect for Windows and macOS.
| Note |
|---|
To run GlobalProtect app 5.0, Windows endpoints require Visual C++ Redistributables 12.0.3 for Visual Studio 2013. If you have not already installed any redistributable packages on your endpoint, the GlobalProtect app installs Visual C++ Redistributables 12.0.3 automatically. If you have already installed Visual C++ Redistributables 12.0.2 or an earlier release, you must either uninstall the existing redistributable packages from your endpoint or upgrade to Visual C++ Redistributables 12.0.3 prior to installing the GlobalProtect app. |
Installing Palo Alto GlobalProtect to your computer
Launch a web browser Go to the following URL:
| Info |
|---|
| icon | false |
|---|
| title | Table of Contents |
|---|
|
|
| Excerpt |
|---|
| Warning |
|---|
When logging into GlobalProtect, you will be required to verify your connection using MFA. You must have your MFA Sign-In Method set to Microsoft Authenticator - notification or Phone - call. To check or change your default method, follow the instructions here: How do I change my default sign in method. |
Downloading GlobalProtect- Click https://vpn.usf.edu
- Enter
|
Click Log In button
The download page should appear (pictured below)
 Image Removed
(Click image to enlarge)
| Note |
|---|
If your system administrator has enabled GlobalProtect Clientless VPN access, the applications page opens after you log in to the portal (instead of the app download page). Select GlobalProtect Agent to open the download page. |
Select a download package compatible with your computer- and Password and select LOG IN.
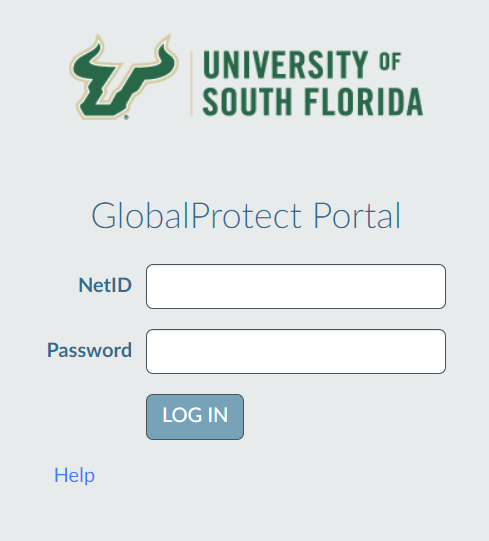 Image Added Image Added
Select the download option for your computer's operating system.
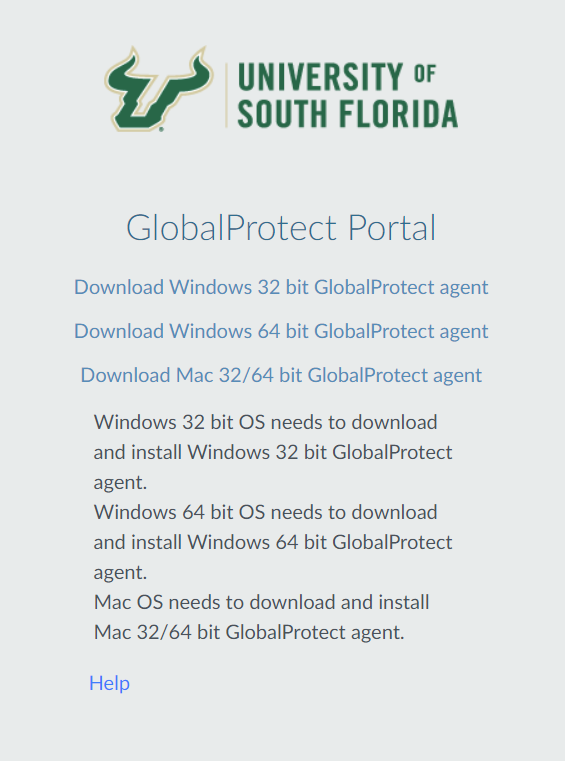 Image Added Image Added | Note |
|---|
| | If you are not sure whether the operating system is 32-bit or 64-bit, ask your system administrator before you proceed. |
Installing GlobalProtectWindows- Open the downloaded file names GlobalProtect.msi.
|
- Select Next in the GlobalProtect Setup Wizard
|
- .
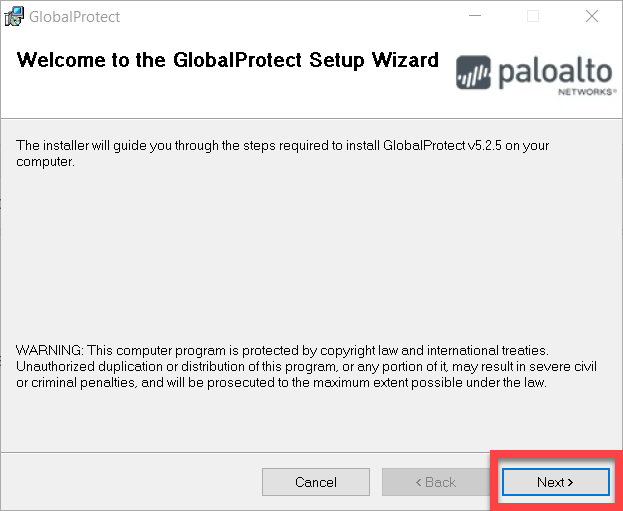 Image Added Image Added
- Select Next to accept the default installation folder (C:\Program Files\Palo
|
- Alto Networks\GlobalProtect), or
|
- select Browse to select a new location.
|
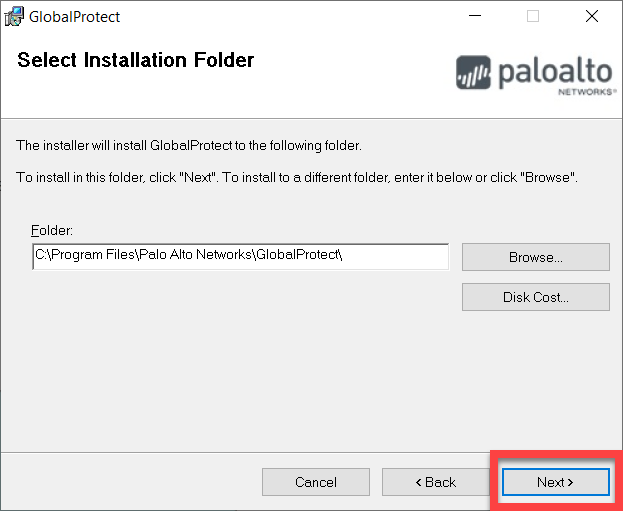 Image Added Image Added
- Select Next
|
- to confirm the installation.
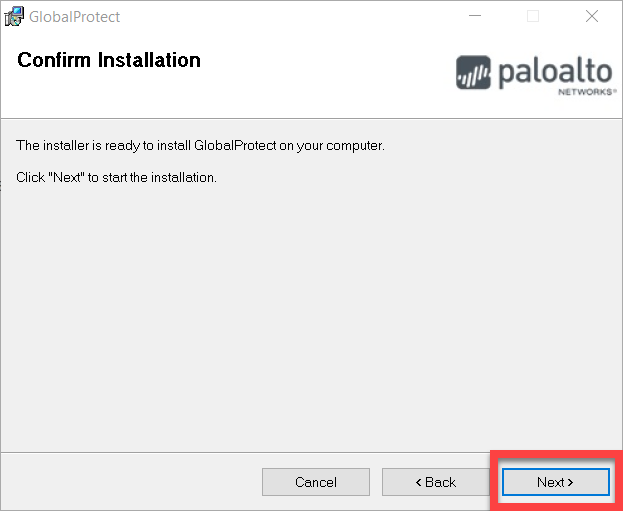 Image Added Image Added
- Select Close once the installation is complete.
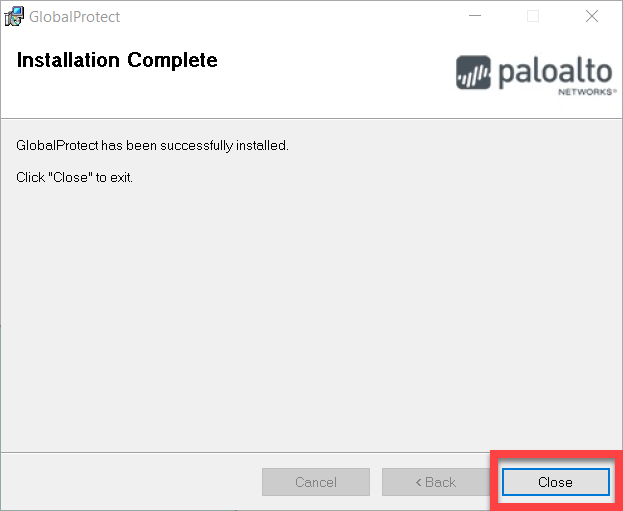 Image Added Image Added
Mac- Open the downloaded file named GlobalProtect.pkg.
- Select Continue in the GlobalProtect Setup Wizard.
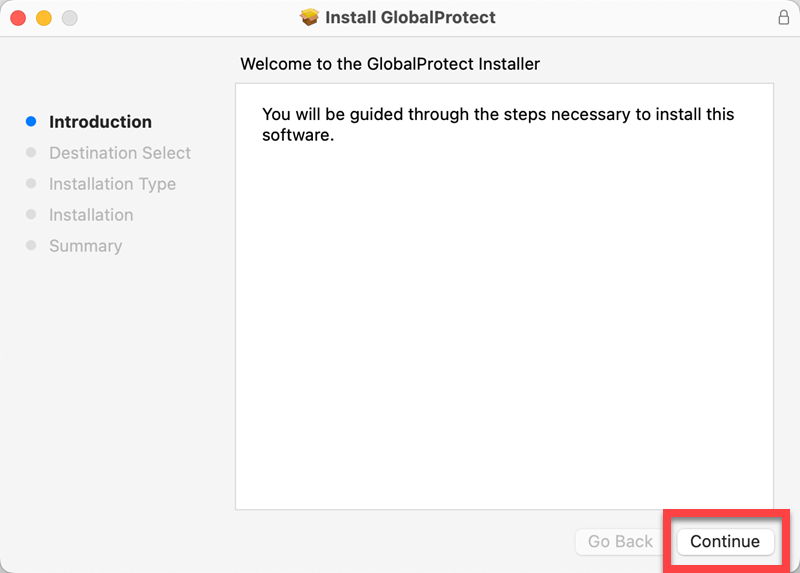 Image Added Image Added
- Make sure that GlobalProtect is check-marked and select Continue.
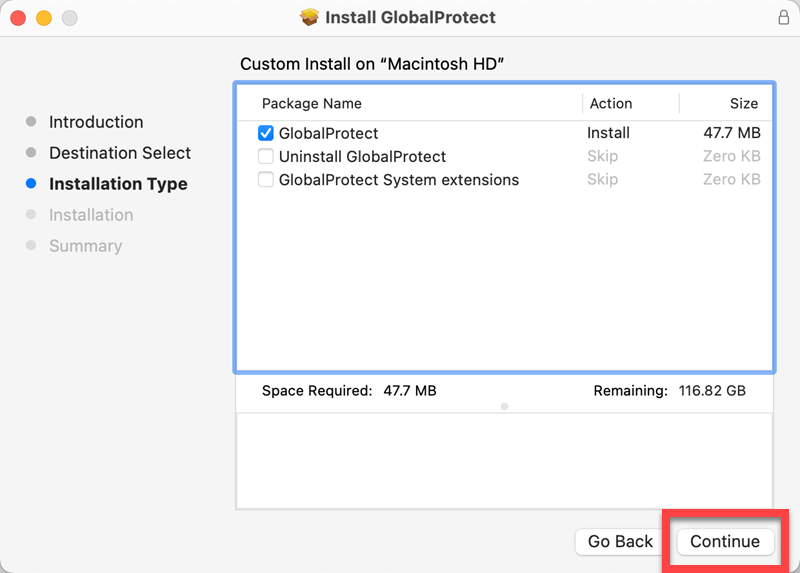 Image Added Image Added
- Select Install to begin.
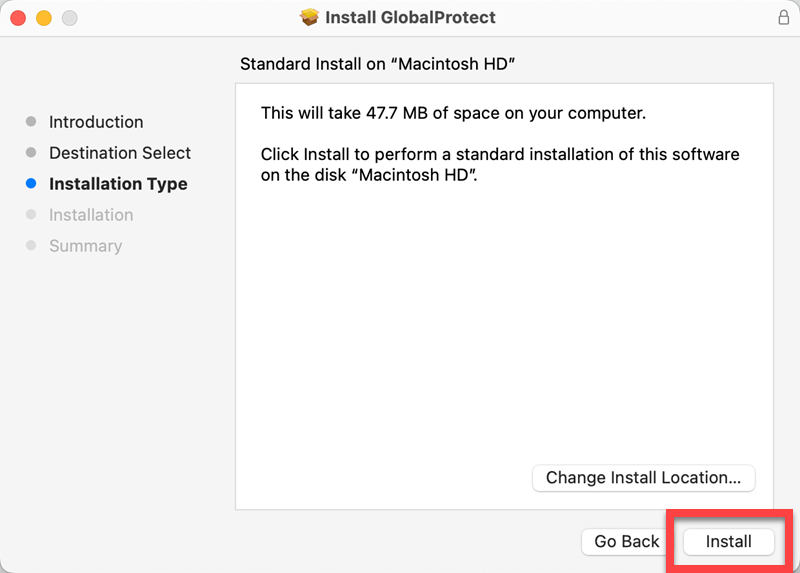 Image Added Image Added
- Enter your Mac's password and select Install Software.
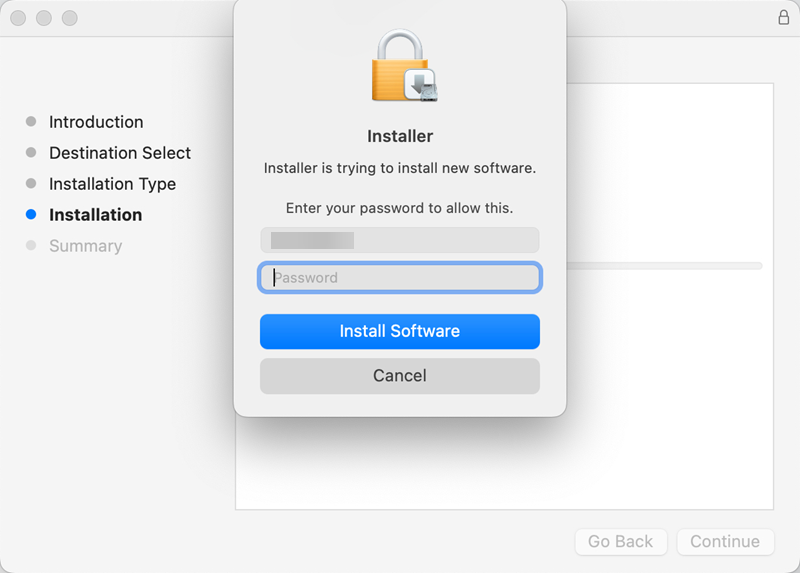 Image Added Image Added
- Select Close once the
|
- installation is complete.
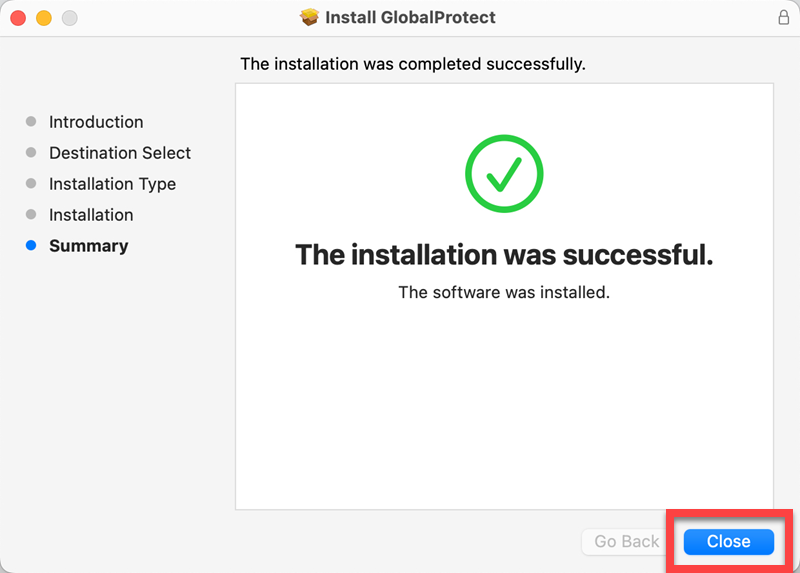 Image Added Image Added
Back to top Launching |
and Logging into GlobalProtectWindows- Click on the carrot in the
|
 Image Removed
(Click image to enlarge)Click the globe icon (pictured above)
The Palo Alto GlobalProtect status panel will openType - lower right of the toolbar.
 Image Added Image Added
- Select the globe icon.
 Image Added Image Added
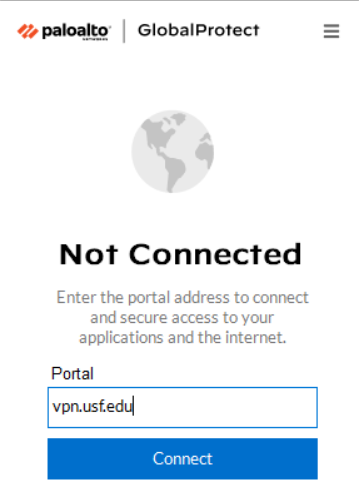
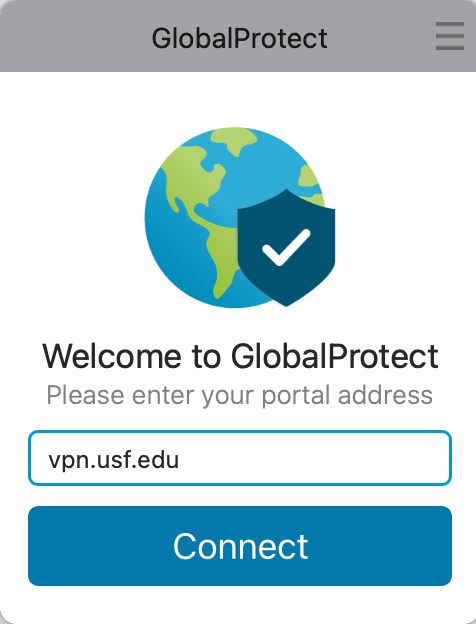
- Enter vpn.usf.edu
|
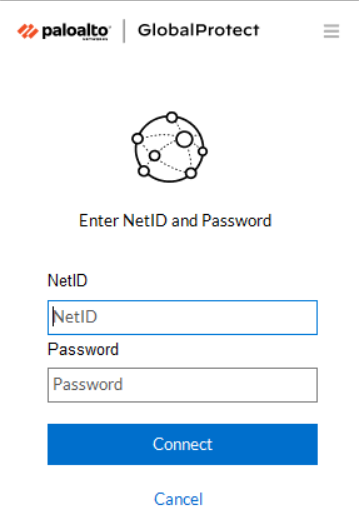
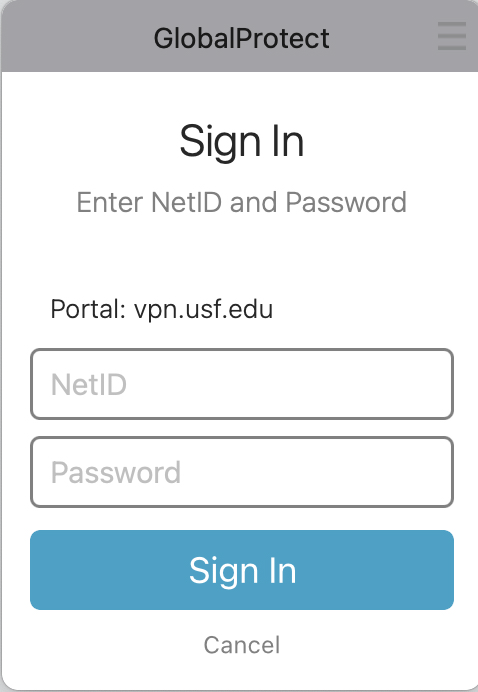
 Image Removed(Click image to enlarge)Click the Connect buttonEnter your NetID and Password (pictured below)
 Image Removed
(Click image to enlarge)Click the Sign In buttonBack to top
| Anchor |
|---|
Top | Top | | Info |
|---|
| icon | false |
|---|
| title | Table of Contents |
|---|
|
toc