Overview
This is page is designed to help assist with the basics of managing a Listserv.
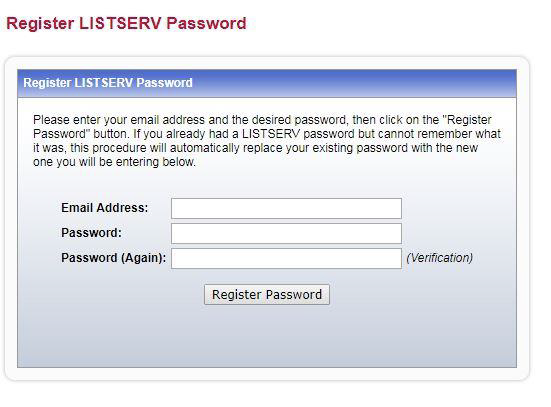
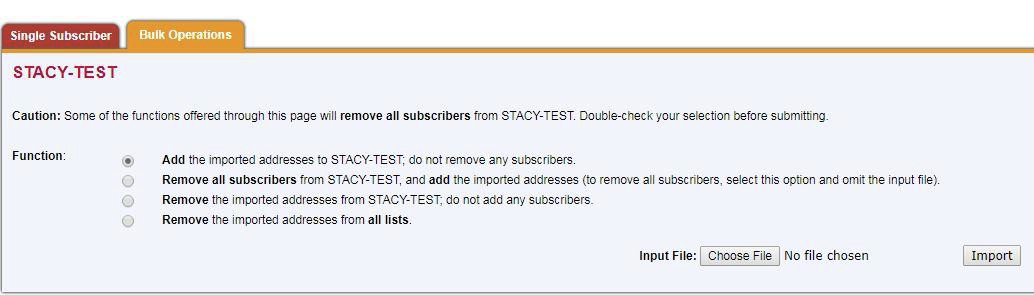
1. Go to http://listserv.usf.edu 3. Click the get a new LISTSERV password link. 4. Enter your USF email address, a password, and click Register Password” (password is separate from your NetID) 5. You will receive an email confirming you have attempted to register your password. Follow the instructions in the email to complete the password registration, then you will be able to login to Listserv. 1. Start a new blank email in Outlook To Add Subscribers: QUIET ADD LISTNAME dd=ddname import 5. Delete Paste the list of email addresses here and put each subscriber's email address (name optional) on its own line between //ddname dd * and /*. Format Example: joetest@usf.edu (Joe Test) 6. Send the email without a subject line 1. Go to http://listserv.usf.edu Your list will display below the search area You can add individual subscribers using the Subscriber Reports page - this is the page you should be on if following the steps above. Enter an email address next to the Add Subscriber field Click the Add Subscriber button. You can also add subscribers by going to List Management > Subscriber Management from the top banner. 7b. Bulk Operations Click on List Management > Subscriber Management from the top banner. Make sure it says your list in the Subscriber Management (LISTNAME) at the top. Click on the Bulk Operations tab for the available options and read each carefully before selecting. 1. On a Windows computer, open Notepad. (Open the Start menu and type Notepad). On a Mac, open TextEdit (Open Finder and go to Applications) A name is optional, but email address is required. Example: johndoe@usf.edu = John Doe 3. Save the document as a Text (.txt) document. If adding subscribers was successful, a status message will display at the top of the page similar to this: ADD: no error, 10 recipients added, no entry changed, no duplicates, none forwarded. If there’s an error, the status message will display it: Invalid address: example@ If you receive an error you do not understand, please take a screenshot and send it, along with a brief step-by-step description of what you were trying to accomplish to either help@usf.edu. Sign-up and login
2. Click Log In on the right under Options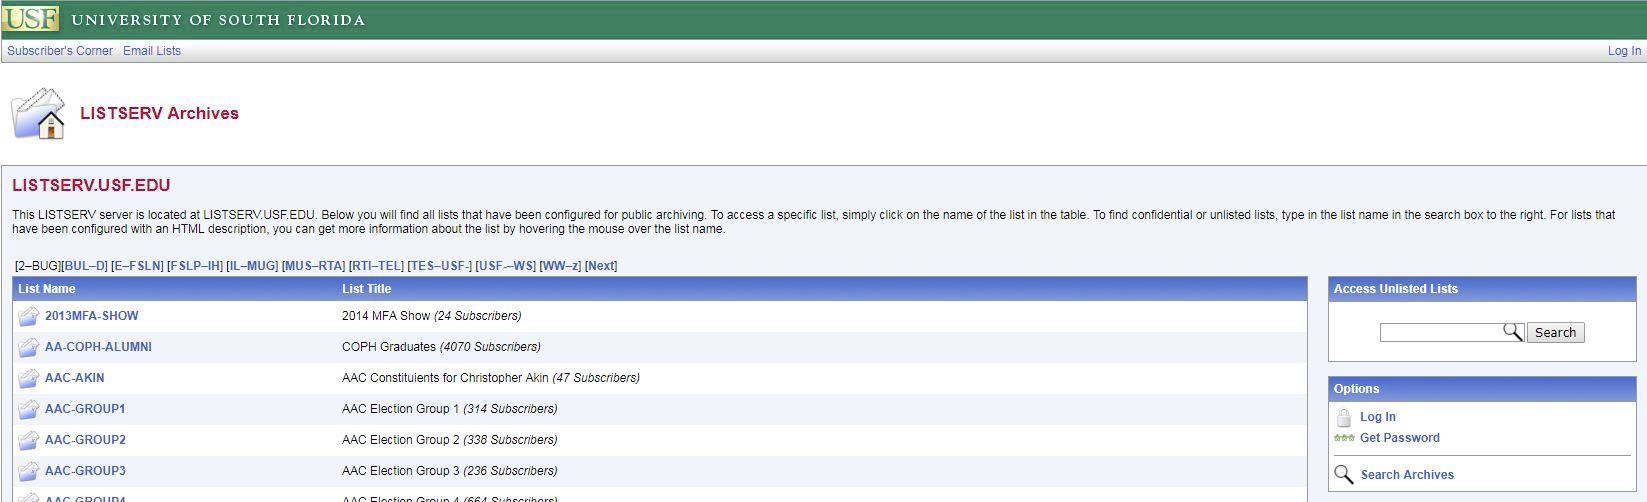
Adding and Removing Subscribers (i.e. list members)
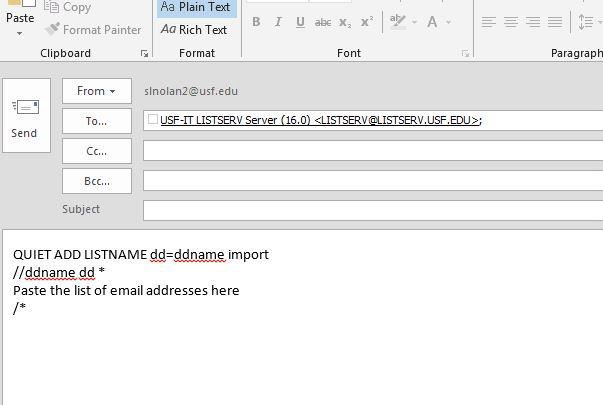
Email Method
2. Click the Format Text tab and then select Plain Text
3. In the To… field type: listserv@listserv.usf.edu
4. In the body of the email paste the following:
//ddname dd *
Paste the list of email addresses here
/*
To Delete Subscribers:
QUIET DELETE LISTNAME dd=ddname import
//ddname dd *
Paste the list of email addresses here
/*

In a few minutes you should get a confirmation email in reply Web Interface Method
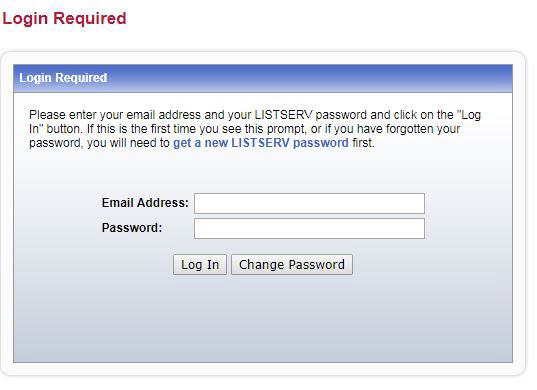
2. Click Log In on the right-side
3. Enter your USF Email address and Listserv password (if you need to create a Listserv password, click get a new LISTSERV password and follow the instructions)
4. Once logged in click on List Management from the top banner and select List Dashboard
5. Enter your list’s name and click Search in Show Lists field 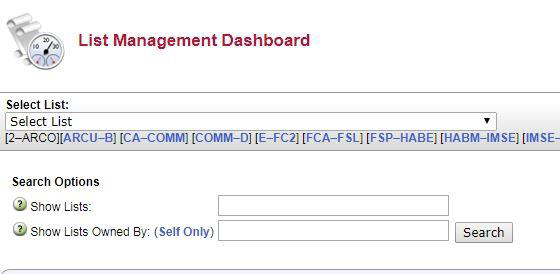
6. Click on View under Subscribers column
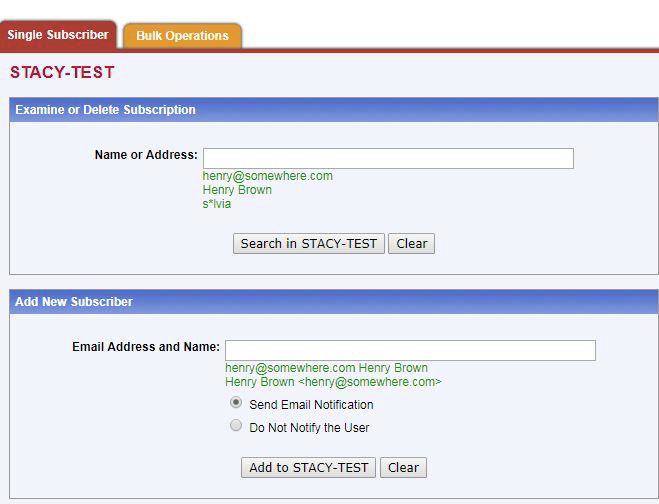
7a. Individual Subscriber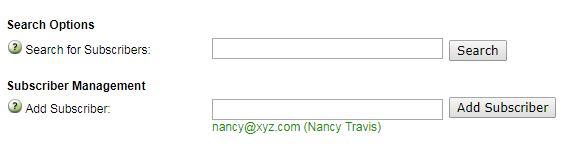
Formatting your Subscribers List for Bulk upload:
2. Enter each subscriber line by line (one subscriber per line) in the document.
email1@usf.edu = Firstname1 Lastname1
email2@usf.edu
4. Go to the Bulk Operations tab mentioned in step 7b above and click the Choose File button.
5. Navigate to where you saved your Text (.txt) document, select it, and click Open.
6. Click the Import button on the Bulk Operations tab.
ADD: one error, no recipient added, no entry changed, no duplicate, none forwarded.