| Anchor | ||||
|---|---|---|---|---|
|
You, currently, can use one of two methods to connect to an on-campus Windows computer from another remote computer. It provides These methods provide additional security for our the connections with university computing resources.
| Info | ||||
|---|---|---|---|---|
| ||||
| Excerpt | |||||||||||||||||||||||||||||||||||||||||||||||||||||||||||||||||||||||||||||
|---|---|---|---|---|---|---|---|---|---|---|---|---|---|---|---|---|---|---|---|---|---|---|---|---|---|---|---|---|---|---|---|---|---|---|---|---|---|---|---|---|---|---|---|---|---|---|---|---|---|---|---|---|---|---|---|---|---|---|---|---|---|---|---|---|---|---|---|---|---|---|---|---|---|---|---|---|---|
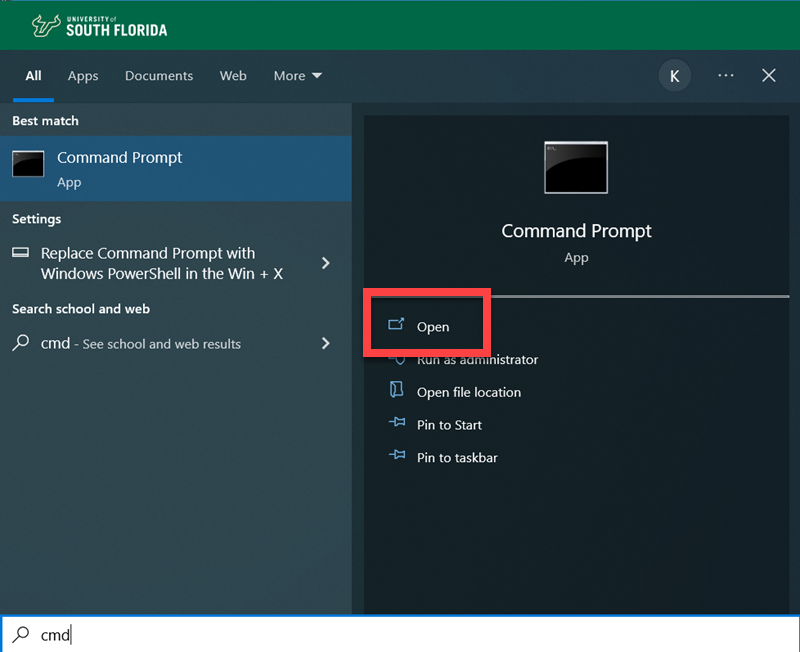
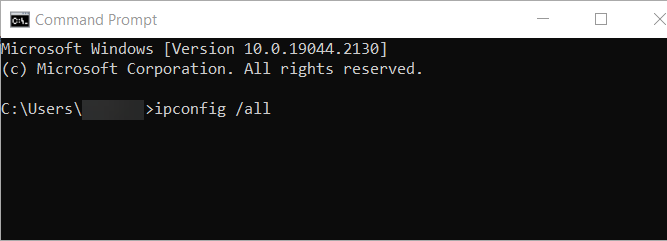
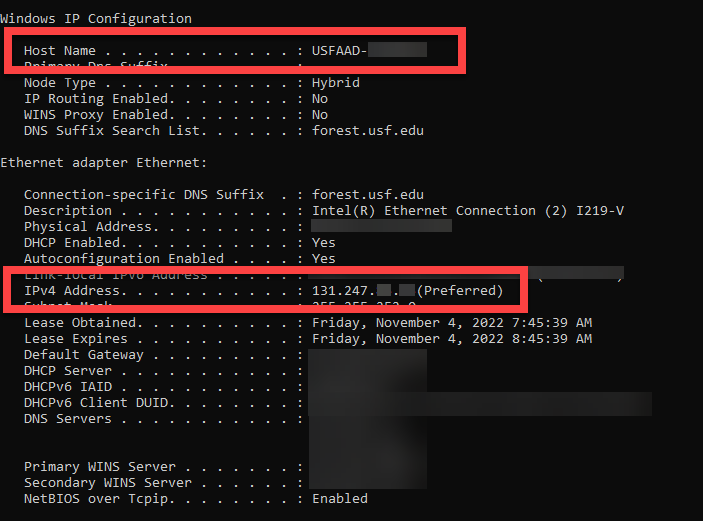
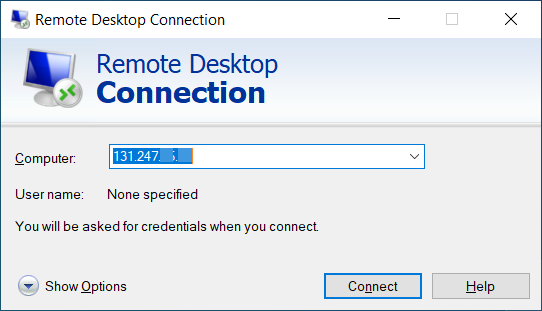
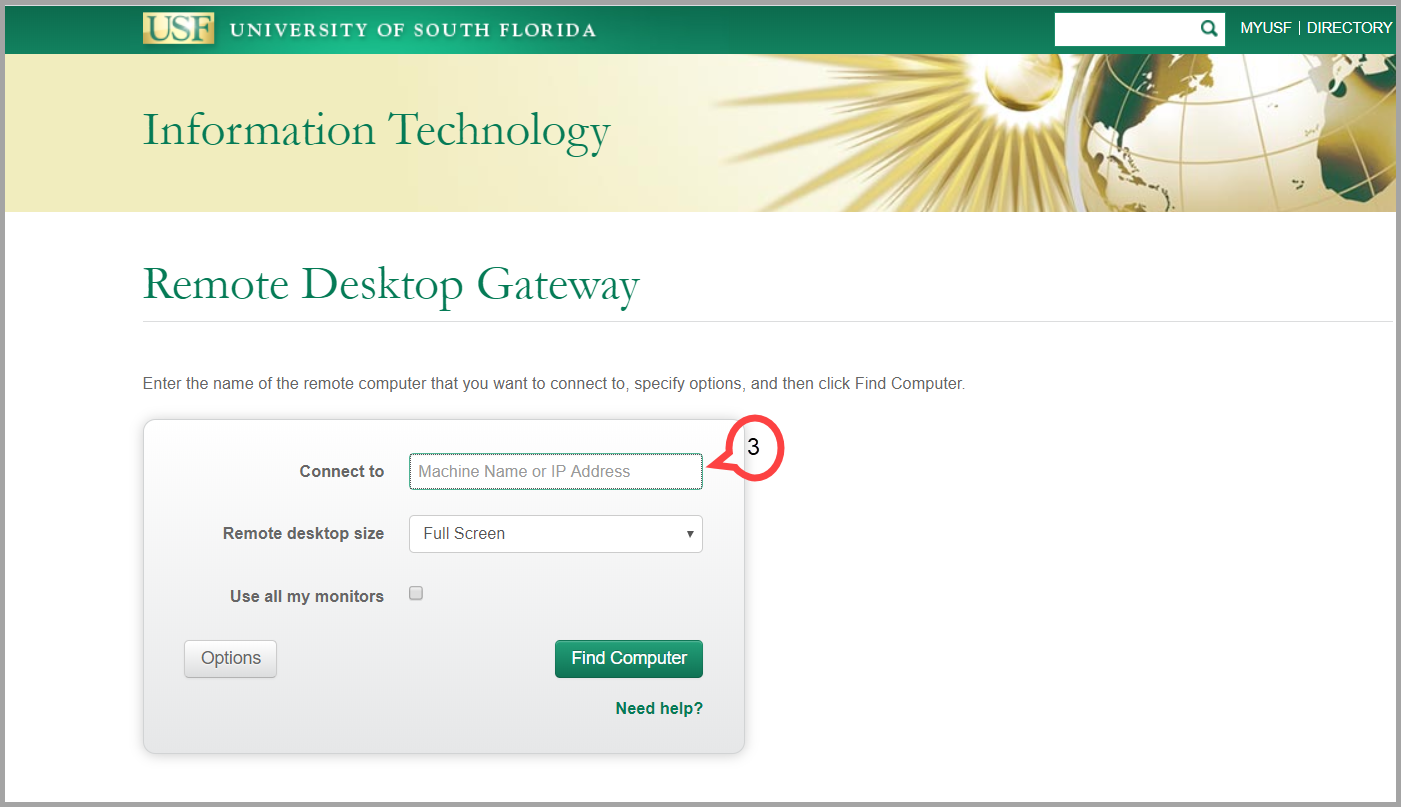
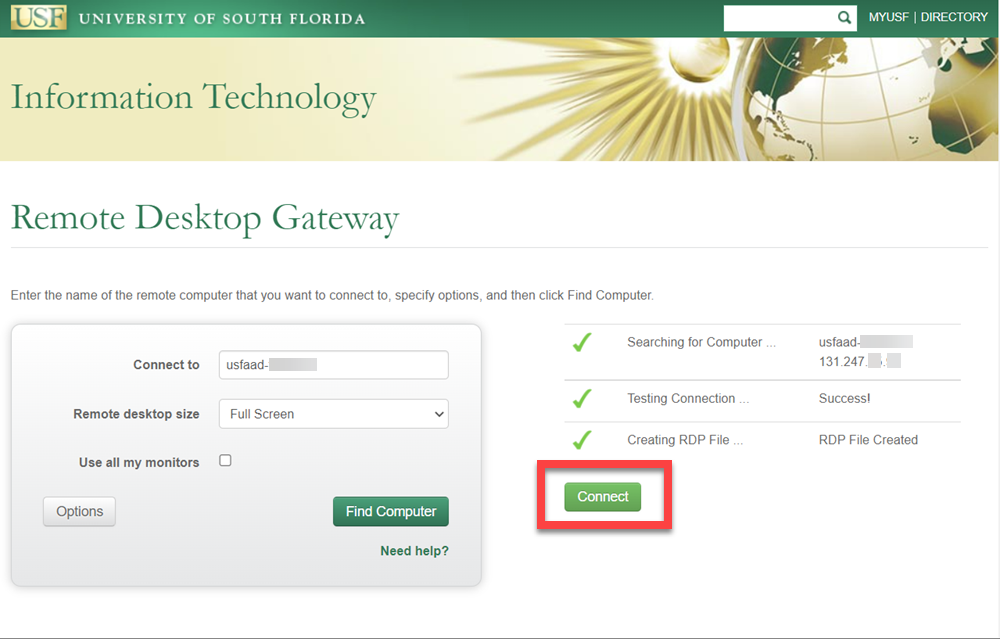
informationYou will need to know the USF computer’s name and IP address in order to be able to remote into it from another location. Windows 10/11
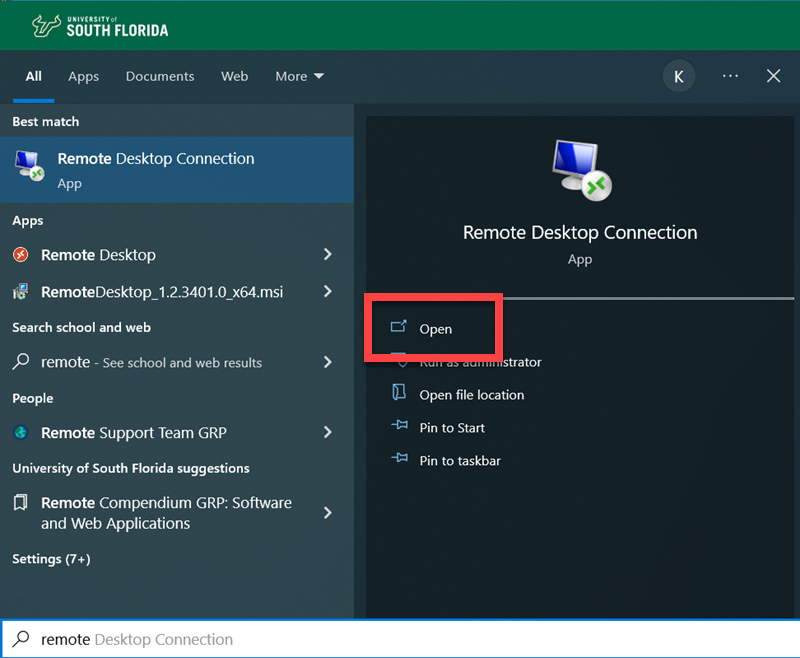
WindowsGo
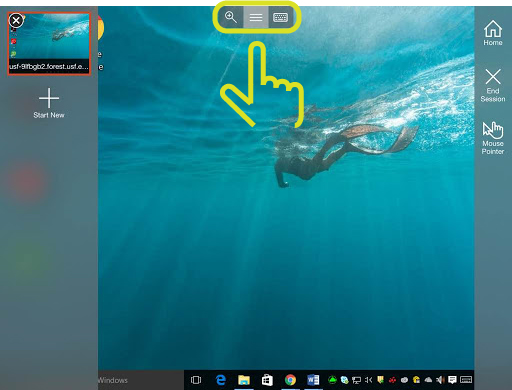
Once you have completed this process, you will have a window to your destination computer and may use it as if you were sitting in front of it. When you are finished, you can simply log out of your remote computer and the window will close.
Anchor | | Topic8 | Topic8 | iPad


| Info | ||
|---|---|---|
| ||
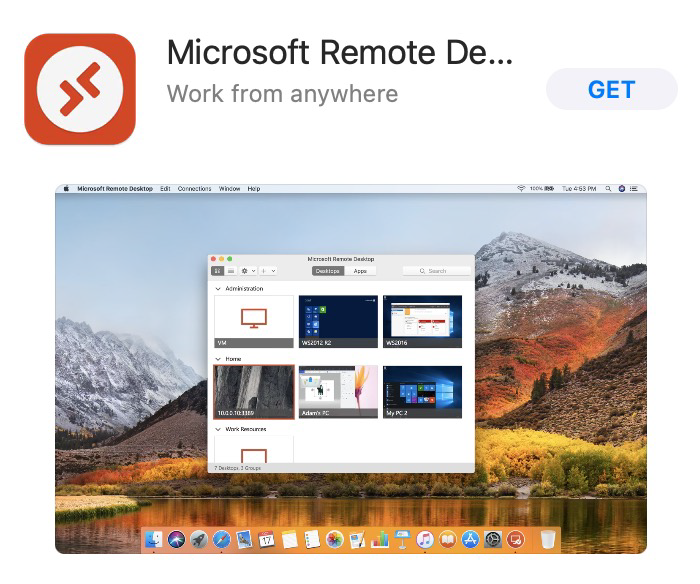
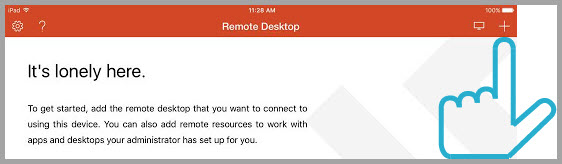
Already have the Microsoft Remote Desktop app? Skip to Step 5 |
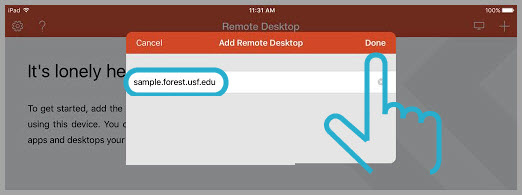
Enter the credential you use on your machine
| Tip |
|---|
Tapping the controls at the top will allow you to zoom, switch between mouse, pointer, and touch functionality, bring up a keyboard, etc
|

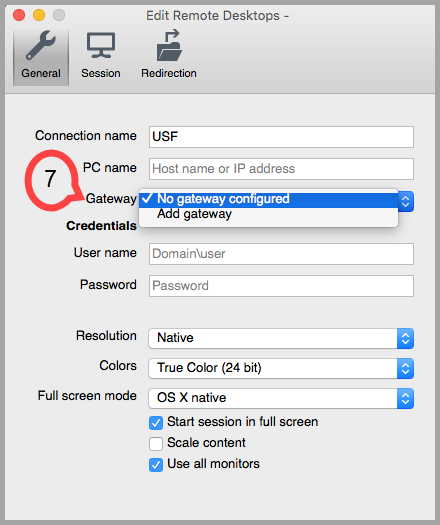
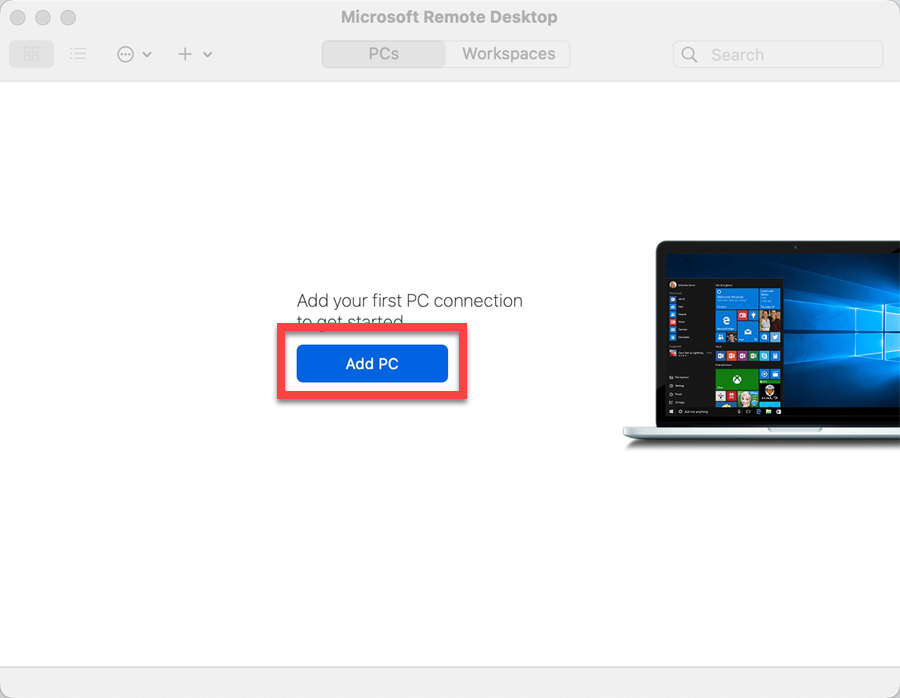
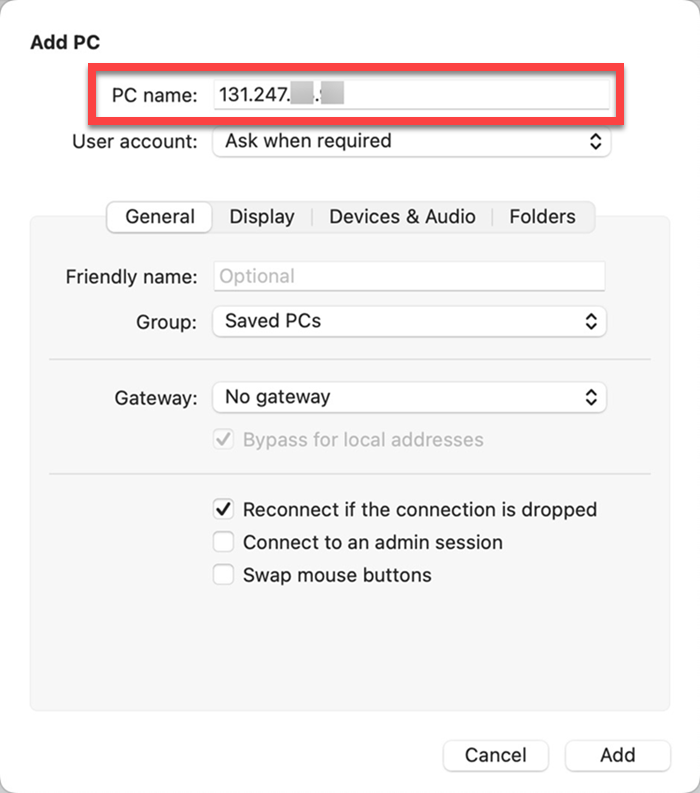
- Select Add PC.
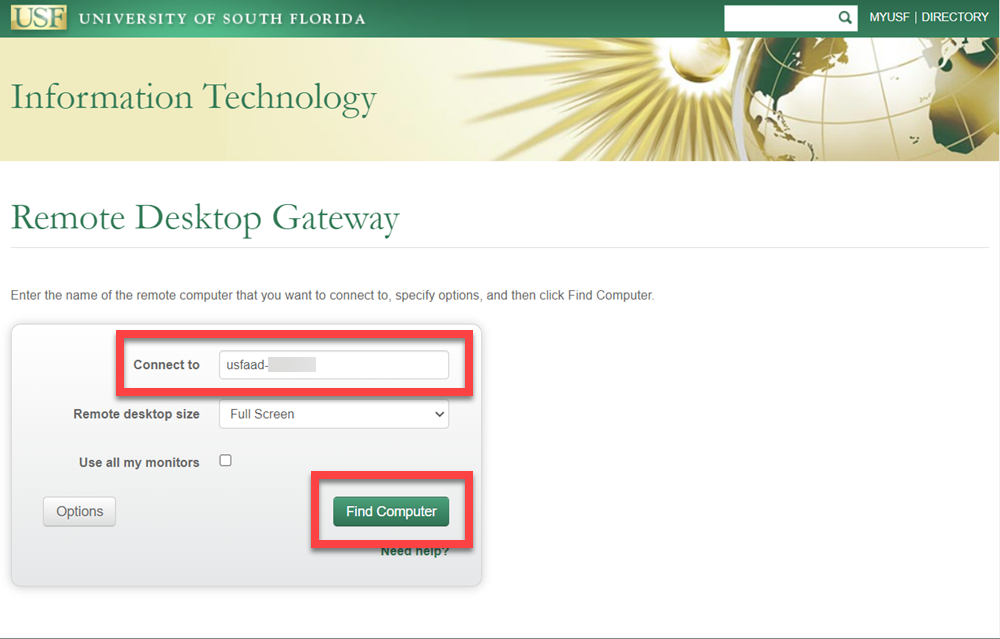
- Enter the on-campus computer's IP address under PC Name.
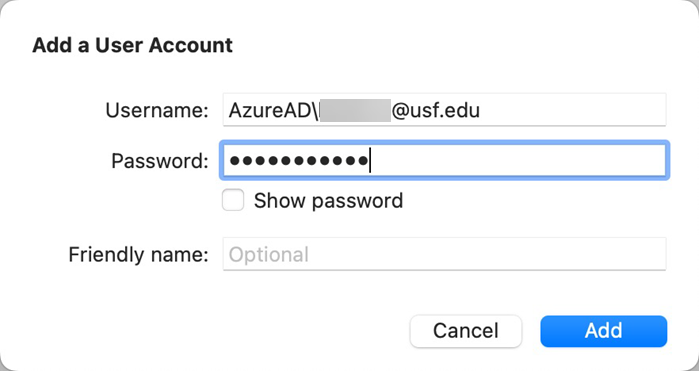
- Click the drop down next to User Account and select Add User Account....

- Enter the following information and then select Add.
- Username: AzureAD\<netid>@usf.edu
- Password: Your NetID Password
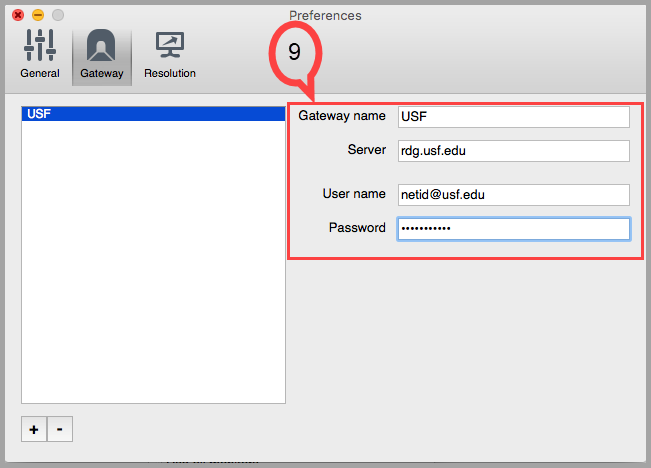
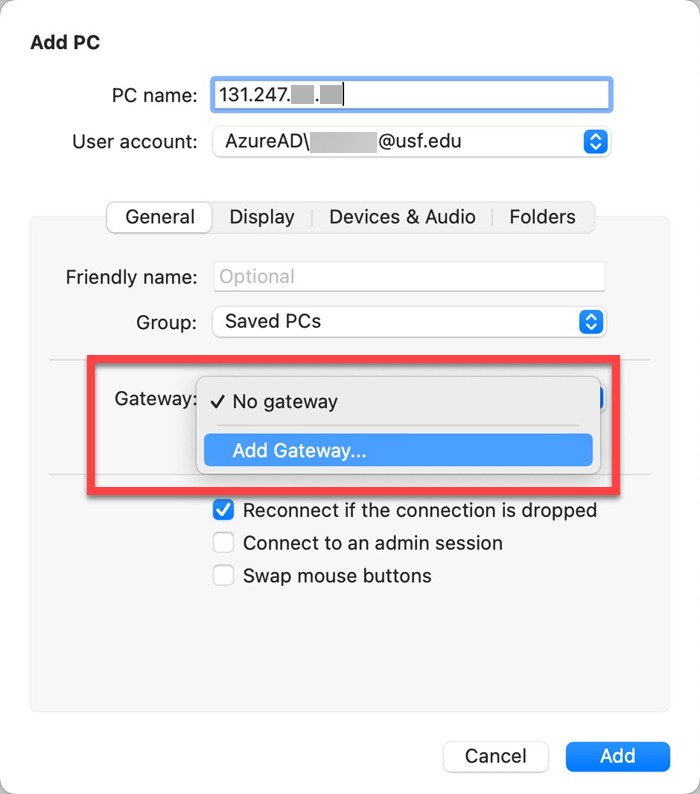
- Click the drop down next to Gateway and select Add Add Gateway....
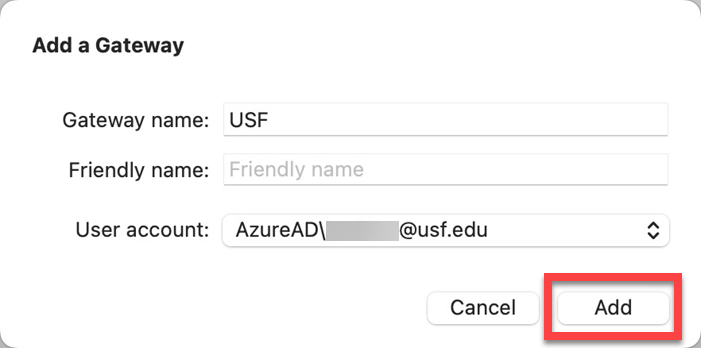
- Enter USF as the Gateway name.
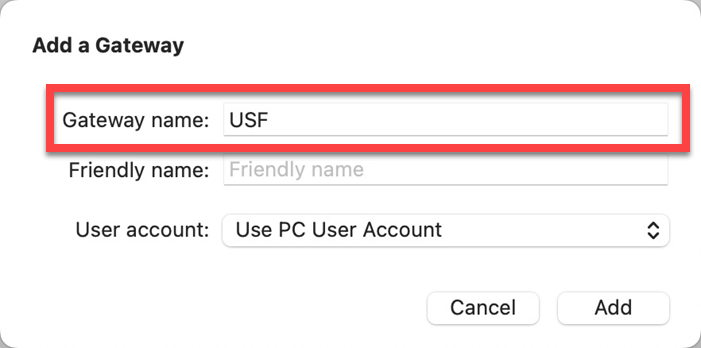
- Click the drop down next to User Account and select the AzureAD account created earlier.
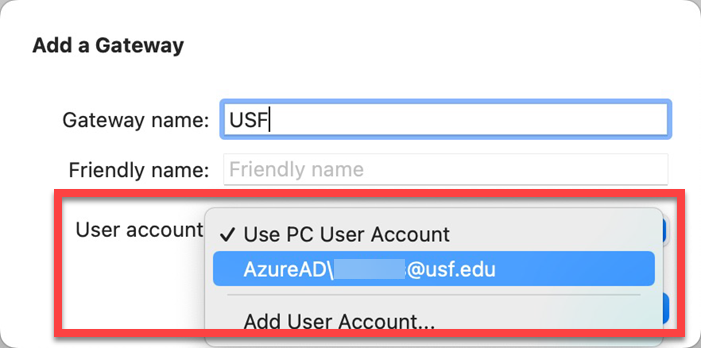
- Select ADD.
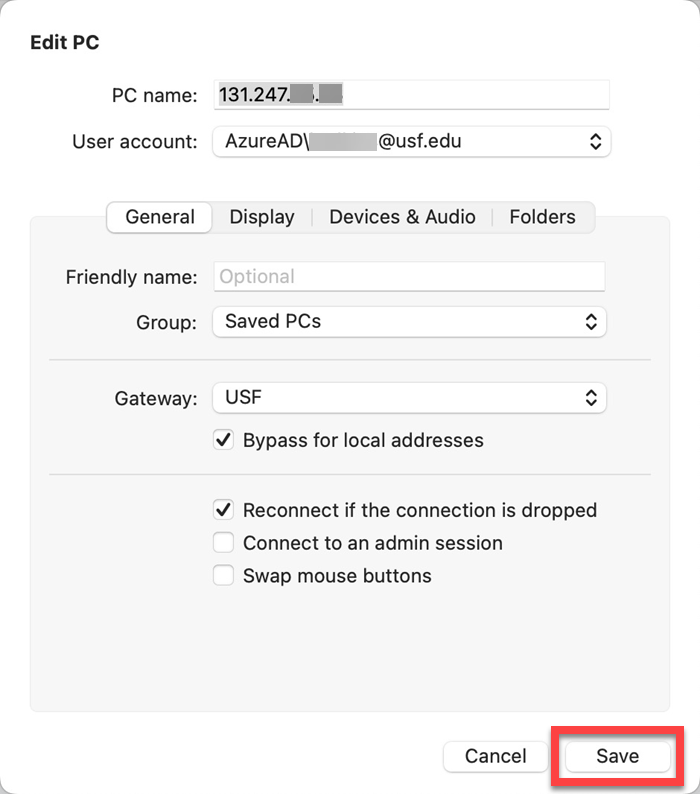
- Select Save.
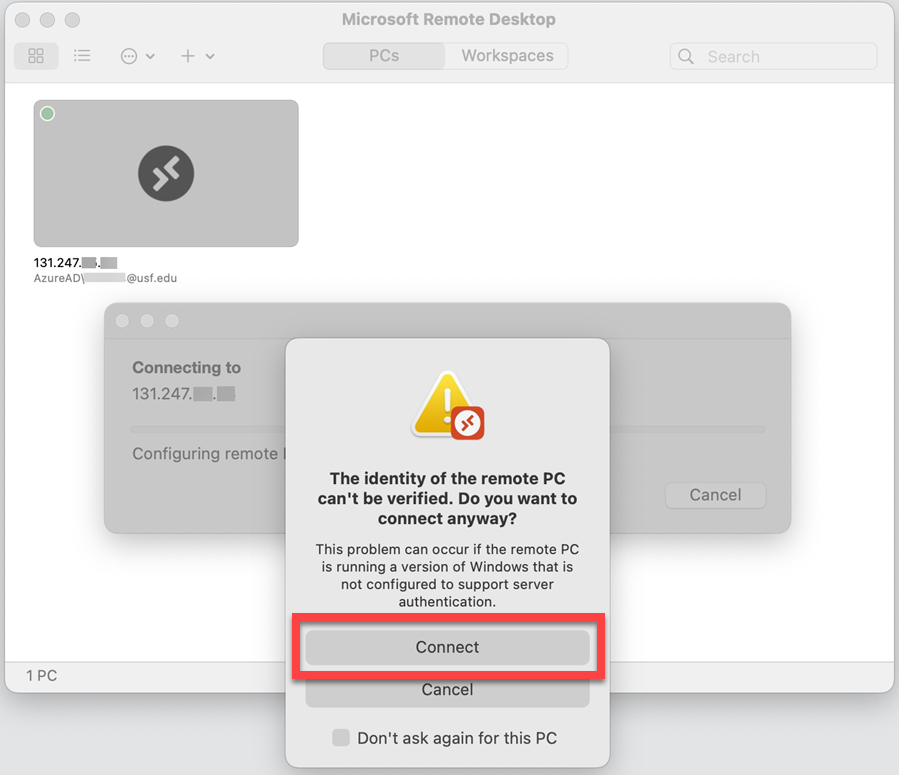
- Click on the connection created to connect to the on-campus computer.
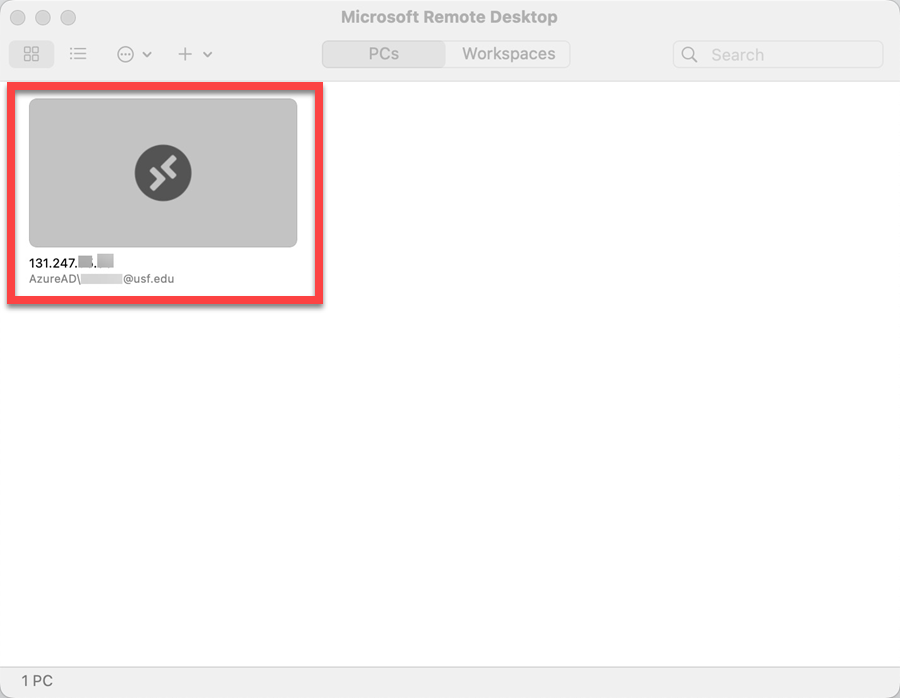
- Select Connect.
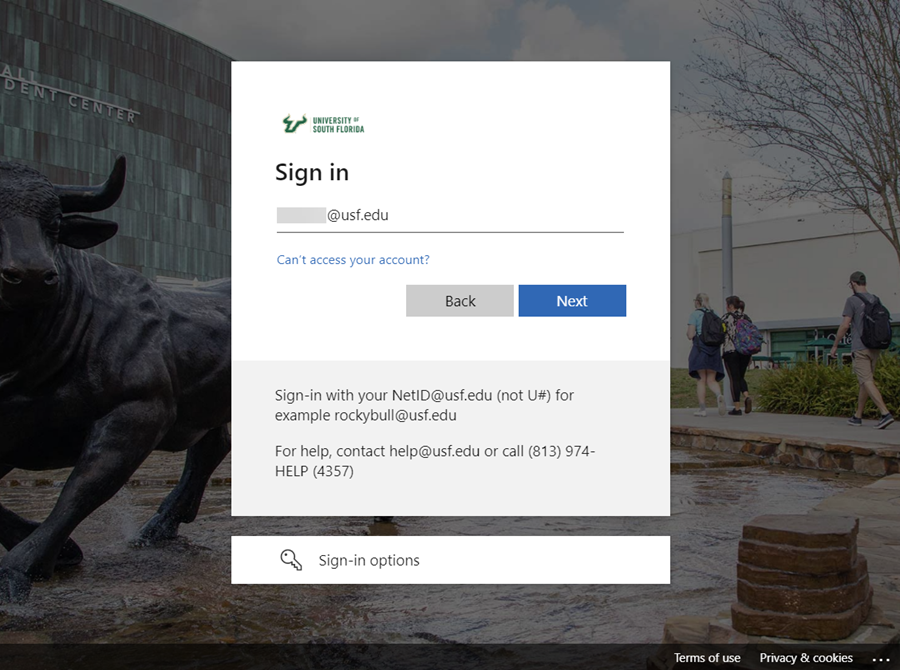
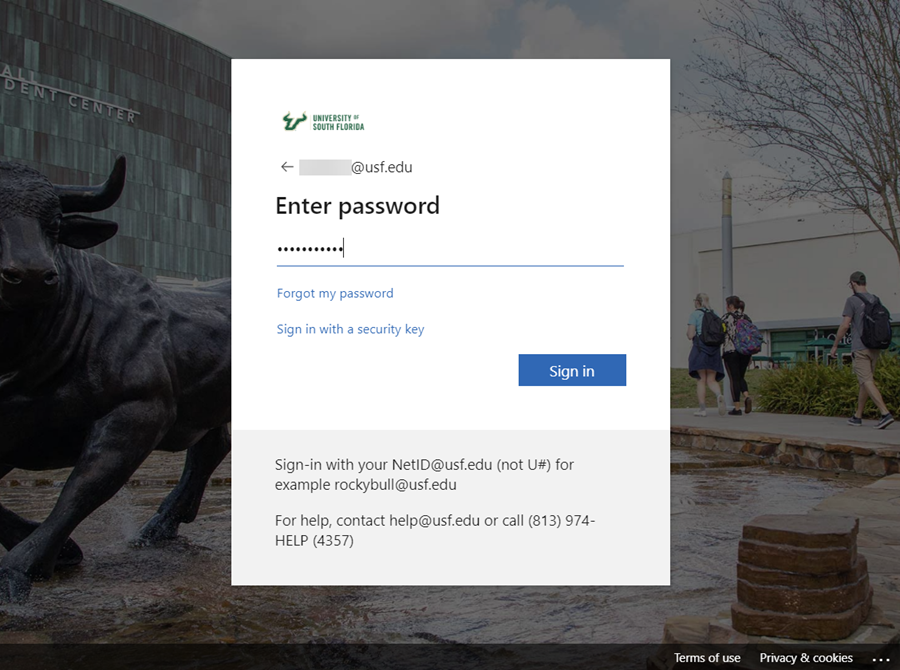
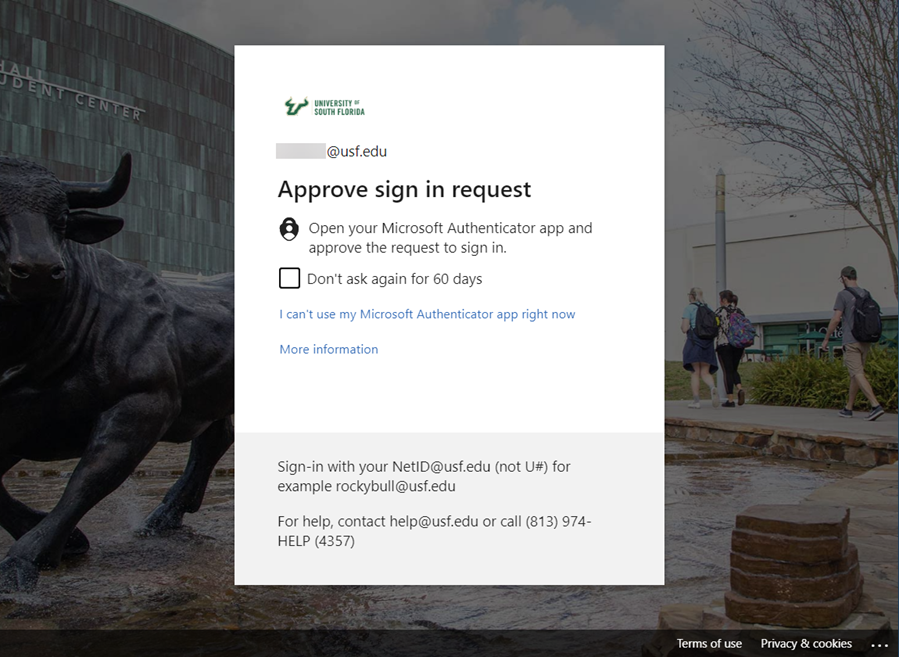
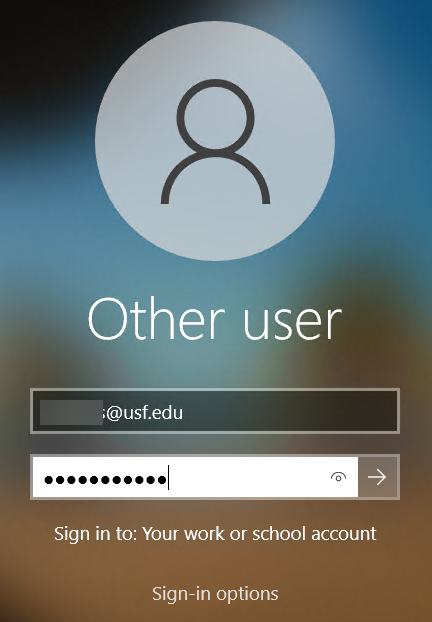
- Enter your USF email address and password as you normally do to sign into the computer.
| Insert excerpt | ||||||
|---|---|---|---|---|---|---|
|