Table of Contents Draft Space
How to Edit an Existing Slideshow Component
Select the slide to be edited. (see image below)
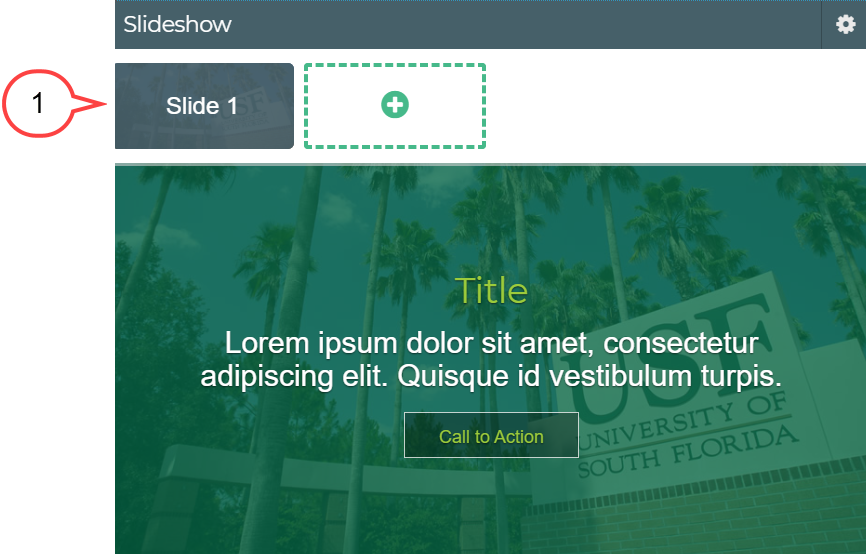
Need to add additional images to the slideshow?
Select the plus icon to add additional images to the slideshow component.

- Hover over the body of the component. (see image below)
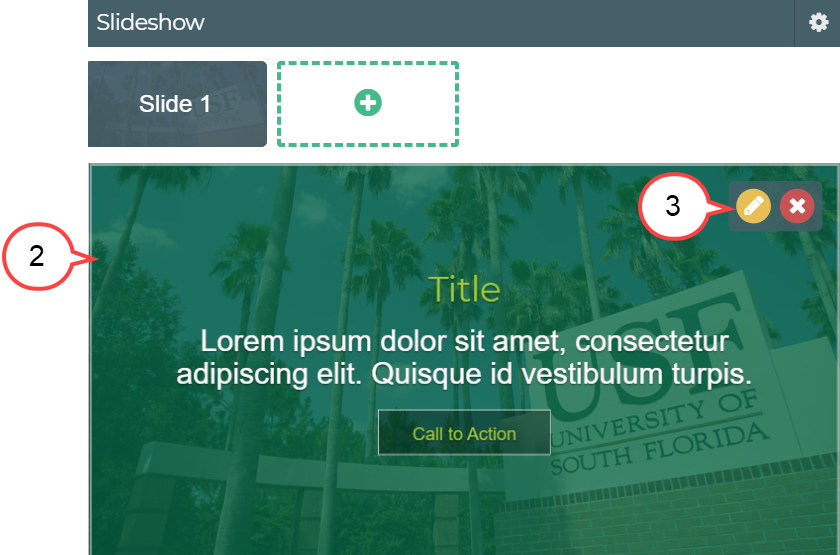
Select the pencil icon. (see image above)
Is the editor taking a while to open? Try double-clicking the pencil icon.
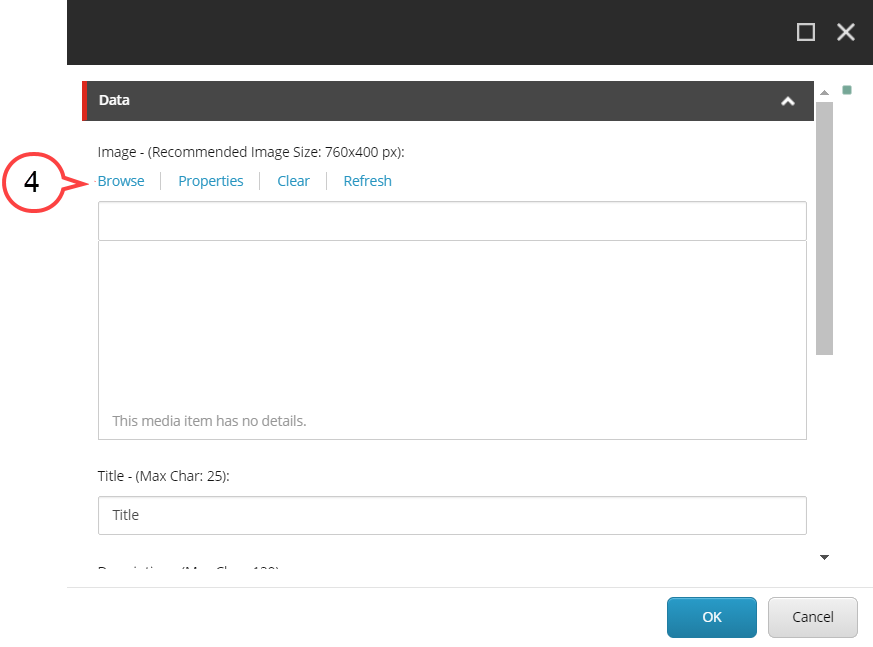
- Select Browse. (see image below)
- Navigate to the image. (see image below)
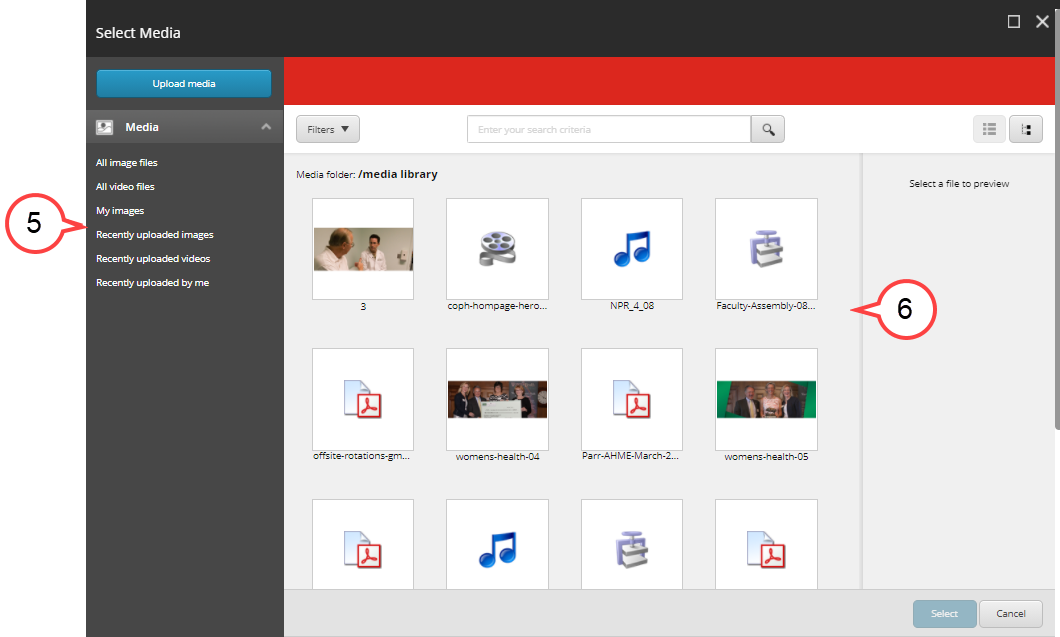
Select the image. (see image above)
To Upload a New Image
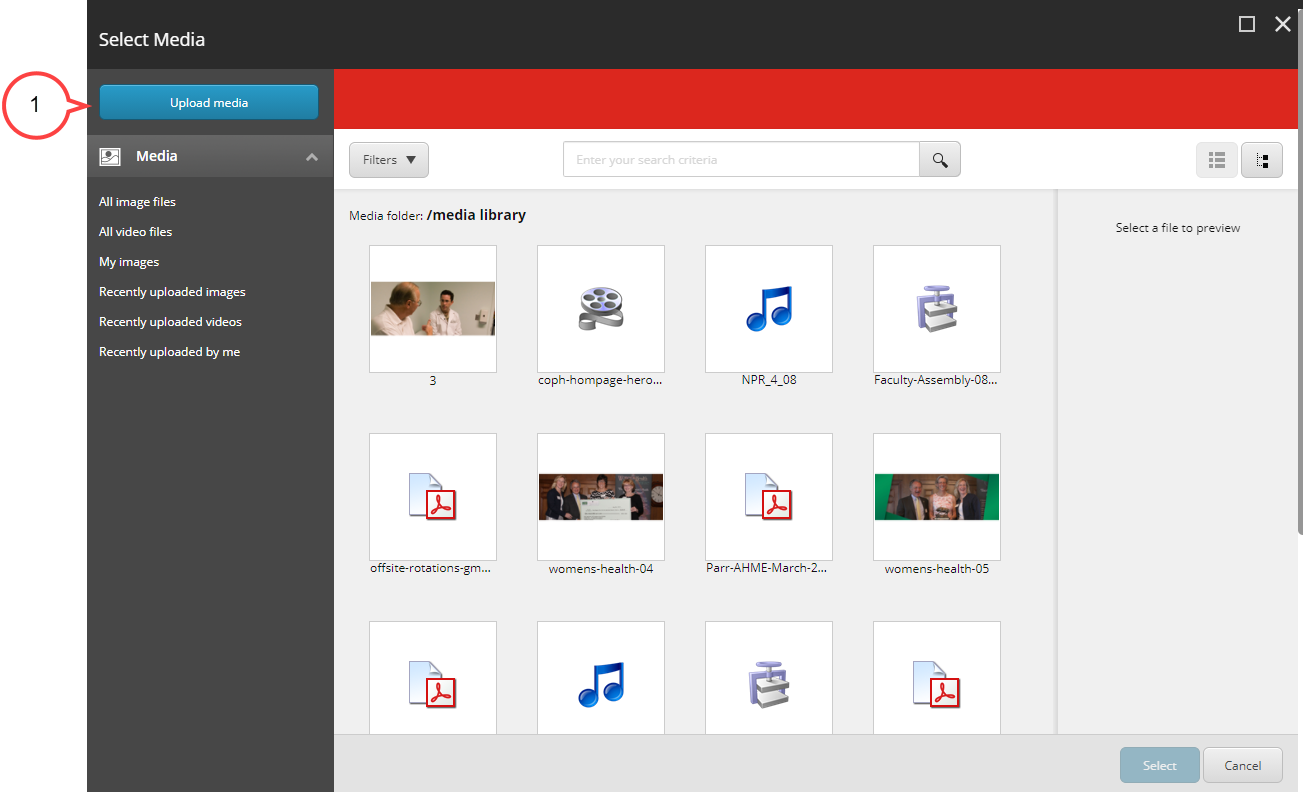
1, Select Upload Media.(see image below)
2. Select Change Destination to confirm you are uploading to the correct folder. (see image below)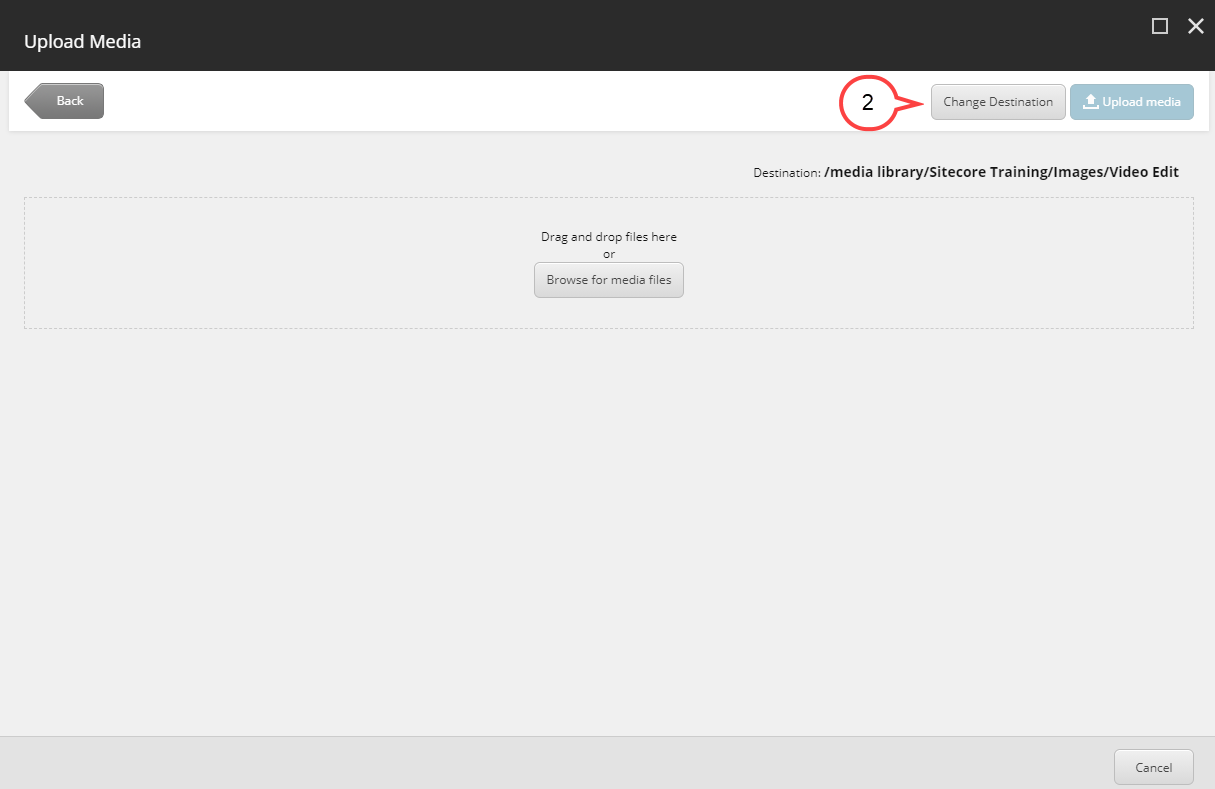
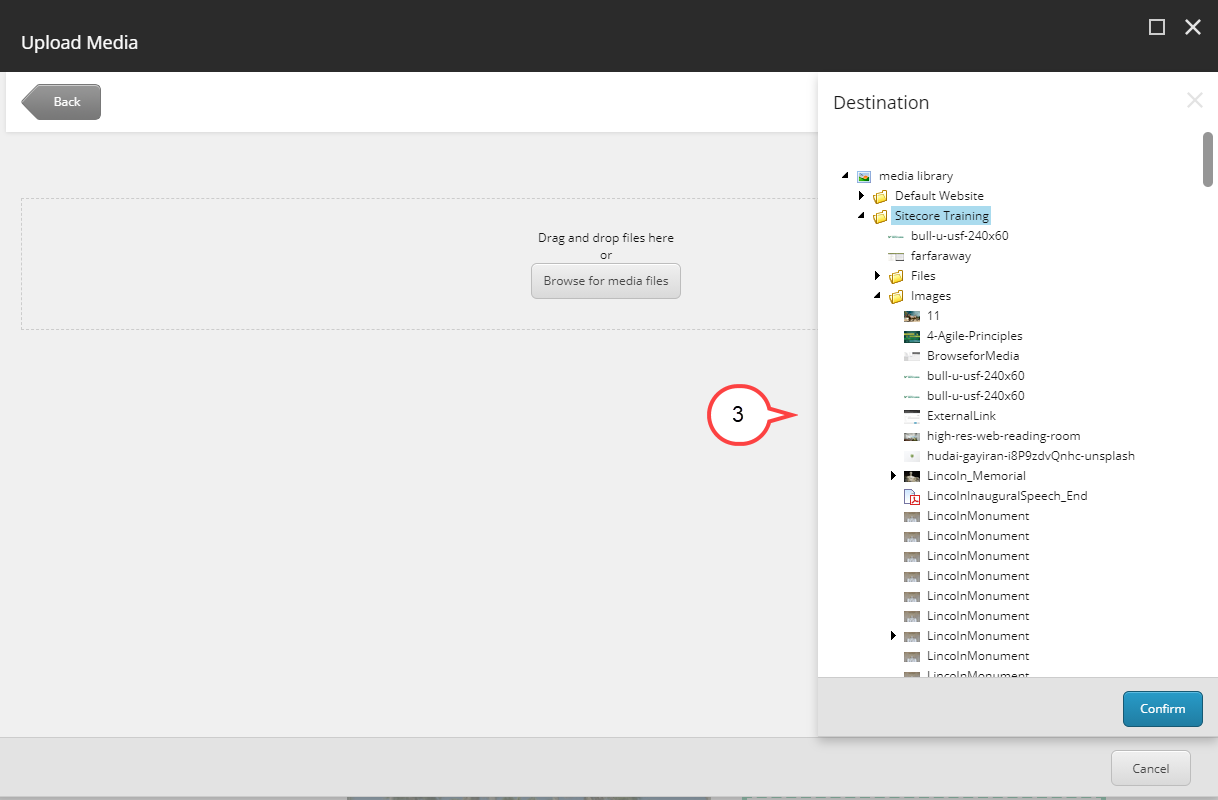
3. Select your departments image folder. (see image below)
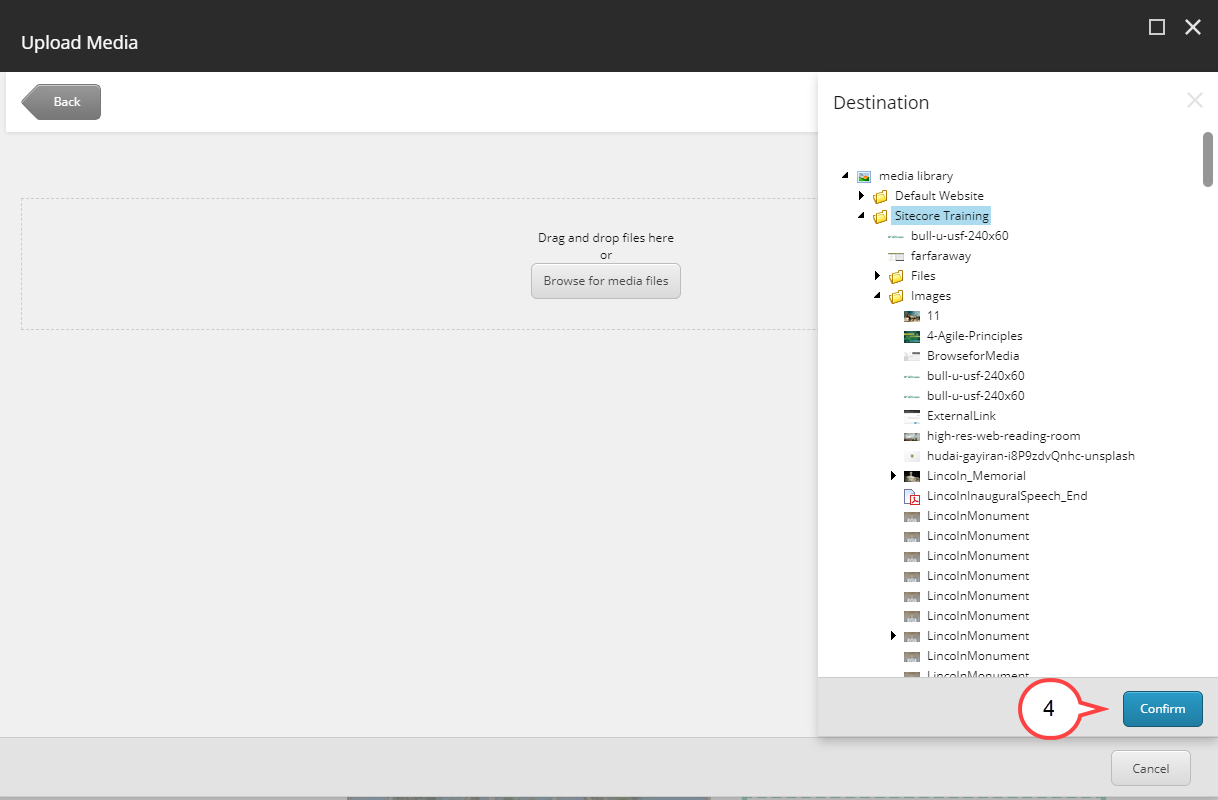
4. Select Confirm. (see image below)
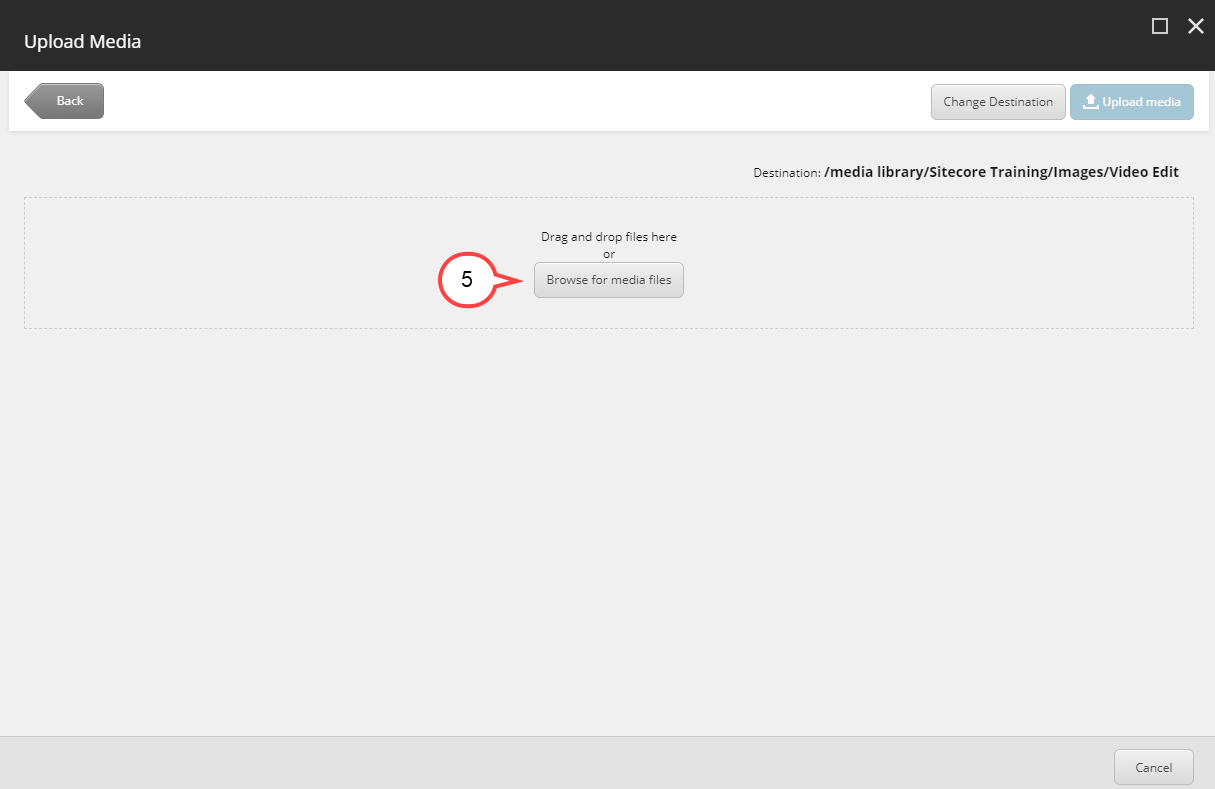
5. Select Browse for media files. (see image below)
6. Select the image from your computer.
7. Select Open.
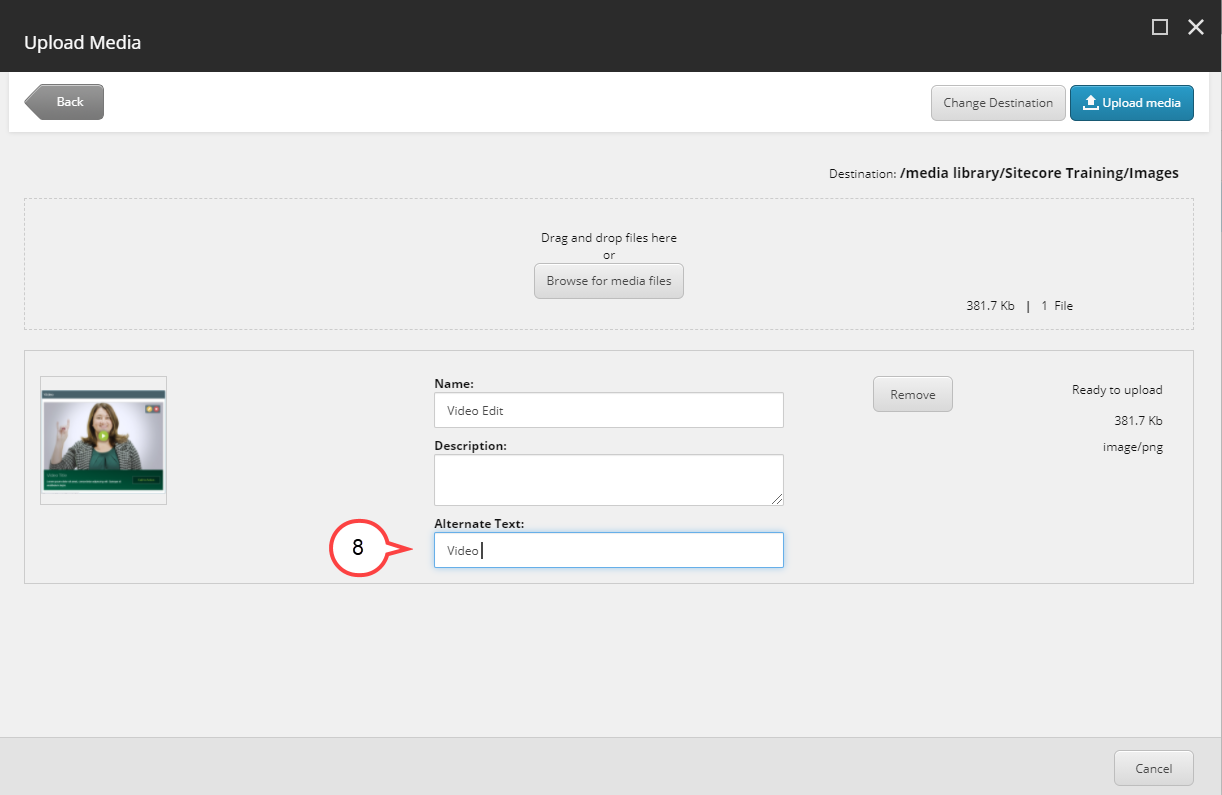
8. Type in Alternative Text. (see image below)
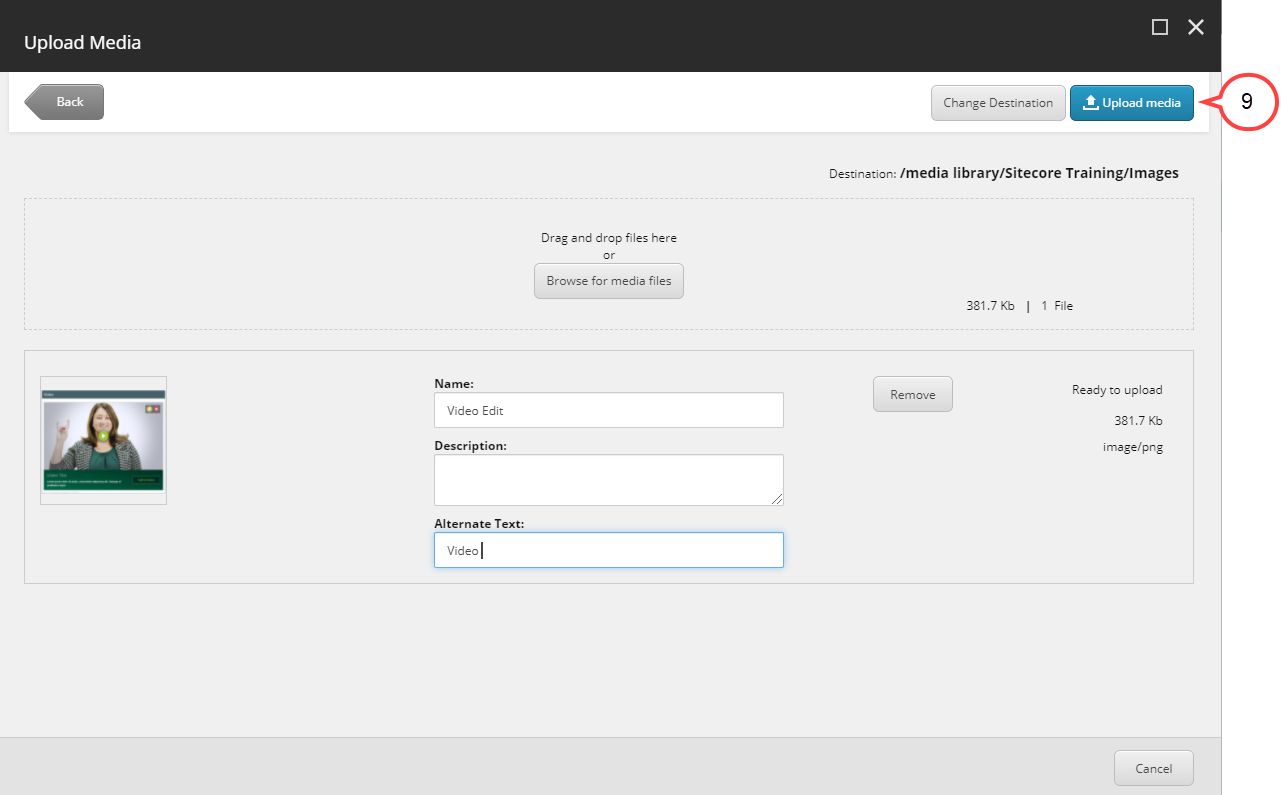
9. Select Upload media. (see image below)
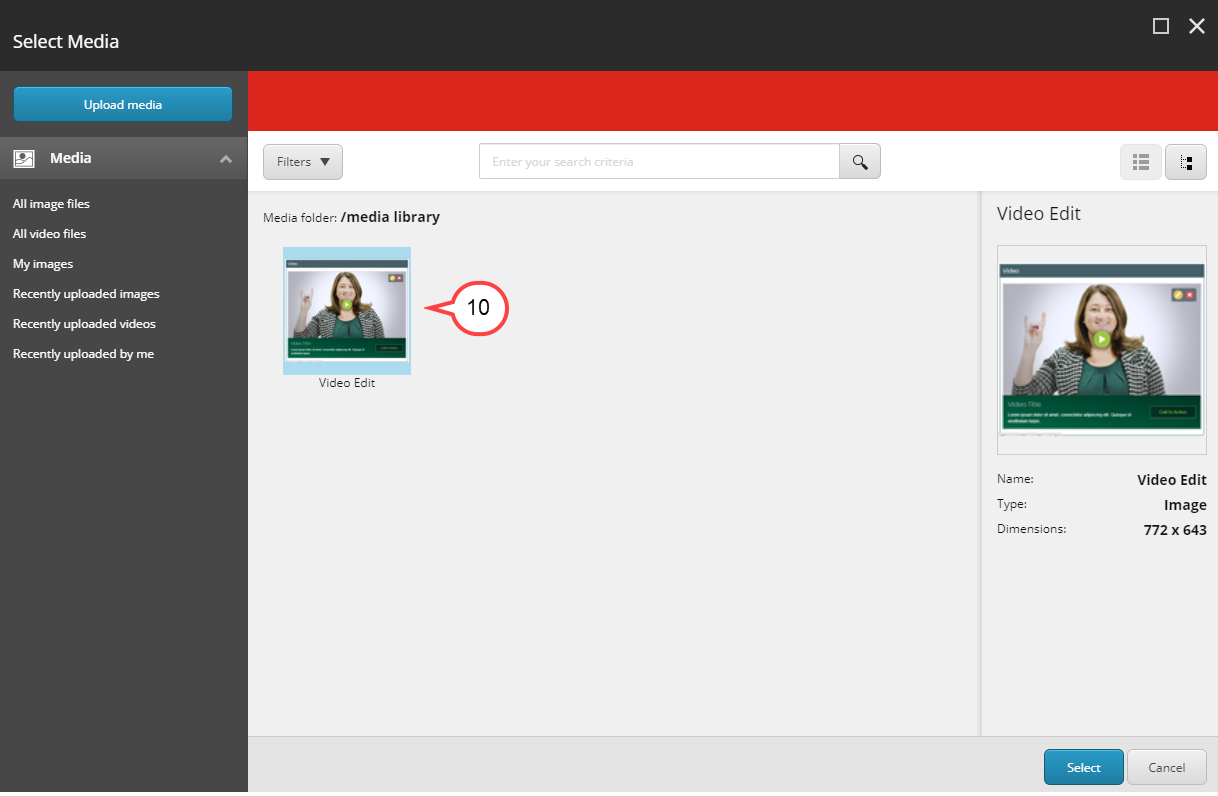
10. Select the image. (see image below)
Continue to Step 7 below.
- Select Select
Fill in the following fields:
a. Title: This will be the title that displays with the image.
b. Description: This will be the text that displays with the image.
c. Link URL: This is where you insert the URL for the Call to Action button.
d. Link Text: This will be the text that will display on the Call to Action button.
e. Open in New Tab: Make sure Open in New Tab is selected.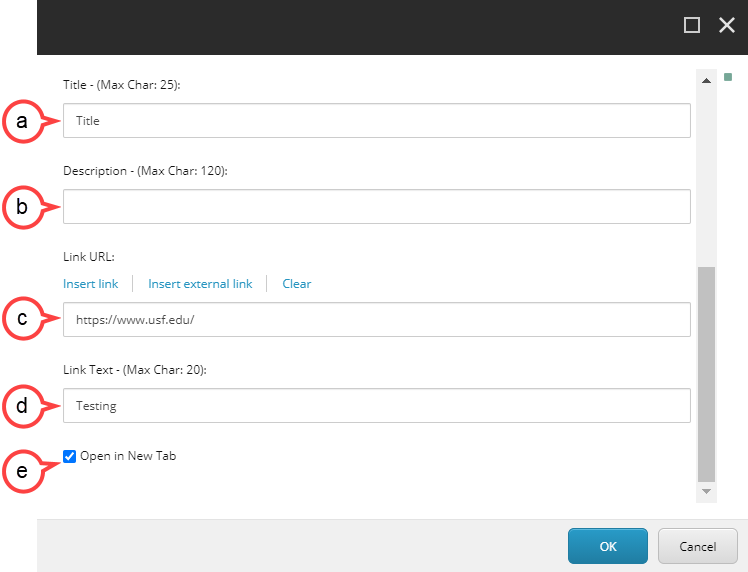
Don't want a Title, Description, or Call to Action button?
To remove a Title, Description, Link URL, or Link Text included with the Slide Show, leave the appropriate field(s) blank.
- Select OK.
- Select the gear icon to customize the Hero Banner. (see image below)
a. Theme: This will give you options to change the look and feel of the slide show.
b. Save: Select Save if you have made any changes.