For this version of Sitecore rows and columns are used to add images. The two methods of this are the Image List component and the Image Grid component. The Image List allows for two display methods of either landscape (the default) or portrait. Images will always be left justified next to text. For the Image Grid images are not accompanied by a paragraph of text but by a title and a text overlay. These features take the place of the Column Builder and adding images through the Rich Text Editor.
Image List
Here are the features of the Image List component in Sitecore V3. Below is the basic layout:

- Image List Settings Editor
- Image List Headline:

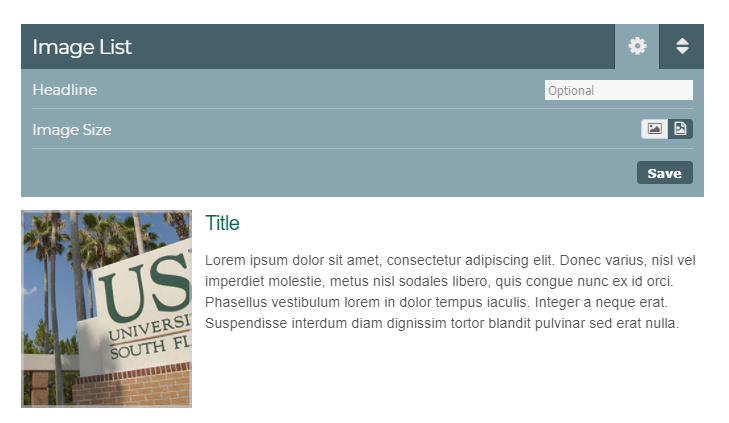
- Image List Image Size
The setting of the image can be changed from landscape to portrait using this function.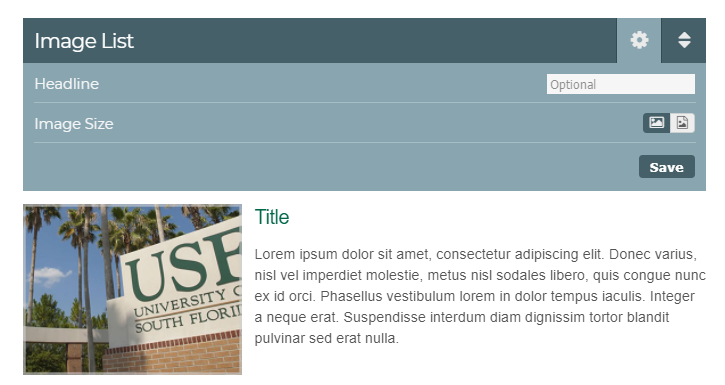
- Save Settings
- Image/Link Editor
NOTE: Click the '+' to add a new list row
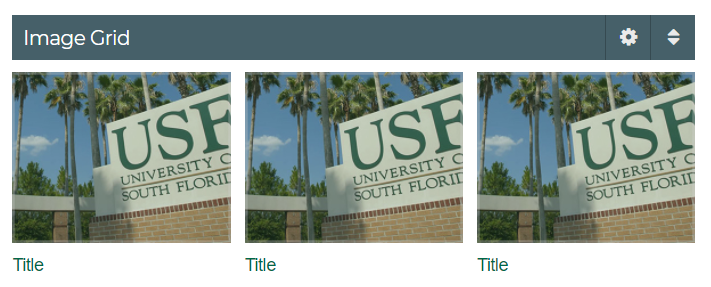
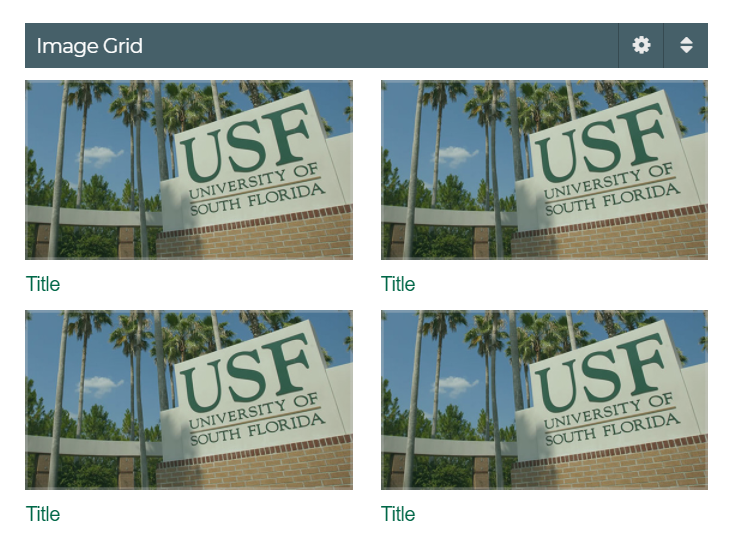
Image Grid
Here are the features of the Image Grid component in Sitecore V3. Below is the basic layout:

- Image Grid Settings Editor
- Image Grid Headline

- Image Grid Theme Selection
Theme selection features two layouts that allow for just title text under the image or title and descriptive text under the image: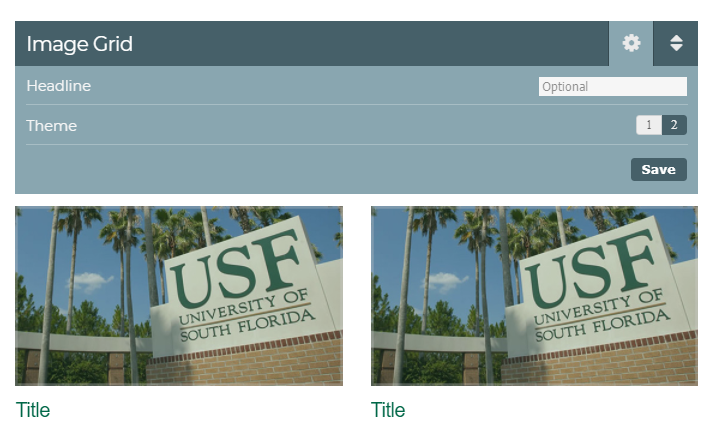

- Save Settings
- Image/Link Editor
NOTE: Click '+' to add a new image. Min number of images that can be added: 1; Max number of images that can be added: 4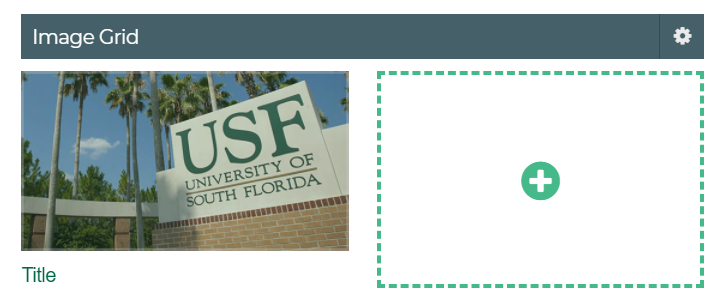

Adding New Images
The process for adding and editing images for the Image List and the Image grid is identical when using the Image Editor.
Click on the 'pencil' to open the image/link editor:

Image/Link Editor
The image/link editor takes the place of the Insert Sitecore Media and Insert Sitecore Link buttons in the previous interface, This offers the following options for uploading and editing images and/or hyperlinks:


- Browse connects to the Media Library
- Properties is where image settings like dimension and alternative text can be edited.

- Removes image
- Applies changes in settings
- Title displayed with image
- Opens the Rich Text Editor

- Allows editing text without opening the Rich Text Editor
- Insert internal Sitecore link

- Insert external link

- Remove link
- Open link in new tab
Media Library and Uploading Images
Click the Browse function to open the Media Library.

- Click Upload Media
- Check Destination (If needed, click Change Destination, to where your images should be located.)

- Click Browse for Media Files

- Select image to upload

- Click Upload Media' (Add Alternative Text)

- Click image to upload
- Click Select
