Using the
...
Outlook Calendar to Schedule Meetings
This is a quick guide
...
on how to schedule meetings
...
...
in Outlook.
Anchor SchedulingWeb SchedulingWeb
Scheduling Assistant for Web
| SchedulingWeb | |
| SchedulingWeb |
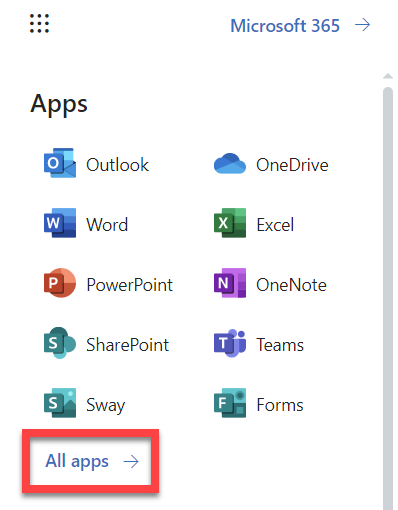
Click the App launcher icon located on the top left of
...
Outlook email on the web
...
.
...
Select calendar from the list of available apps.
...
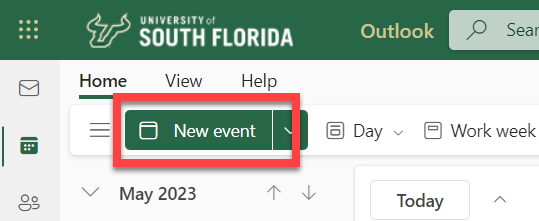
Select New and then Calendar event.

Tip: You can start entering meeting information on the Details screen, or wait until you've finished with the Scheduling Assistant.
...
The date, time, duration of your meeting, and any attendees that you added before you opened the Scheduling Assistant will be carried over and you can change them as needed.
...
Type the names of people you want to invite in the Attendees box. This box works just like the To line in a new message. Outlook on the web will search for matches as you type. If no match is found, or the matches returned aren't correct, you can search for attendees.

Each person you add will automatically be added as Required. To change that status, right-click the name or, if you're using a touch device, touch and hold the name, and then select Attendance optional. As you add people you'll see a count of the total number of people invited and how many conflicts there are.

To remove an attendee, either right-click the name and choose Remove or click the x next to their name
Choose a location. You can select Add a room at the bottom of the Scheduling Assistant to see conference rooms from your organization's address list. Choose available rooms that begin with SVC if your meeting is held on the 3rd floor of SVC.
After you've selected a room, it will be added to the calendar grid.

You can change the conference room by selecting Change room.

To remove the conference room, click the x next to the room.
...
As you add attendees and a location, their calendar information will appear in the calendar grid. You can select day or week view at the top of the calendar. If you select week view, the calendar grid will show a merged view of the attendees' calendars.
Tip: In week view, you can hover over a block of time to see more information about conflicts at that time.
Click OK to save your changes or Discard to cancel.

...

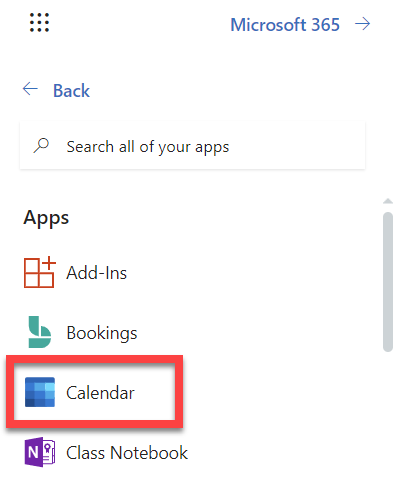
Click All apps.
Click Calendar.
Click New event.
Fill in the fields. Make sure to have Teams Meeting turned on.
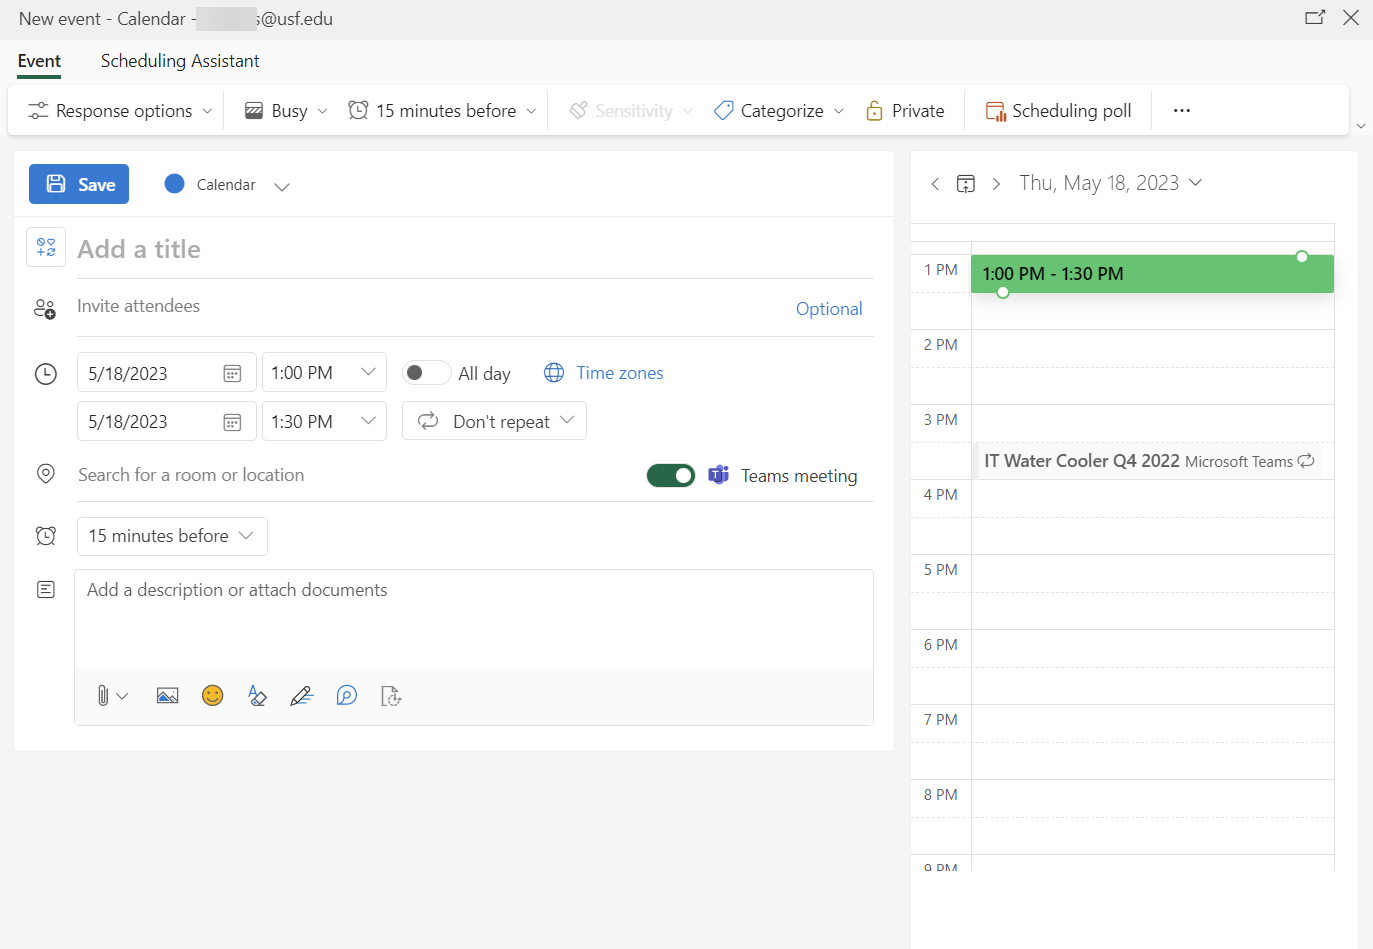
Note As you fill in the fields such as the date, time, and meeting attendees, the calendar grid on the right will change to indicate red if one of the attendees has a conflict and green if everyone is available. Click Scheduling Assistant located at the top of the window (shown in the screenshot above) if you need additional help finding an available meeting date and time.
Click Send.
| Anchor | ||||
|---|---|---|---|---|
|
For instructions on how to schedule meetings using the Outlook desktop Scheduling Assistant, view the video below or click here.
| Html bobswift |
|---|
<iframe src="https://www.microsoft.com/en-us/videoplayer/embed/RWelMN?pid=ocpVideo0-innerdiv-oneplayer&postJsllMsg=true&maskLevel=20&market=en-us" width="640" height="360" frameborder="0" webkitallowfullscreen mozallowfullscreen allowfullscreen></iframe> |