Activating your NetID
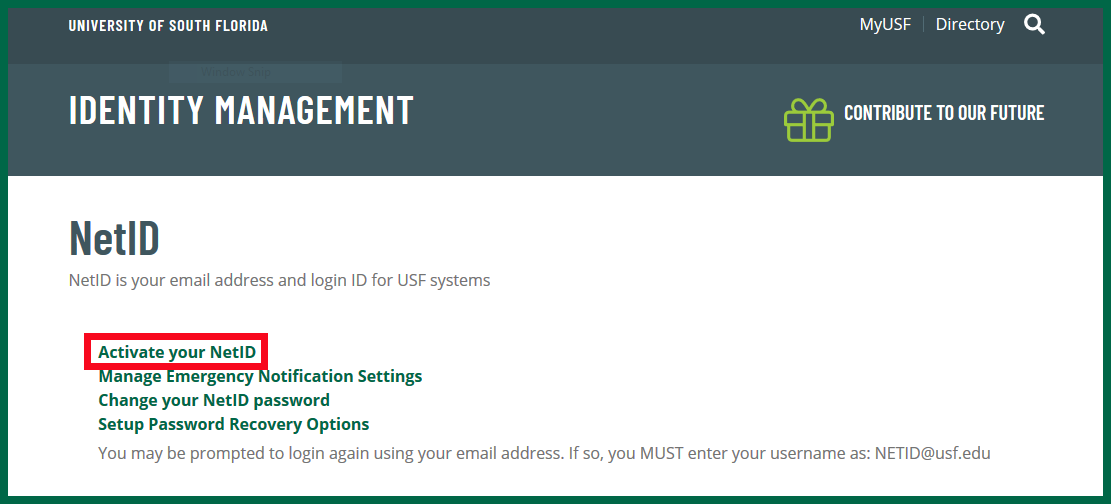
- Click the URL https://netid.usf.edu
- Click Activate your NetID.
Choose from the following:
a. Enter your U-number and date of birth.
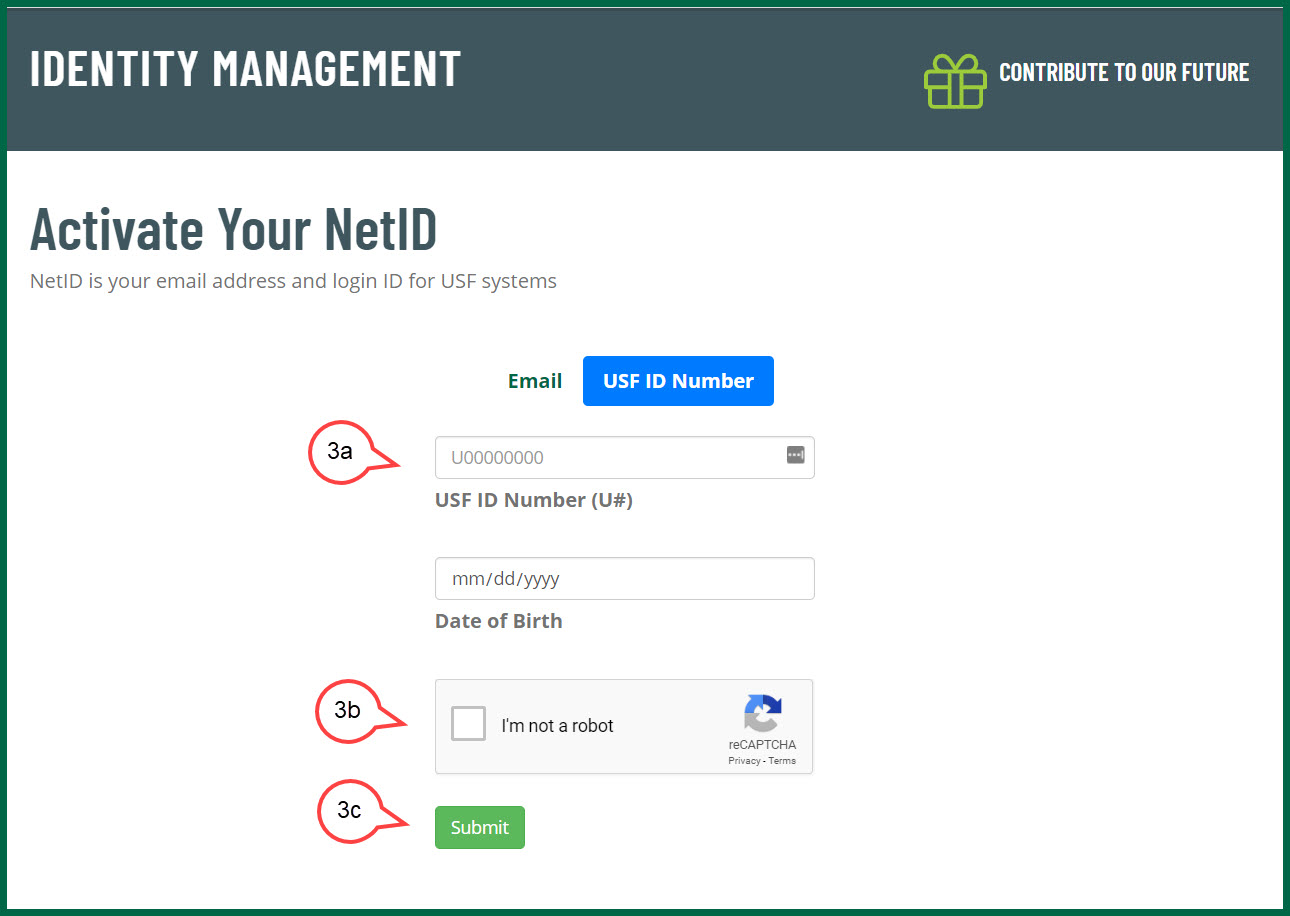
b. Check the Captcha box
c. Click the Submit button
a. Enter your email address. This is the email that was initially provided when corresponding with the University. For OASIS applicants, this email address is identified as "Primary Email Address" in Oasis. This can be any email system (e.g. Gmail, Yahoo, Hotmail, AOL) but the user MUST be able to access to this email account.
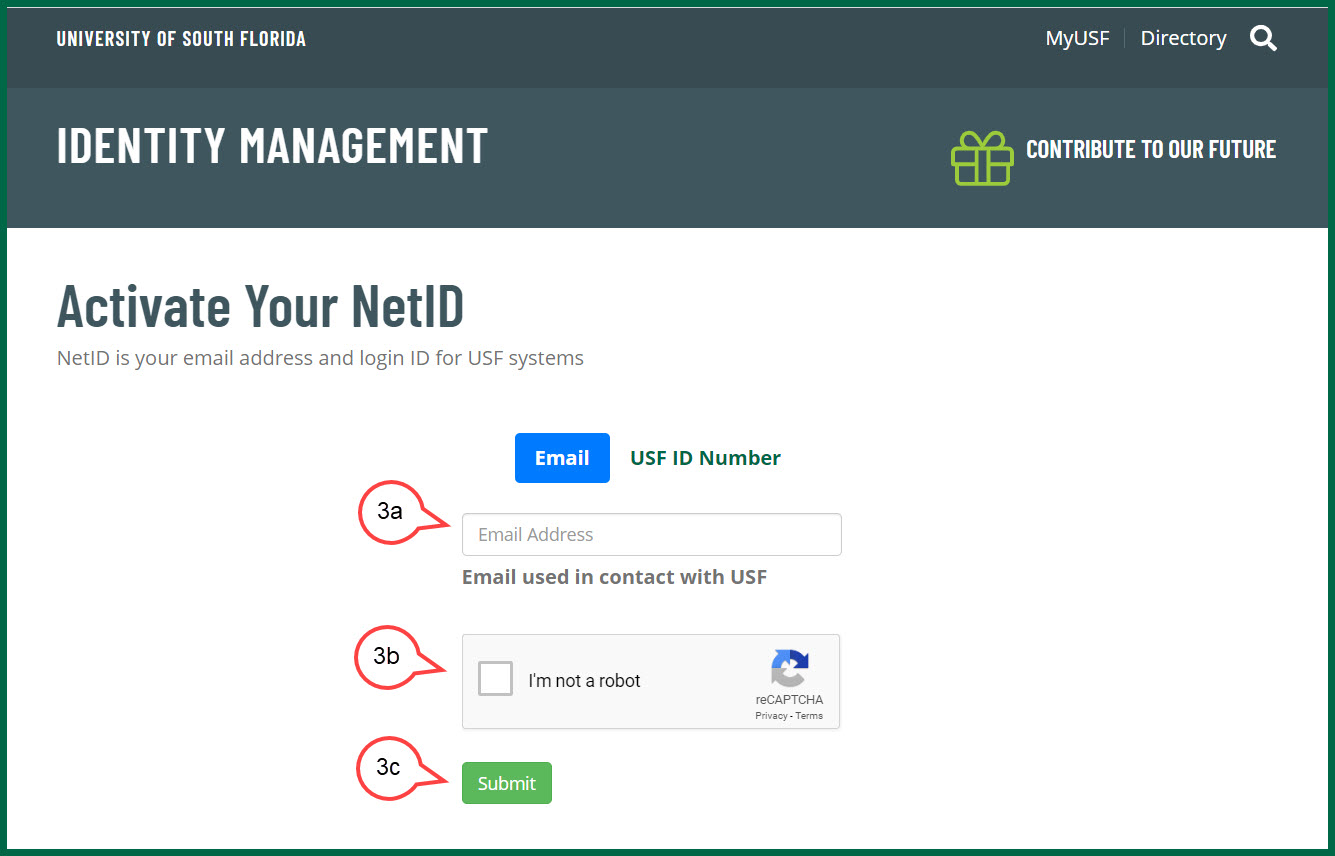
b. Check the Captcha box
c. Click the Submit button
d. Check your email for the confirmation code
e. Enter the confirmation code
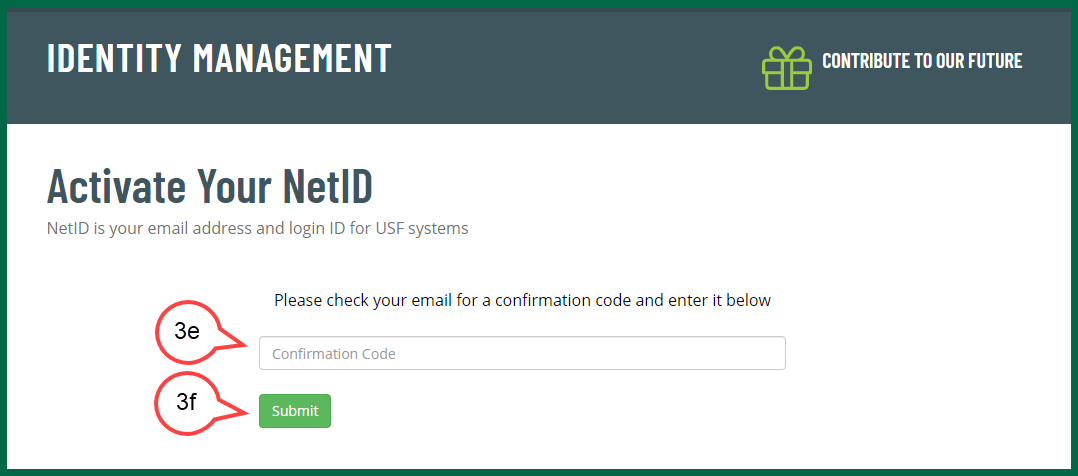
f. Click the Submit button
If Your NetID Already Exists
you will be given the option to look up your NetID or change your NetID password and you do not have to finish steps 4 - 9.

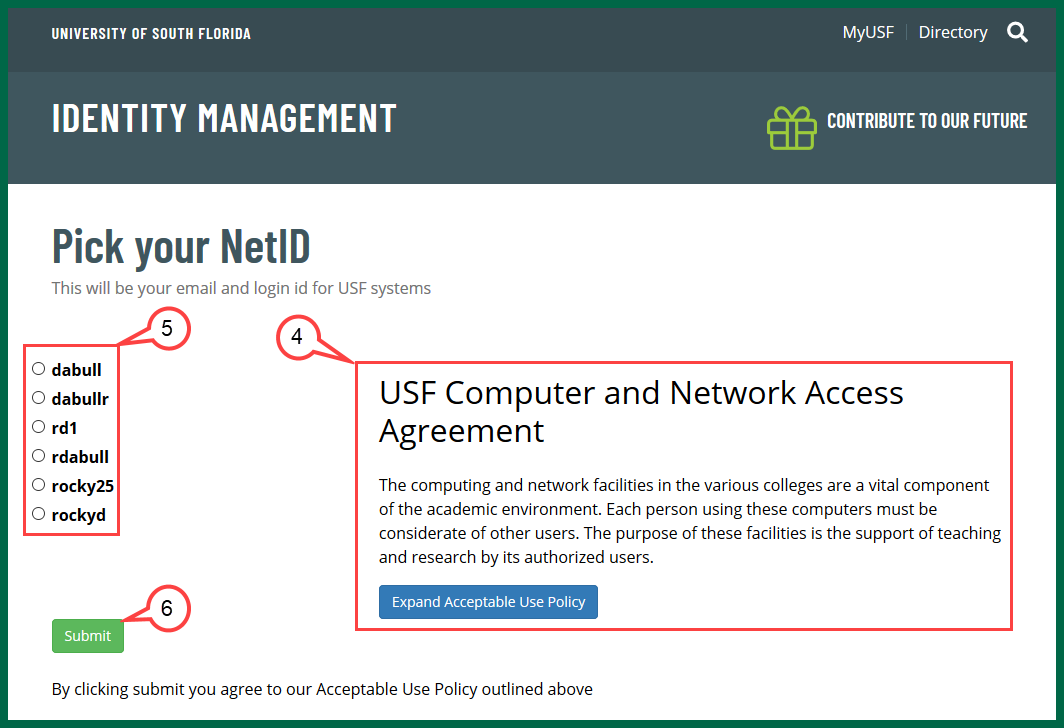
- Read the "USF Computer and Networking Access Agreement".
- Select a NetID from the six options provided.
- Click Submit.
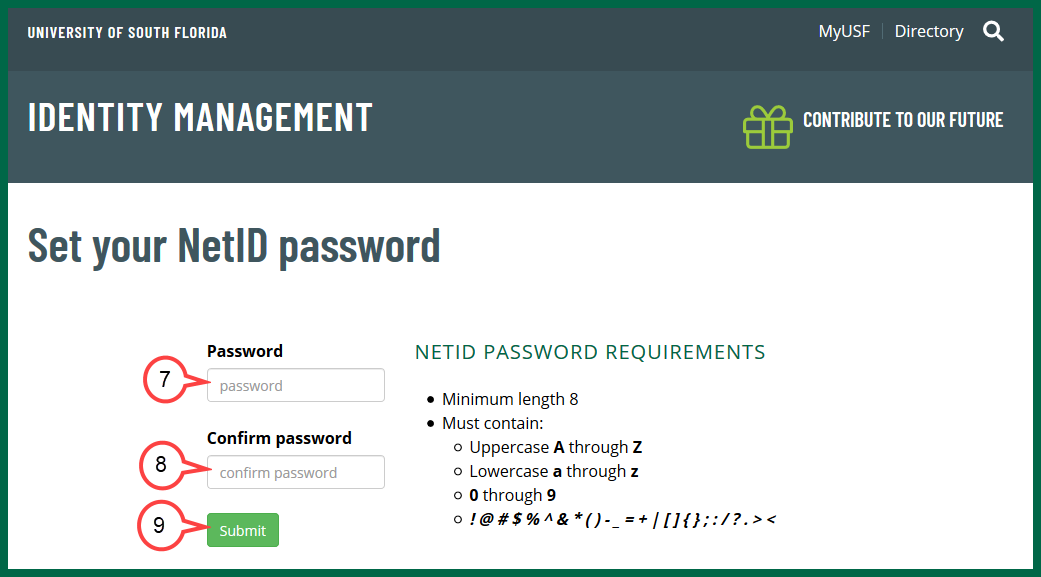
- Create a password for the selected NetID based on the provided password requirements.
- Re-enter the password to confirm.
- Click Submit.
A confirmation of your NetID, and U-number will be provided. It may take up to one hour for the activation to be completed.