NetID and USF Email Activation
Overview
NetID is the handle of your email address, for example, your NetID will be "rockythebull" if your email address is rockythebull@usf.edu. NetID and USF Email Activation is a process that allows you to choose and create your NetID and Email at USF.
Once you have chosen and created your NetID and email, they will be associated with your identity forever. However, access to USF Digital Assets is dependent on your active affiliation(s) with the university (i.e. student and/or employee).
Activating Your USF NetID/Email Using the Emailed Activation Link
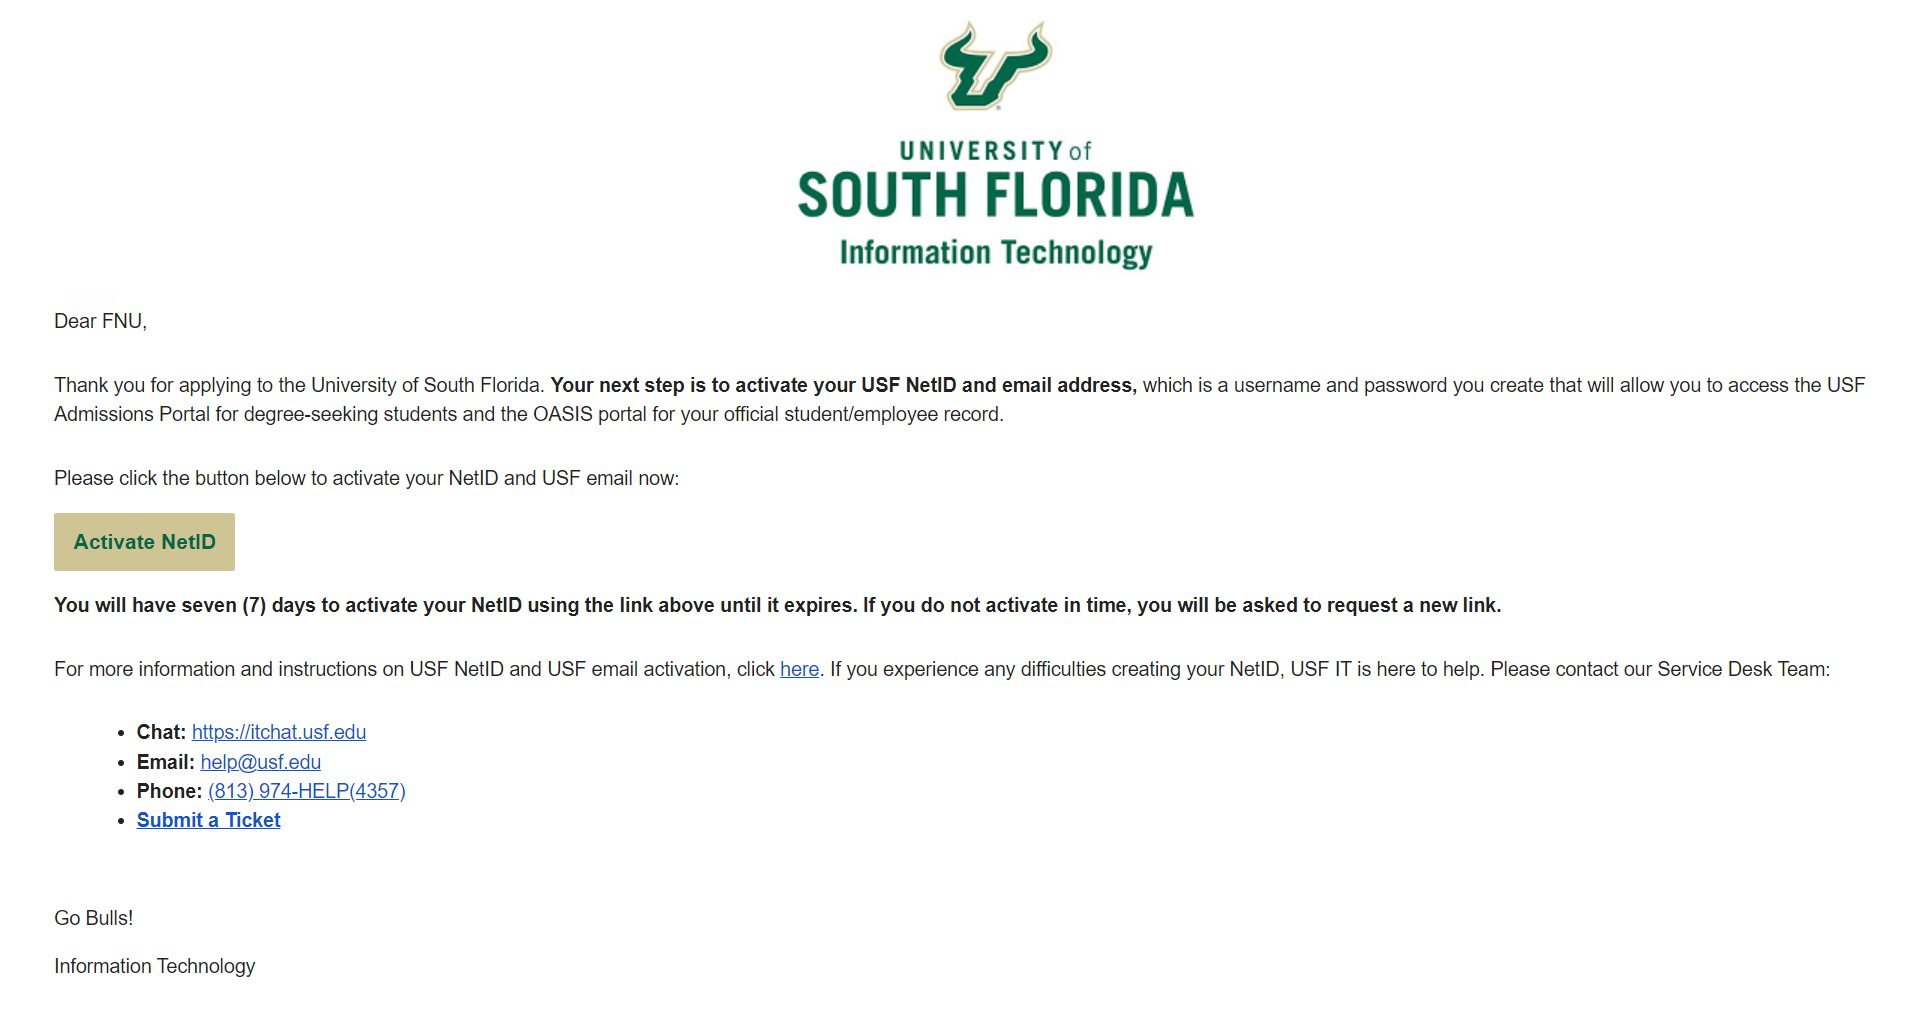
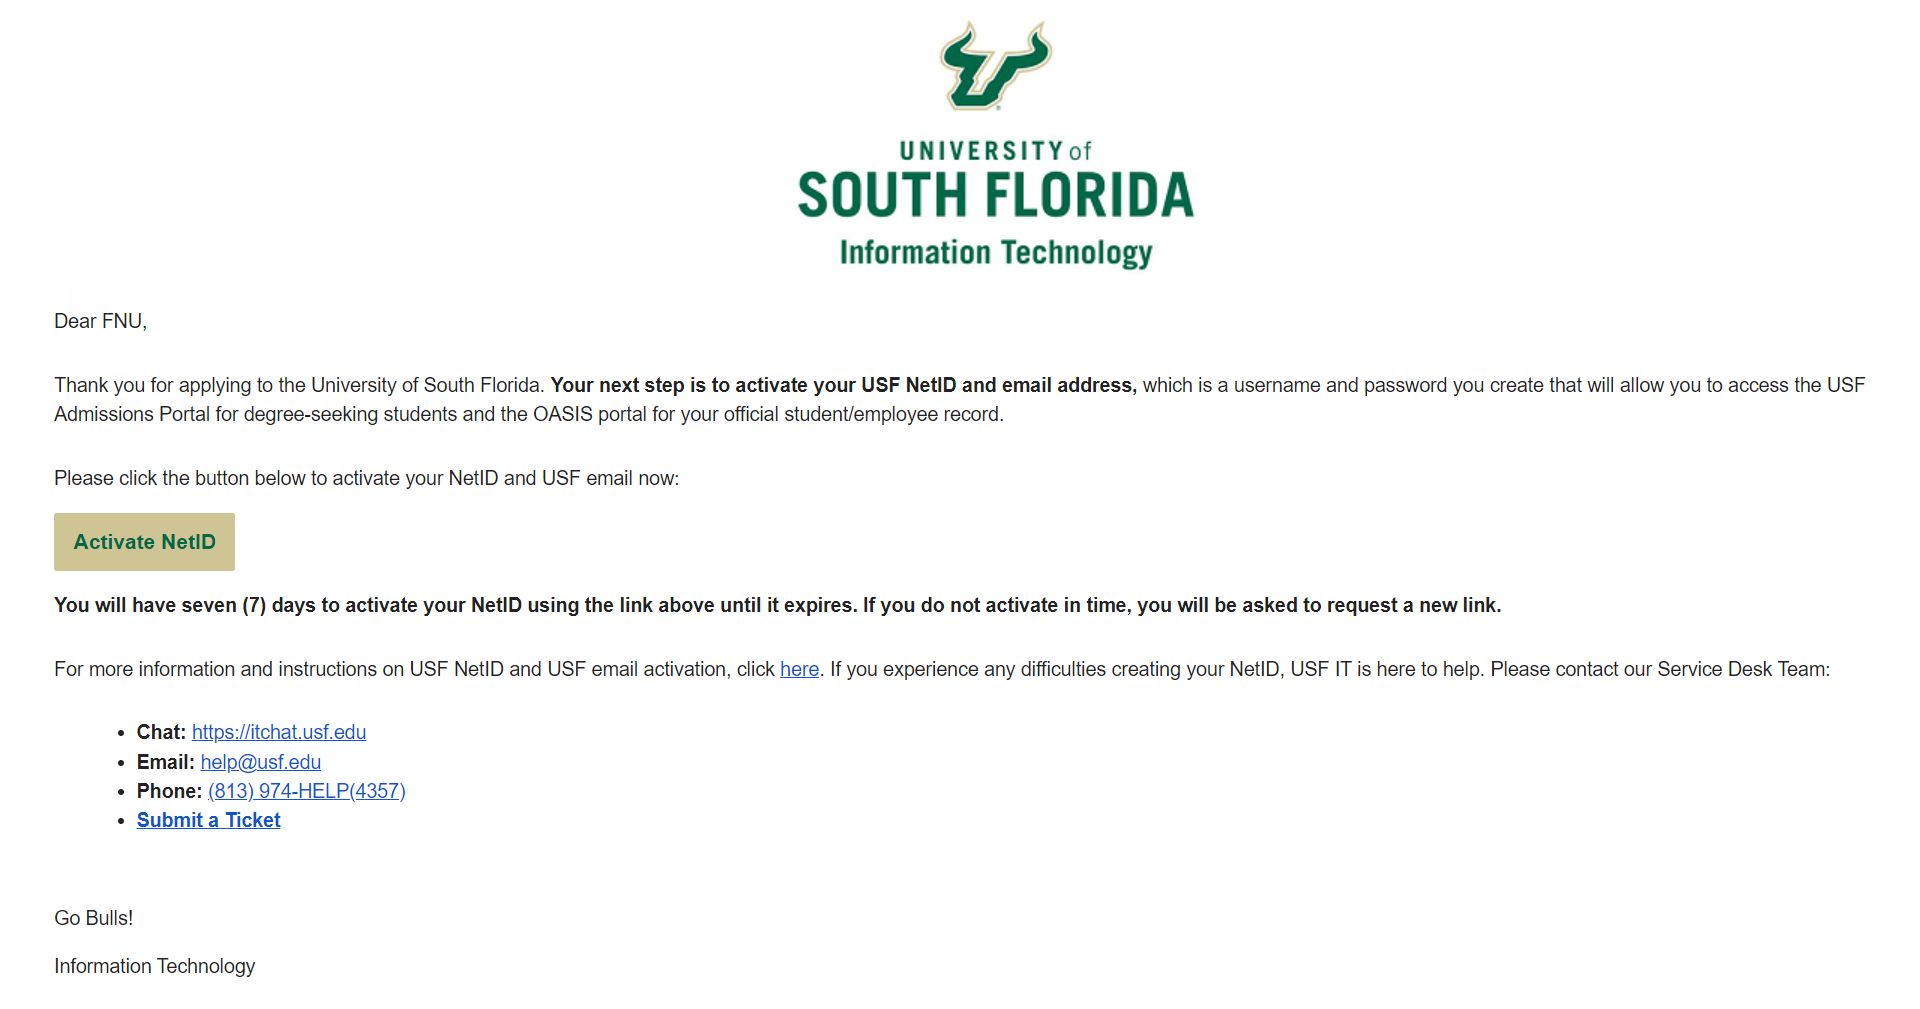
If you are a new applicant and you have not had a USF NetID/Email, you will receive an email for USF NetID and email activation.
The email subject line will have Activate your USF NetID and email address now from no-reply-USFIT@usf.edu.
An email will be sent similar to the one shown below:
Select the Activate NetID button in your email to start your NetID activation process.
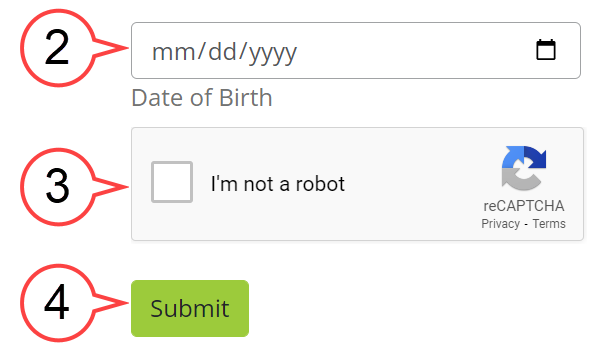
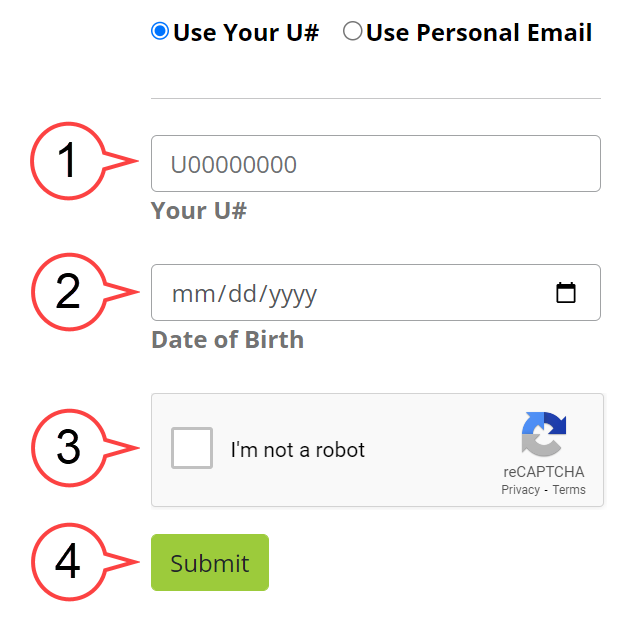
Enter your Date of Birth. (see image below)
Check the Captcha box. (see image below)
Submit. (see image below)
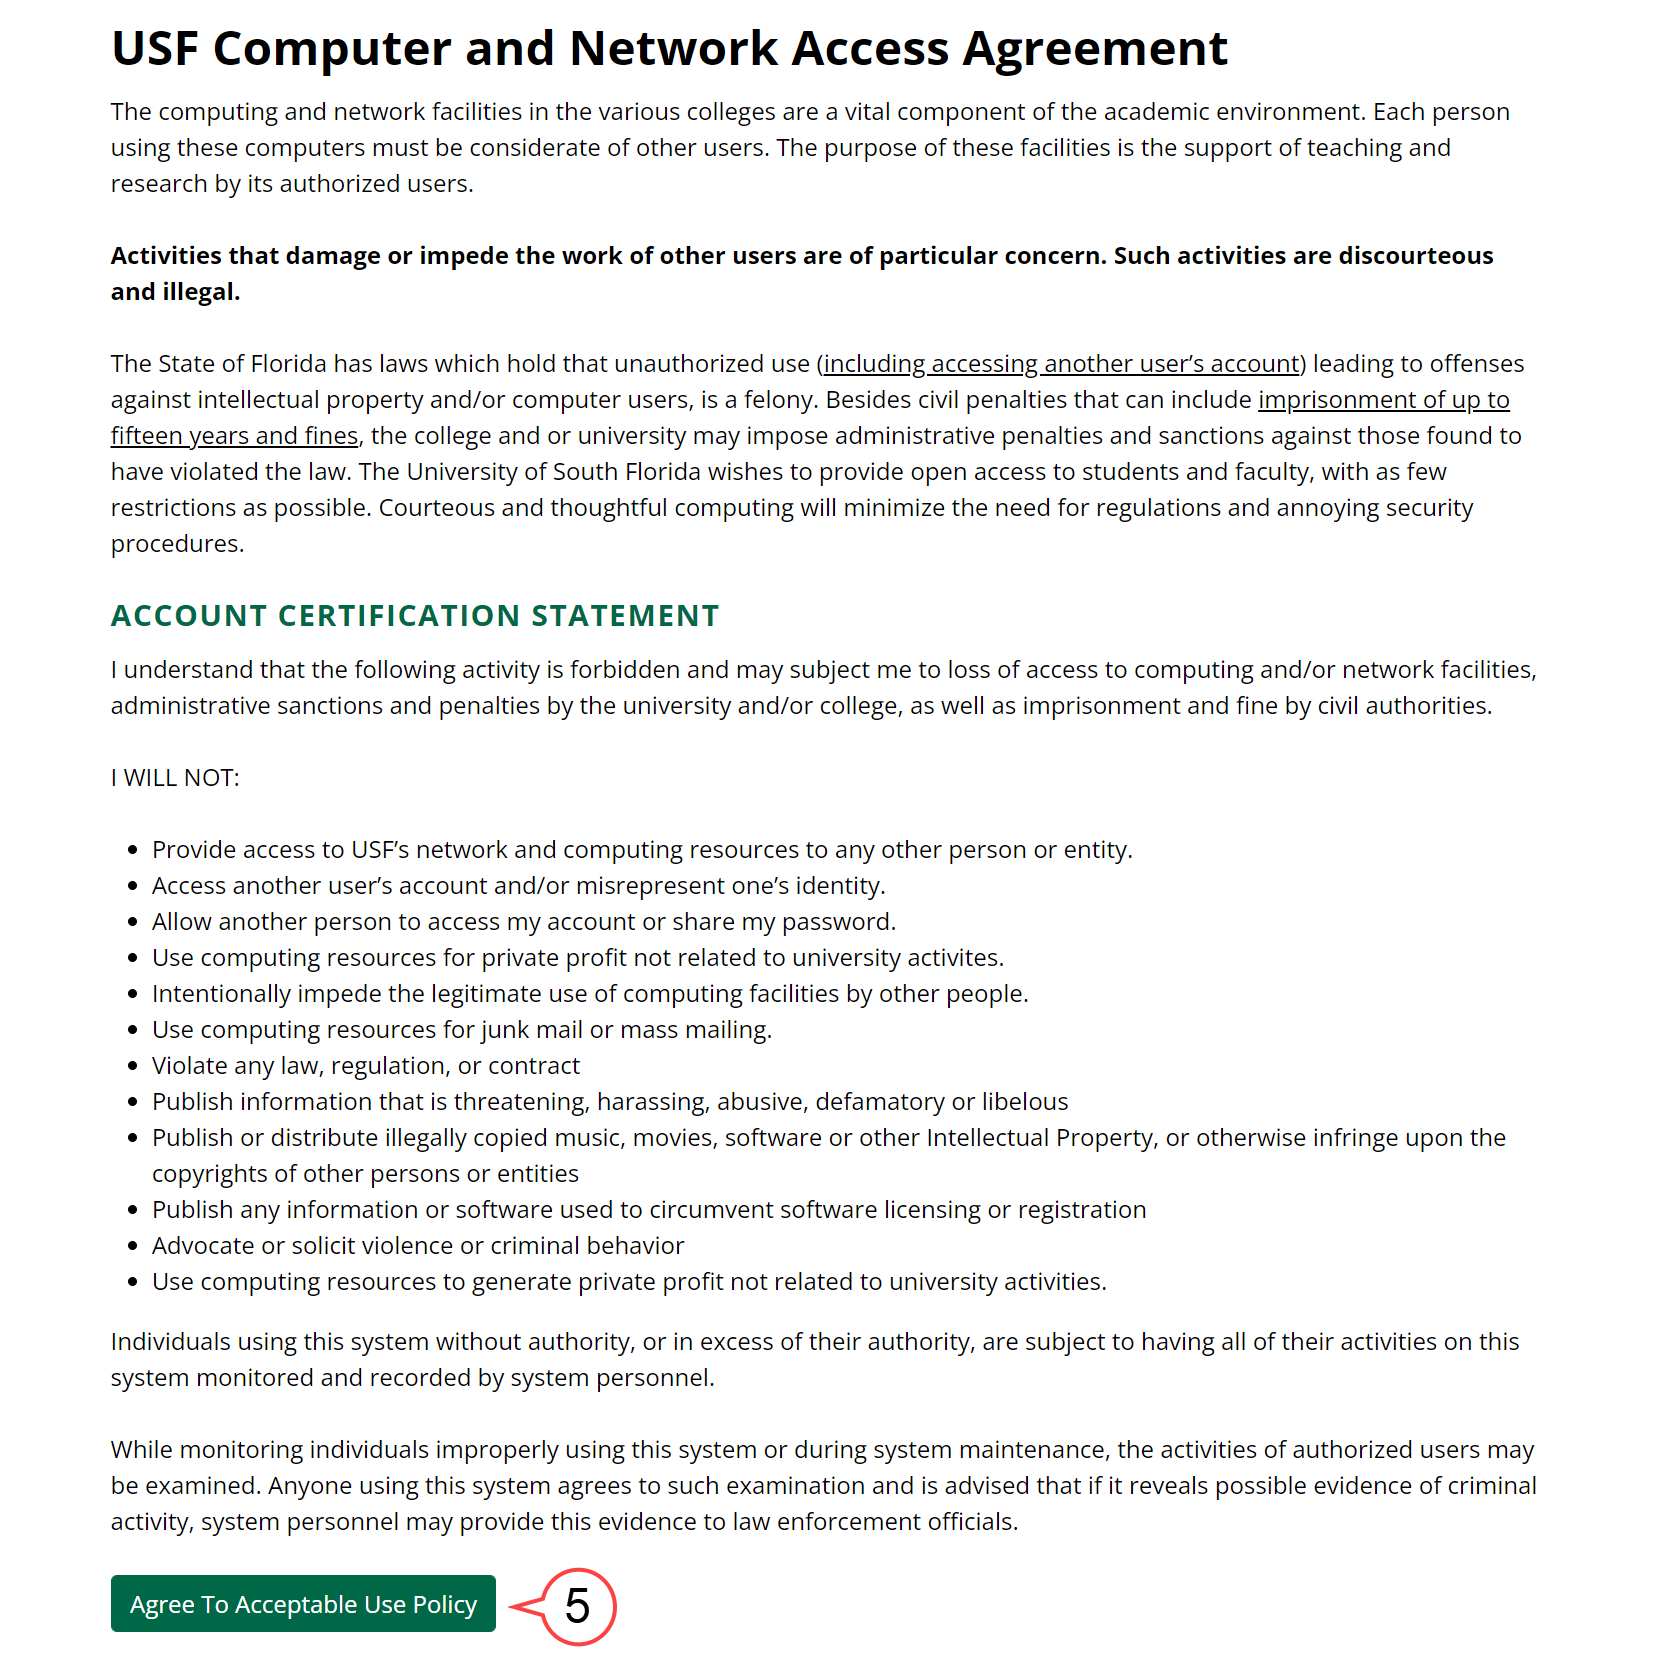
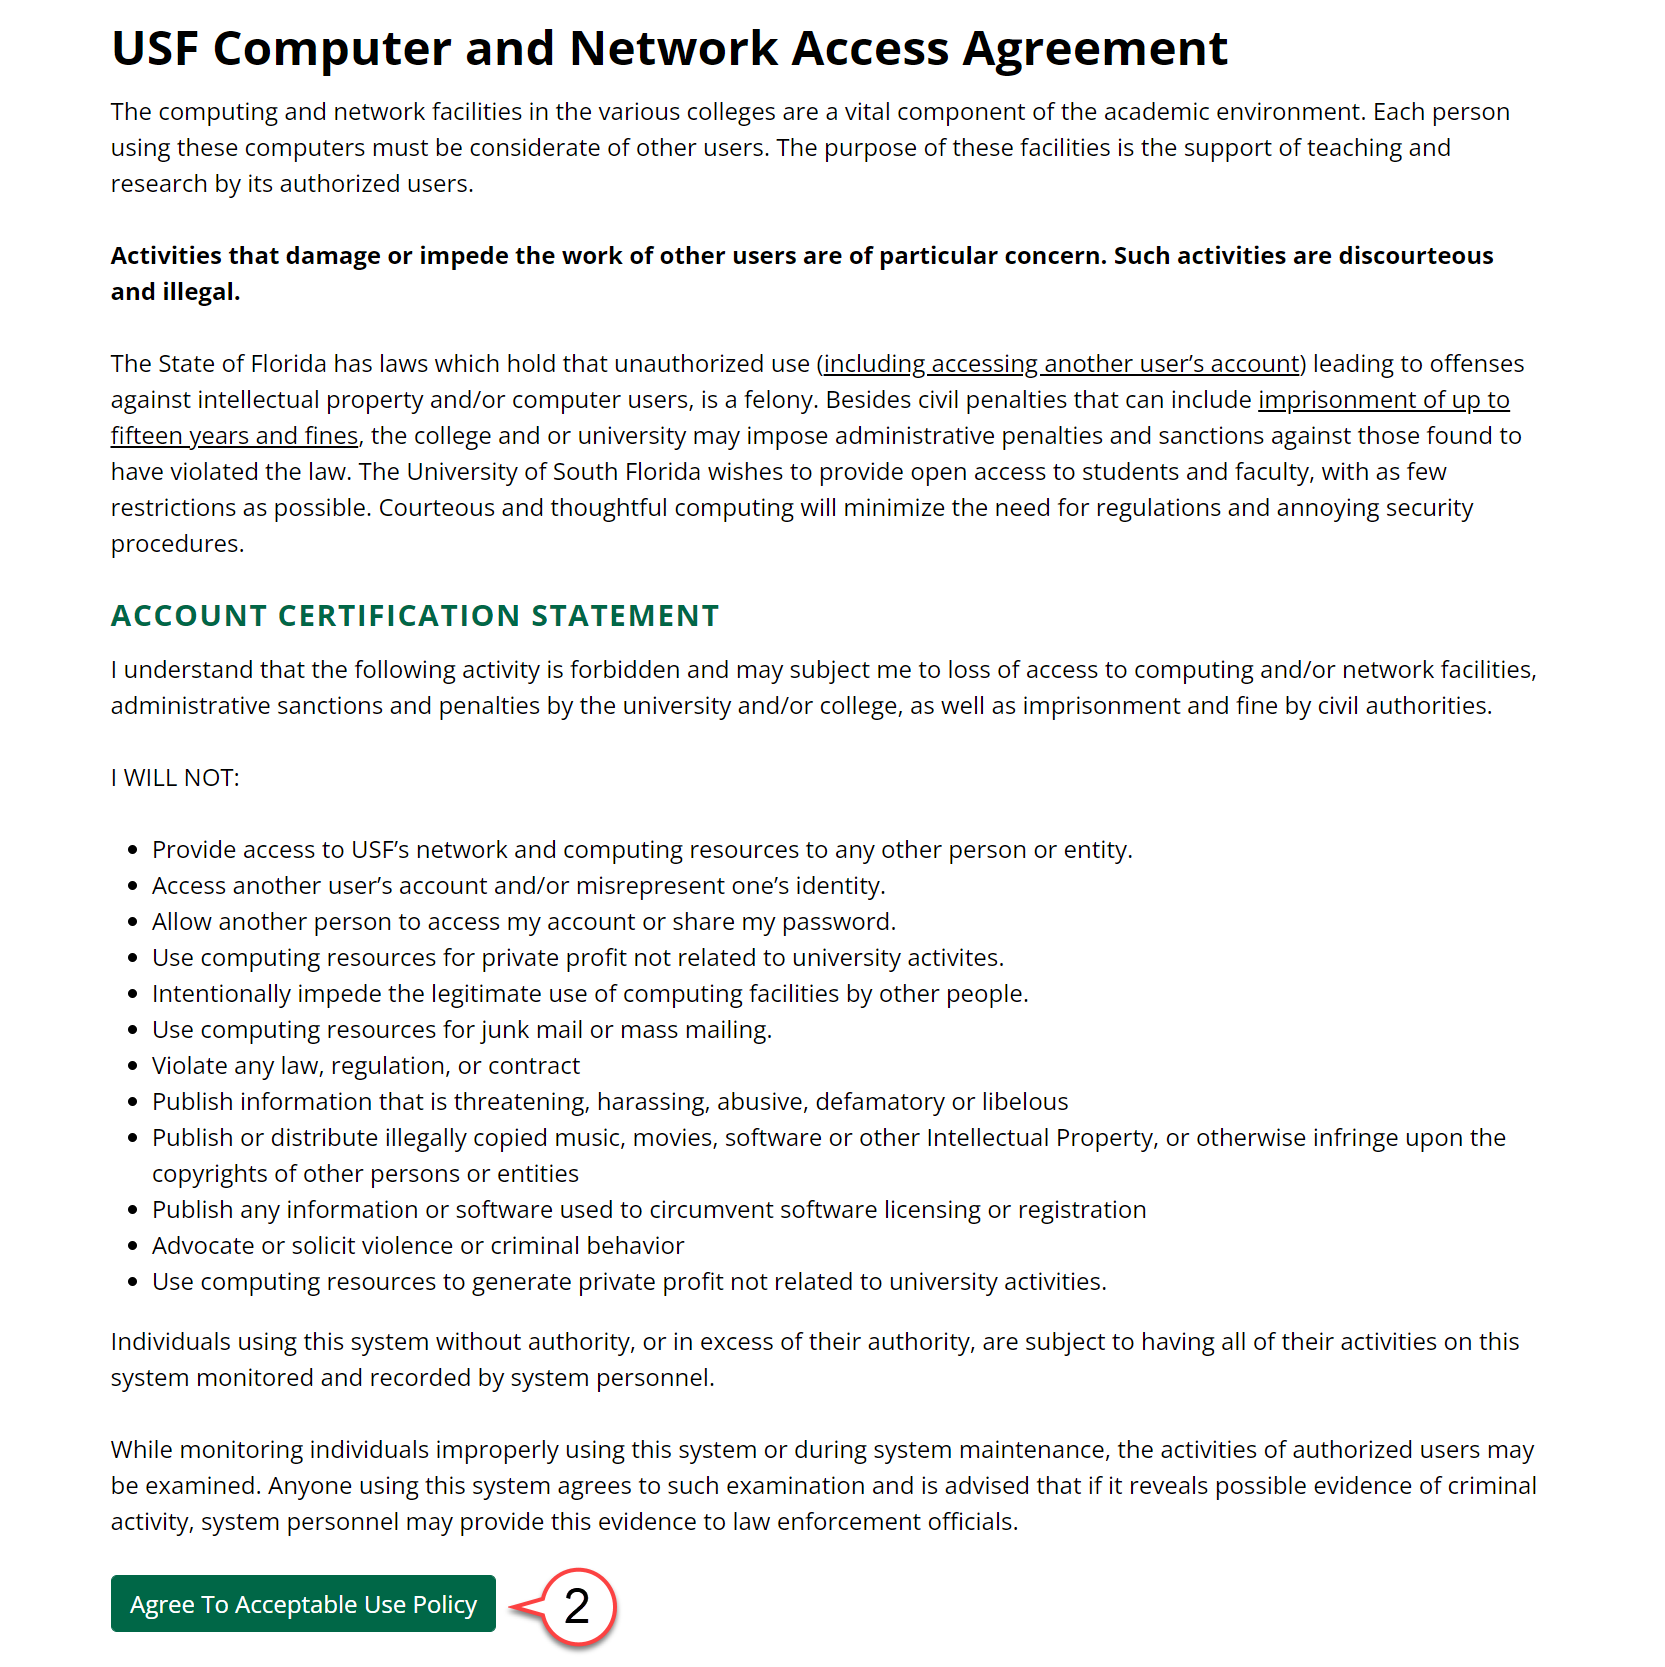
- Read the "USF Computer and Network Access Agreement" and select the Agree To Acceptable Use Policy button. (see image below)
Choose your NetID username from the list and then Submit.
Review your NetID and USF Email and then Submit. (see image below)
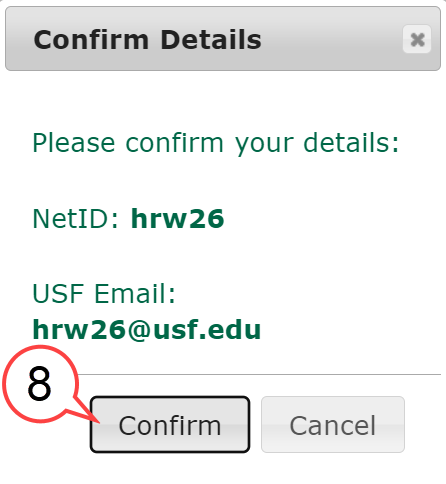
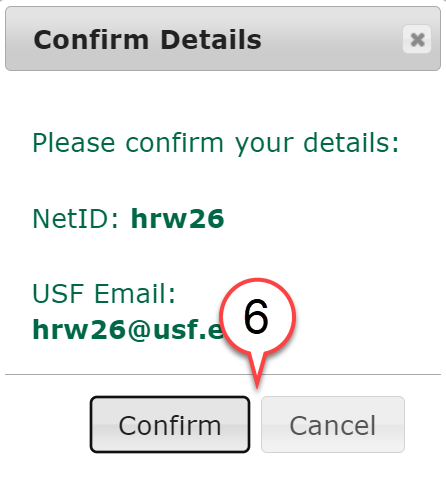
Confirm your selection. (see image below)
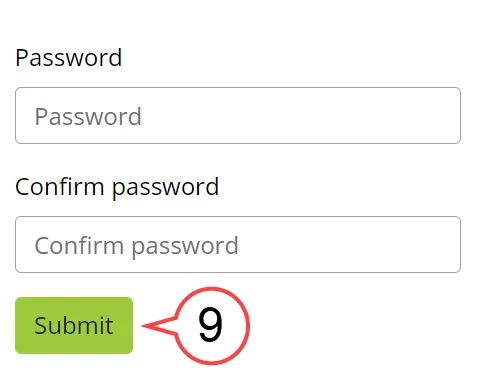
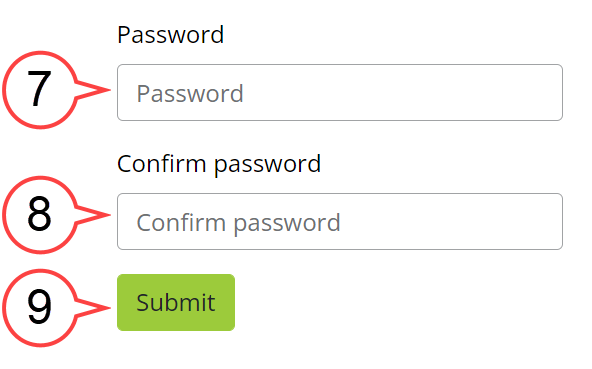
Set your Password, Confirm password, and Submit. (see image below)
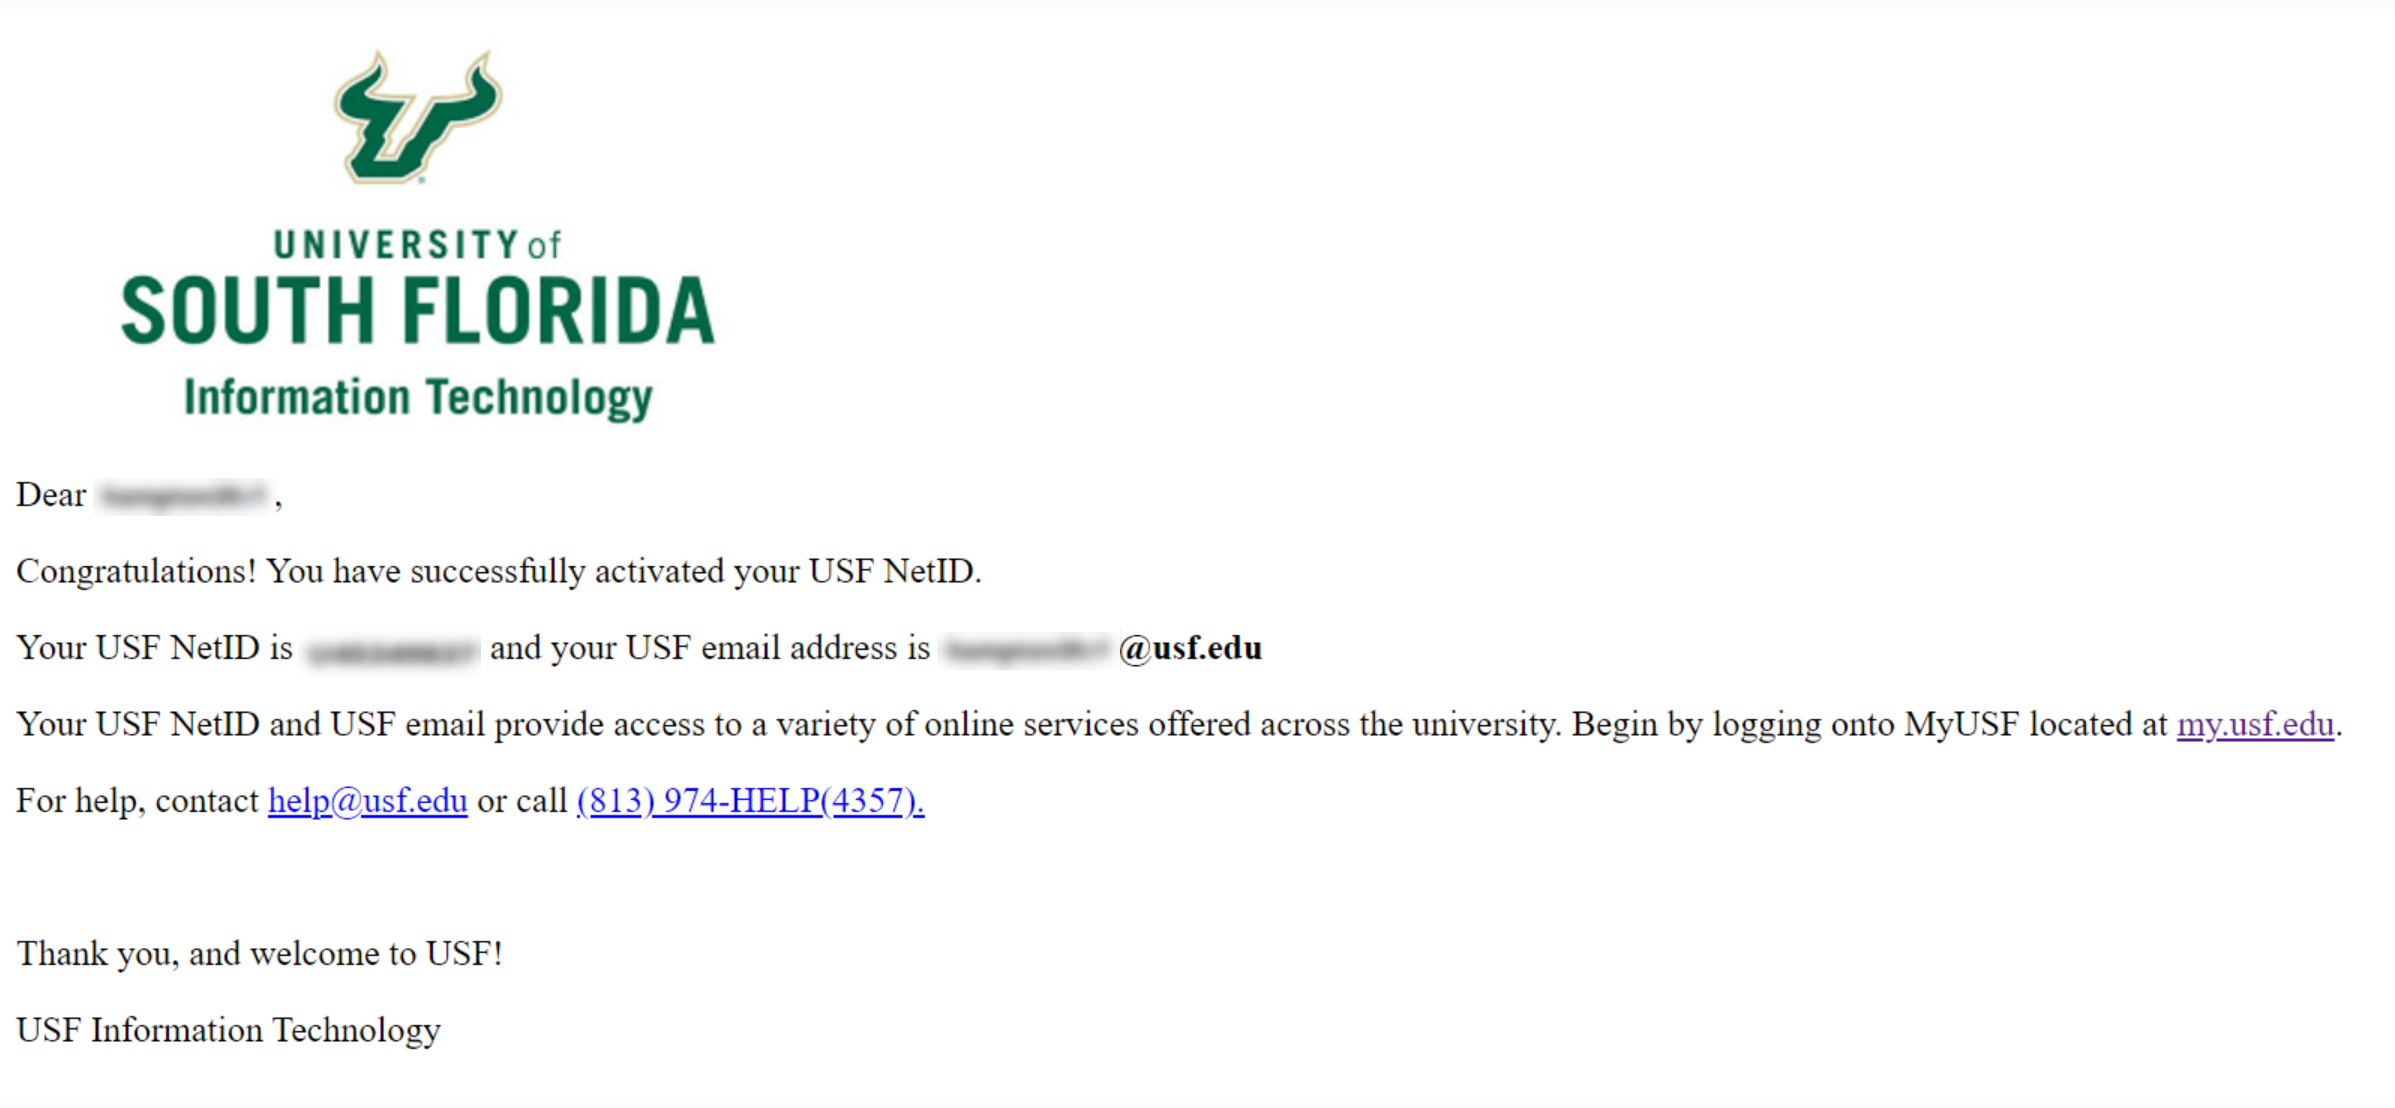
Once your NetID is activated, you will see this page:
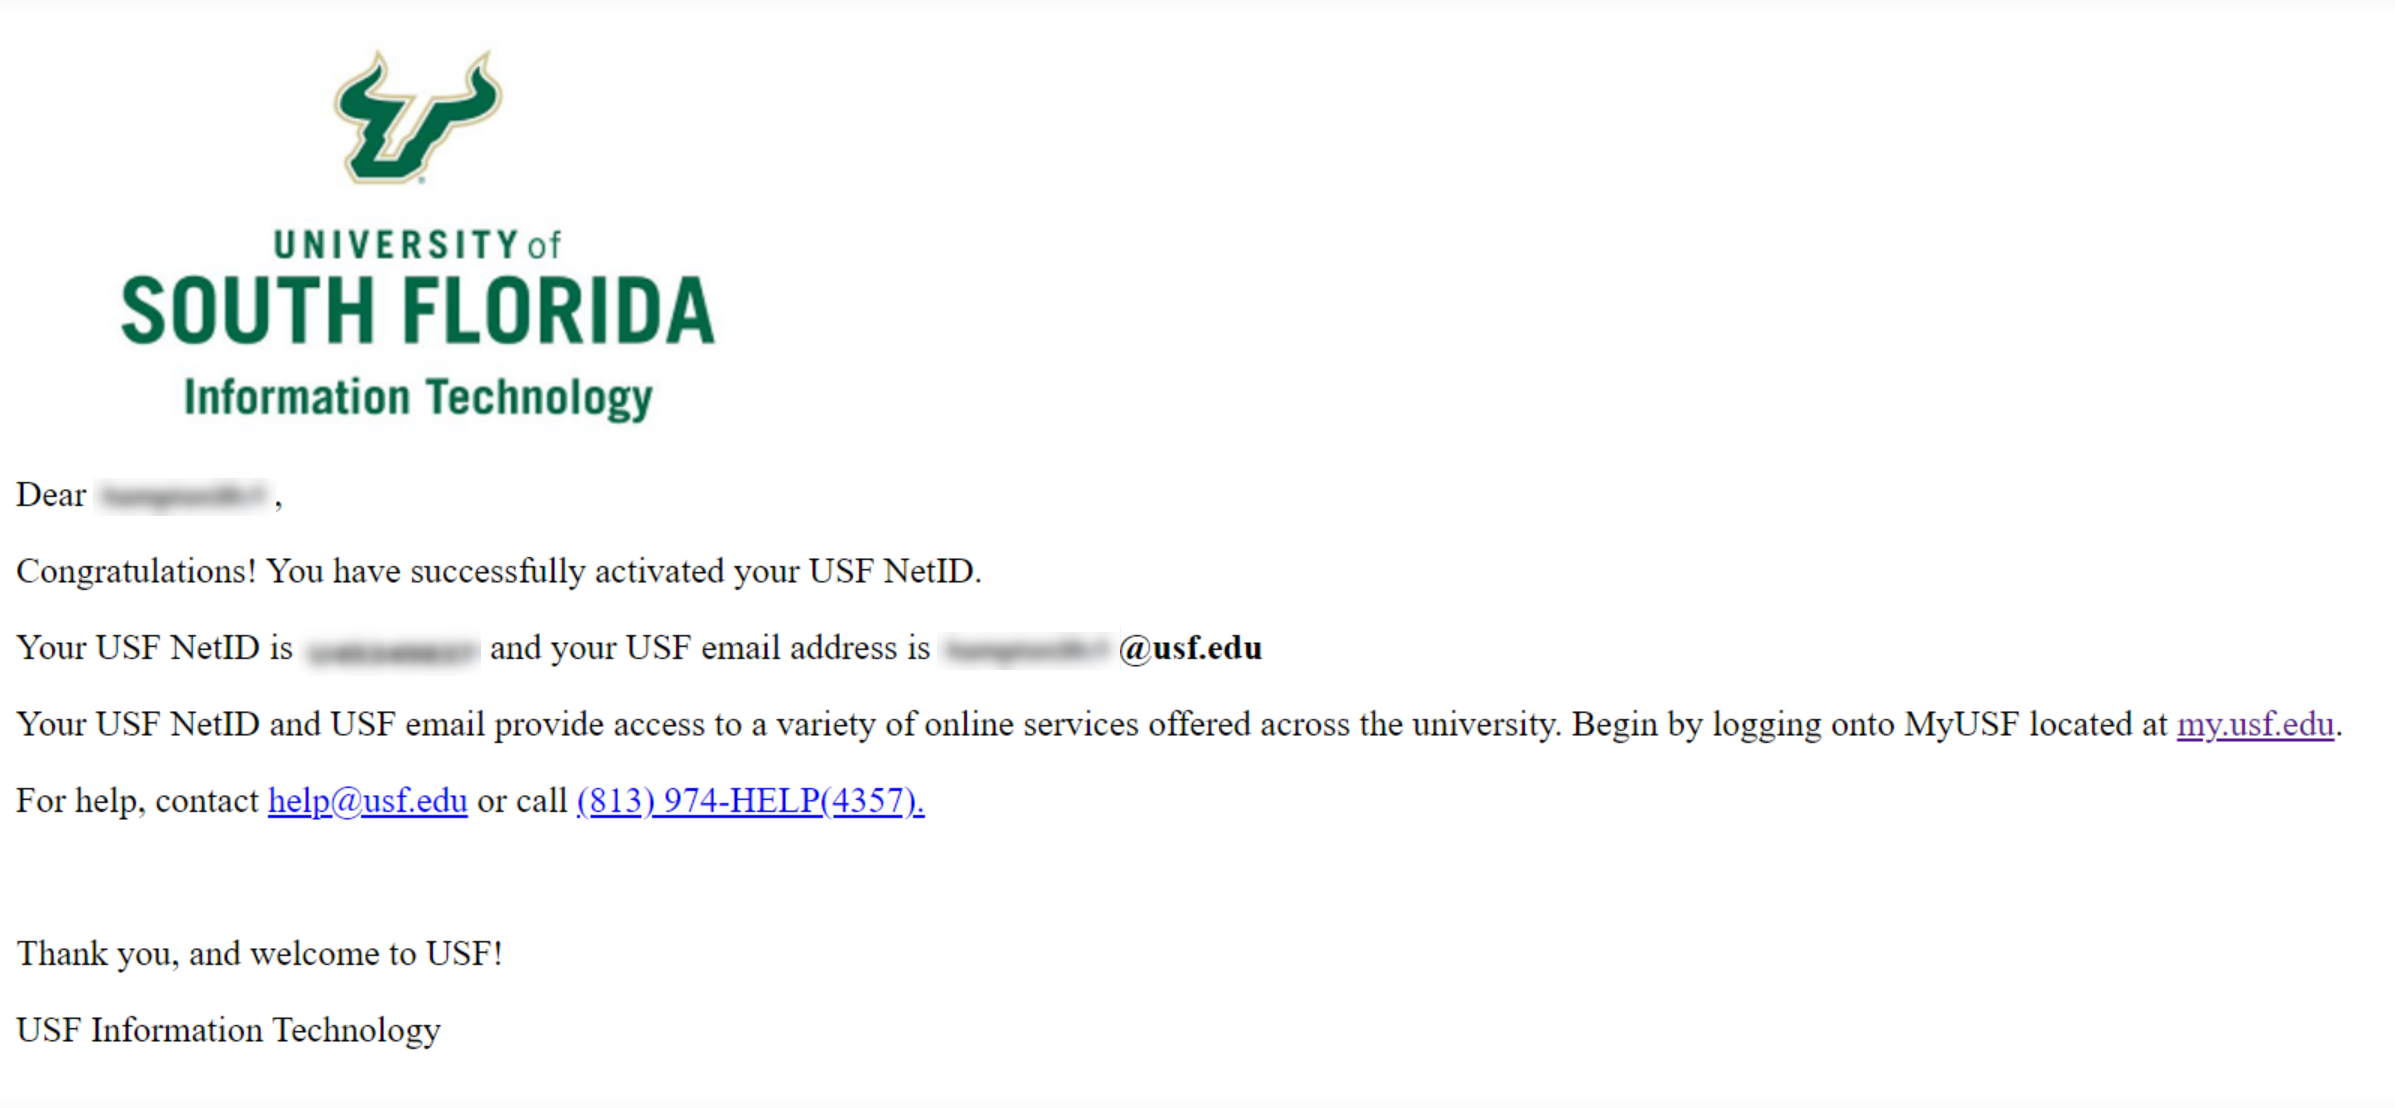
- You will receive a confirmation email. (see image below)
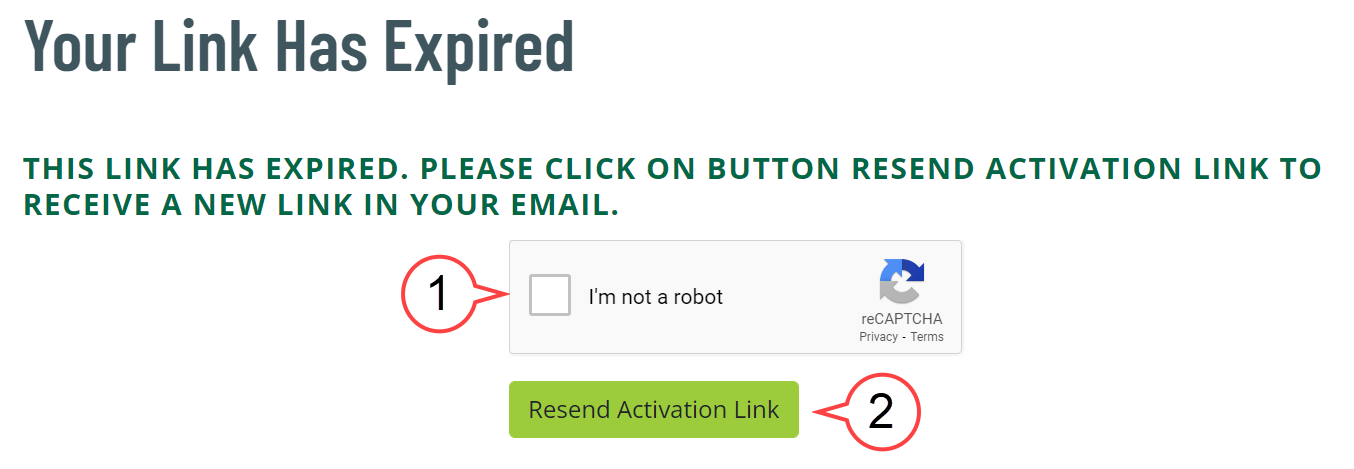
Request a New Link
- Check the Captcha box. (see image below)
Select Resend Activation Link to request a new link. (see image below)
A new link, similar to the one below, will be resent to your email:
Activating Your NetID From the Website
1. Go to URL https://netid.usf.edu/activate to start your NetID and USF email activation.
a. Option 1: Use Your U# option to start the process.
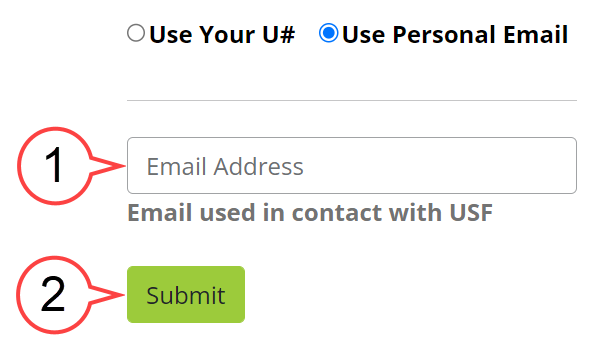
b. Option 2: Use Personal Email option to start the process.
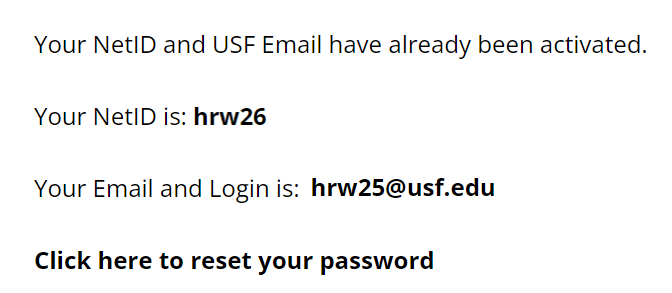
NetID Already Exists
2. Read the "USF Computer and Network Access Agreement" and select the Agree To Acceptable Use Policy button. (see image below)
3. Choose a NetID username from the list. (see image below)
4. The NetID and USF Email will be shown on the page upon the selection. (see image below)
5. Submit. (see image below)
6. Choose Confirm to confirm the NetID selection OR Cancel to return to the NetID selection page to change your NetID. (see image below)
7. Create your NetID password based on the provided password requirements. (see image below)
8. Re-enter the password to confirm. (see image below)
9. Submit. (see image below)
10. You will receive a confirmation email. (see image below)
