Overview
This instruction is for use in the Small Groups rooms in the new Morsani College of Medicine building in downtown Tampa. These rooms have meeting capabilities through Microsoft Teams. The Crestron panel, a small tablet device, will work together with Microsoft Teams to control the monitor, audio, and other capabilities.
Before Using the Small Groups Room for a Teams Meeting
Important Tips
![]() When scheduling a meeting in a specific room, the room itself must be included as one of the invitees.
When scheduling a meeting in a specific room, the room itself must be included as one of the invitees.
![]() Presenters must bring their own devices to the room in order to lead presentations. The monitor lacks the connectivity for laptops or other devices to project to the monitor.
Presenters must bring their own devices to the room in order to lead presentations. The monitor lacks the connectivity for laptops or other devices to project to the monitor.
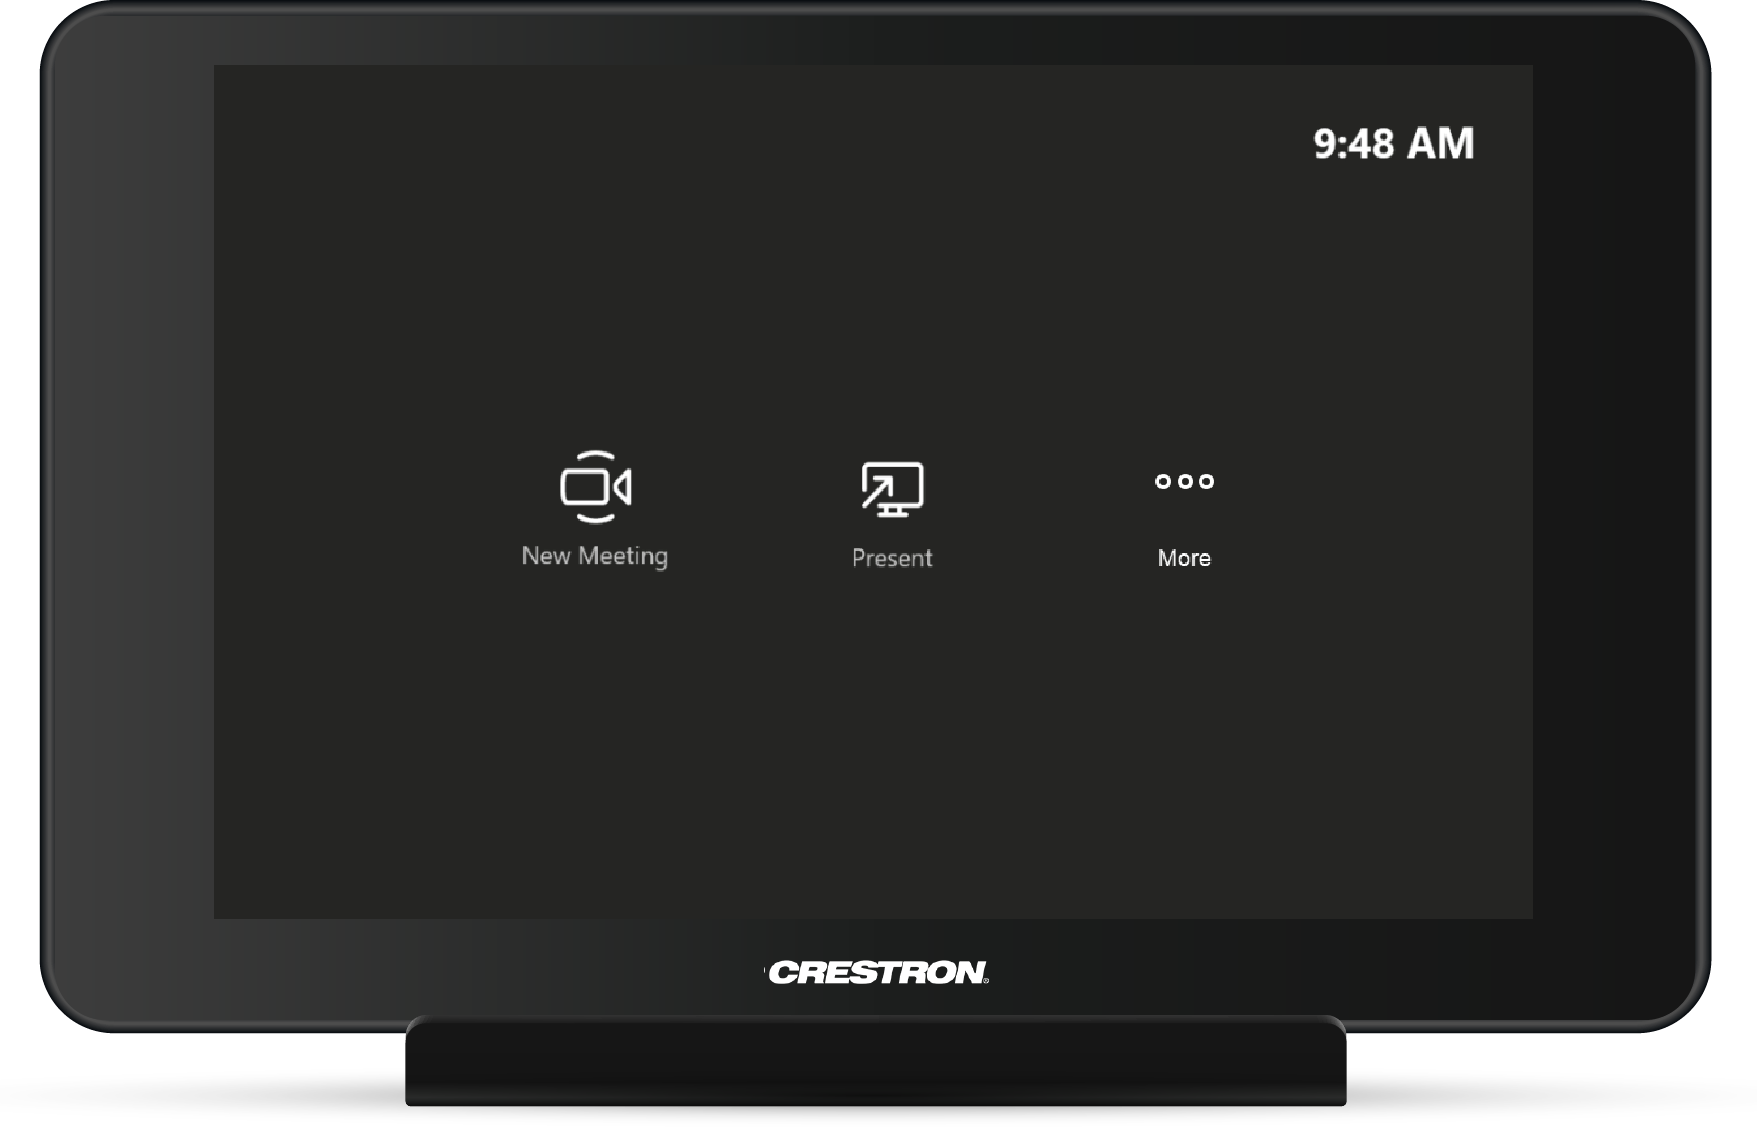
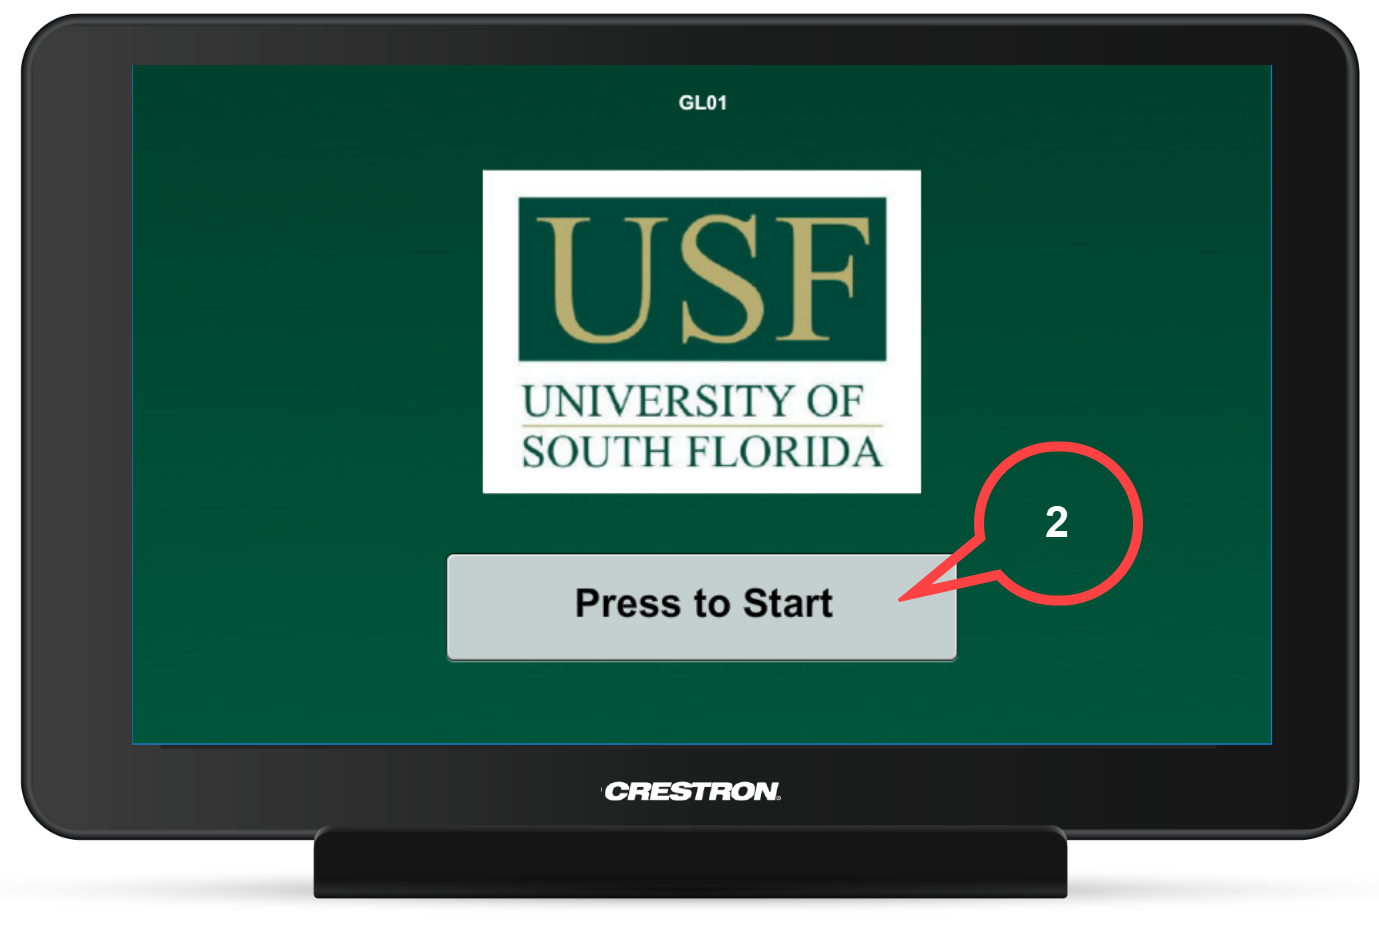
When you walk into a Small Groups room, locate the Crestron panel, which resembles a tablet on a stand:
Click image to enlarge
Joining a Meeting
A. Joining a Scheduled Meeting
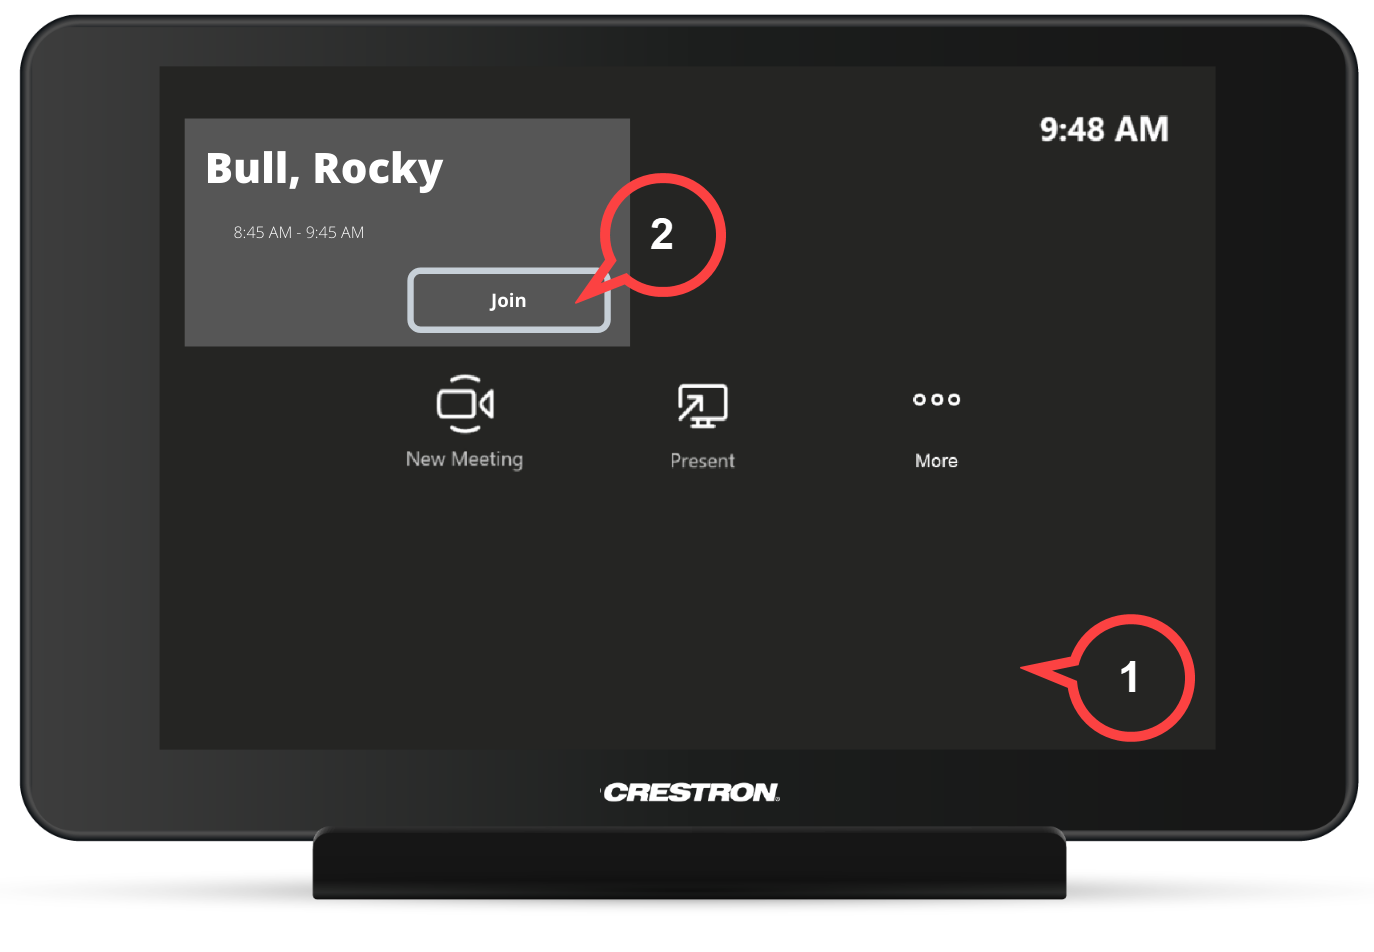
If you have already scheduled a meeting taking place in a Small Groups Room:
Click image to enlarge
1. Tap the Crestron panel.
Your scheduled meeting will appear in the top left corner.
2. Tap Join.
The meeting attendees who have joined the meeting will be displayed.
If you are presenting in the Small Groups room with your own device, please mute the audio on your device. Otherwise, feedback may occur.
3. Click ![]() to leave the meeting.
to leave the meeting.
B. Joining an Ad-Hoc Meeting
Once remote participants have initiated a meeting, you will see this display on the panel:

- Tap Join to enter the meeting with your remote participants.
Creating an Ad-Hoc Meeting (New Meeting)
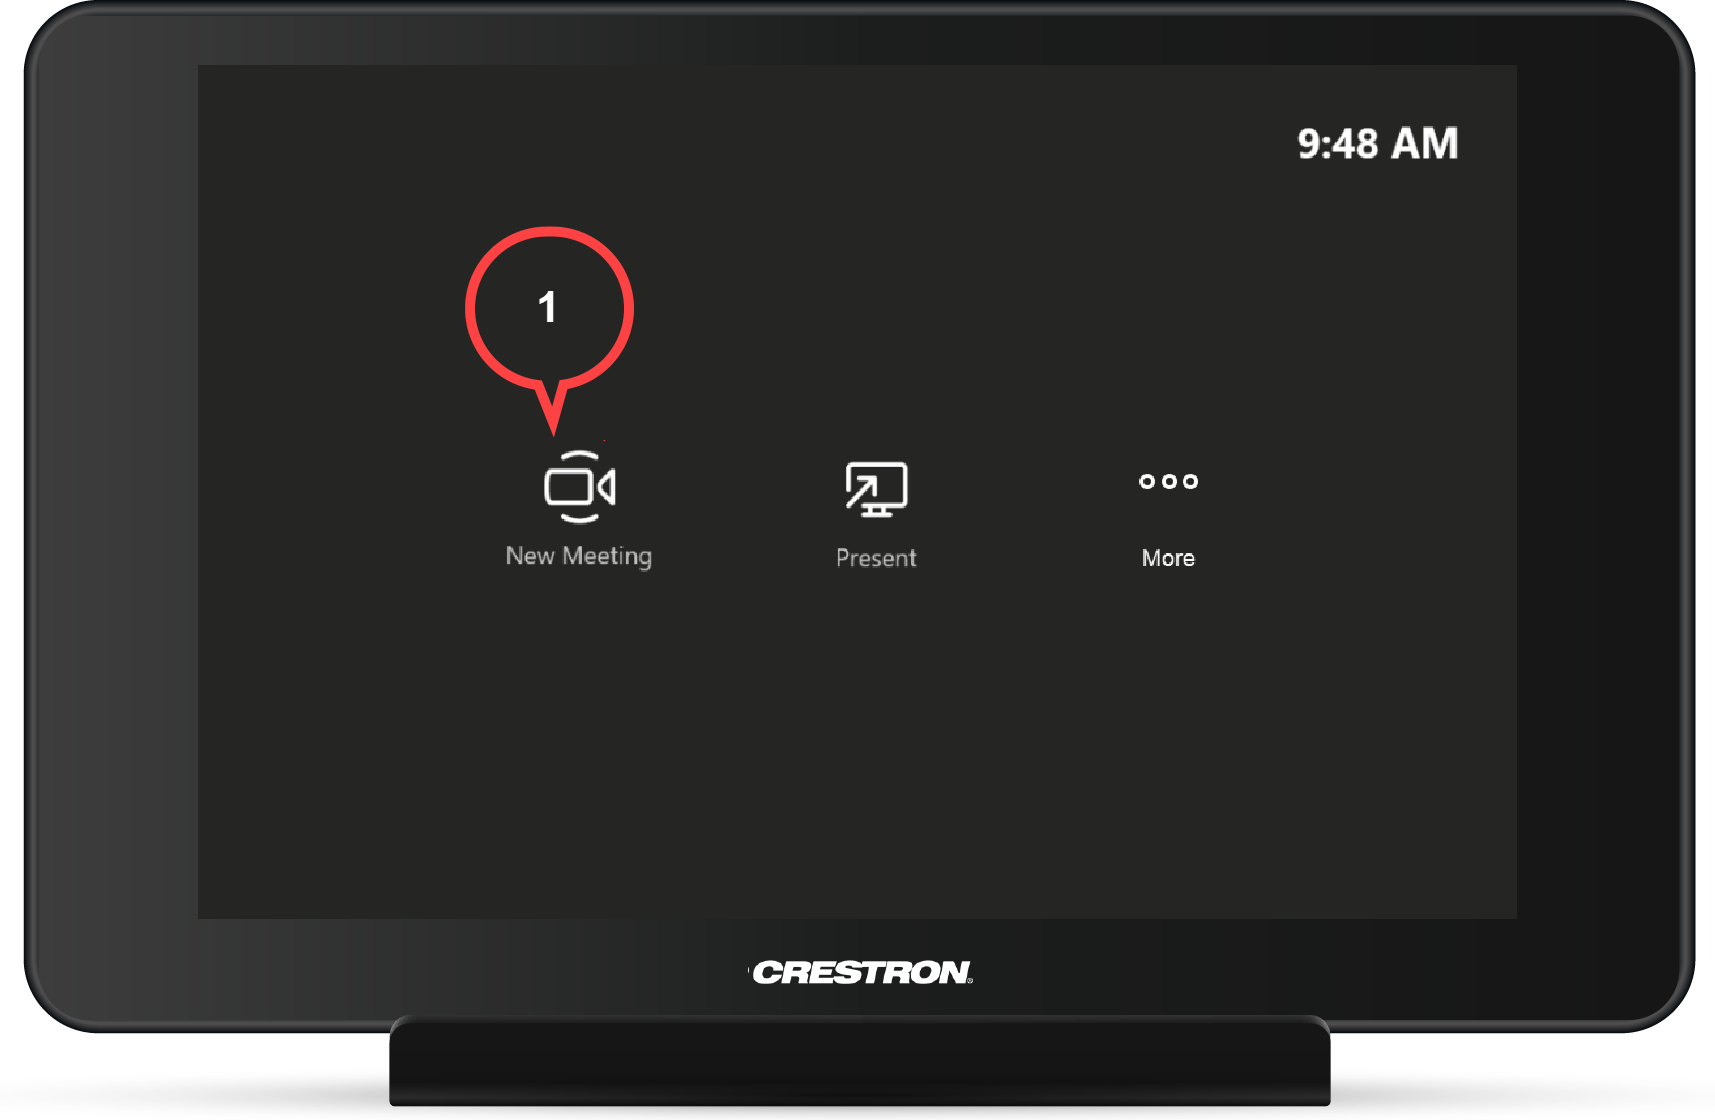
To schedule an ad-hoc meeting with the panel:
1. Tap New Meeting.
Click image to enlarge
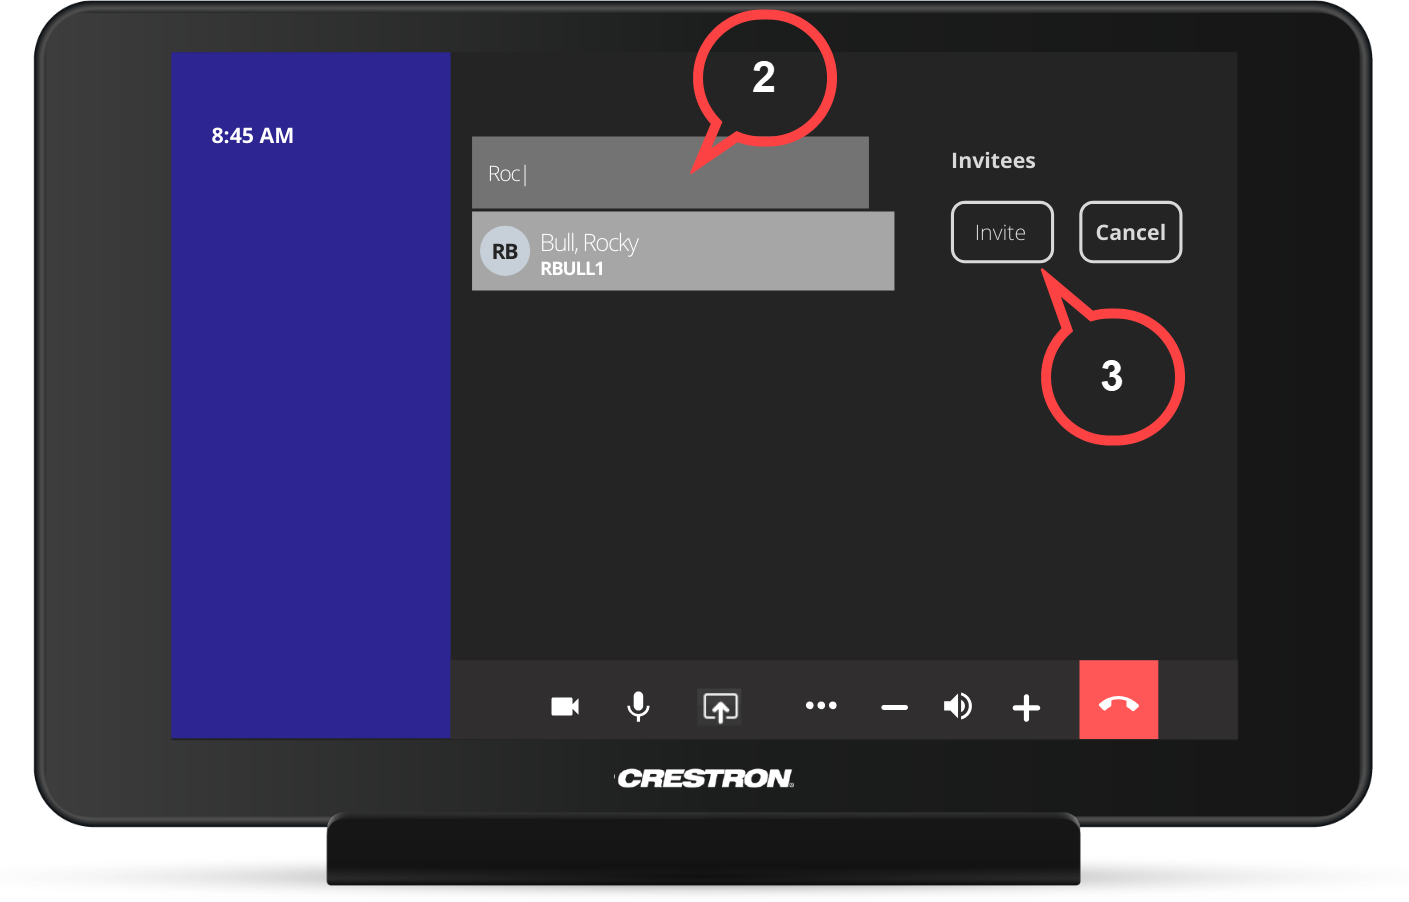
2. Tap Add Participants
An invitation screen will appear.
Click image to enlarge
2. Begin typing the name(s) of the invitee(s)
3. Tap Invite
Invitees will be listed as Participants once they join.
4. Click ![]() to leave the meeting.
to leave the meeting.
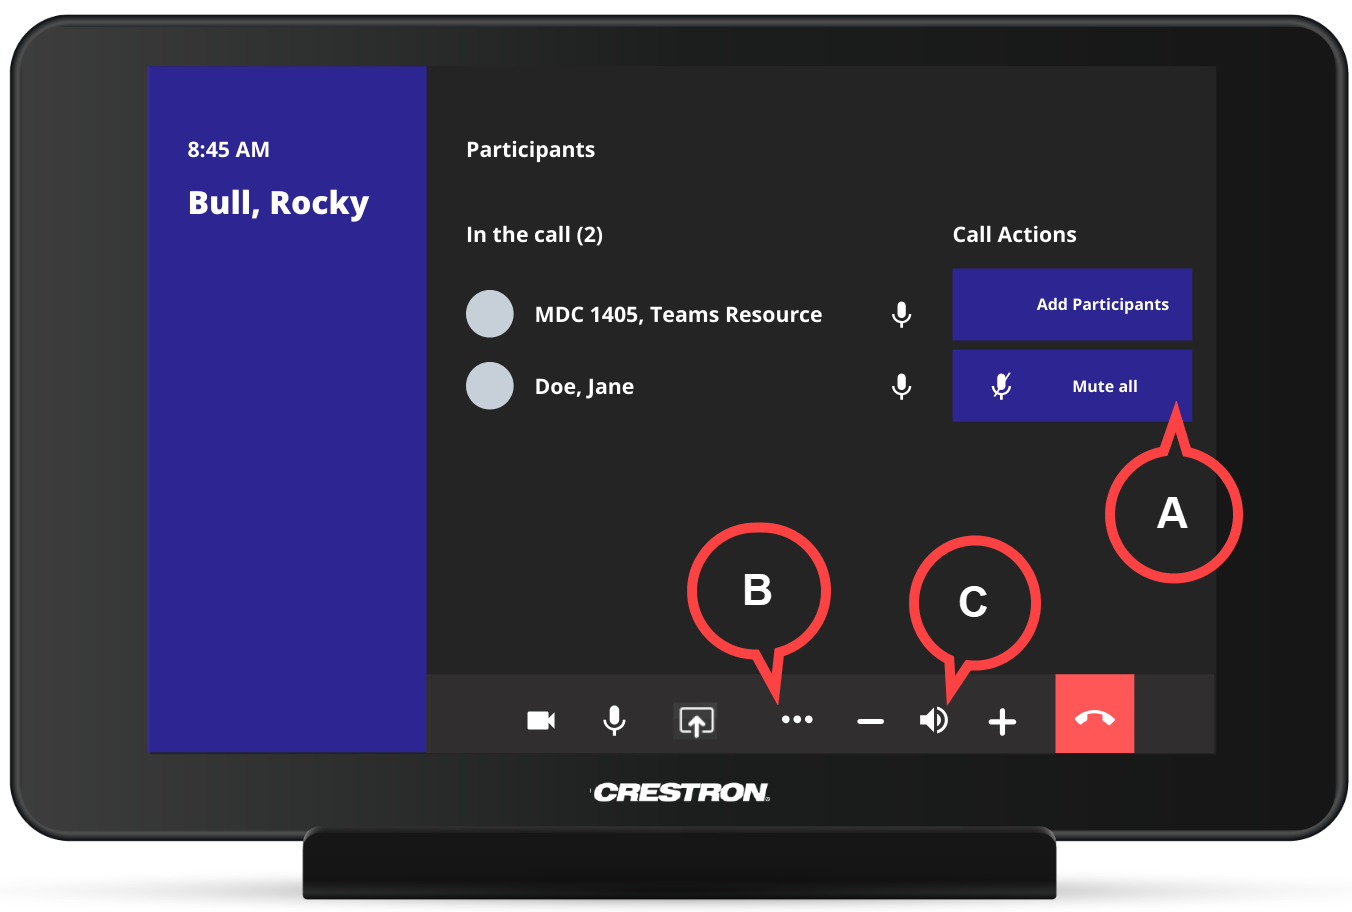
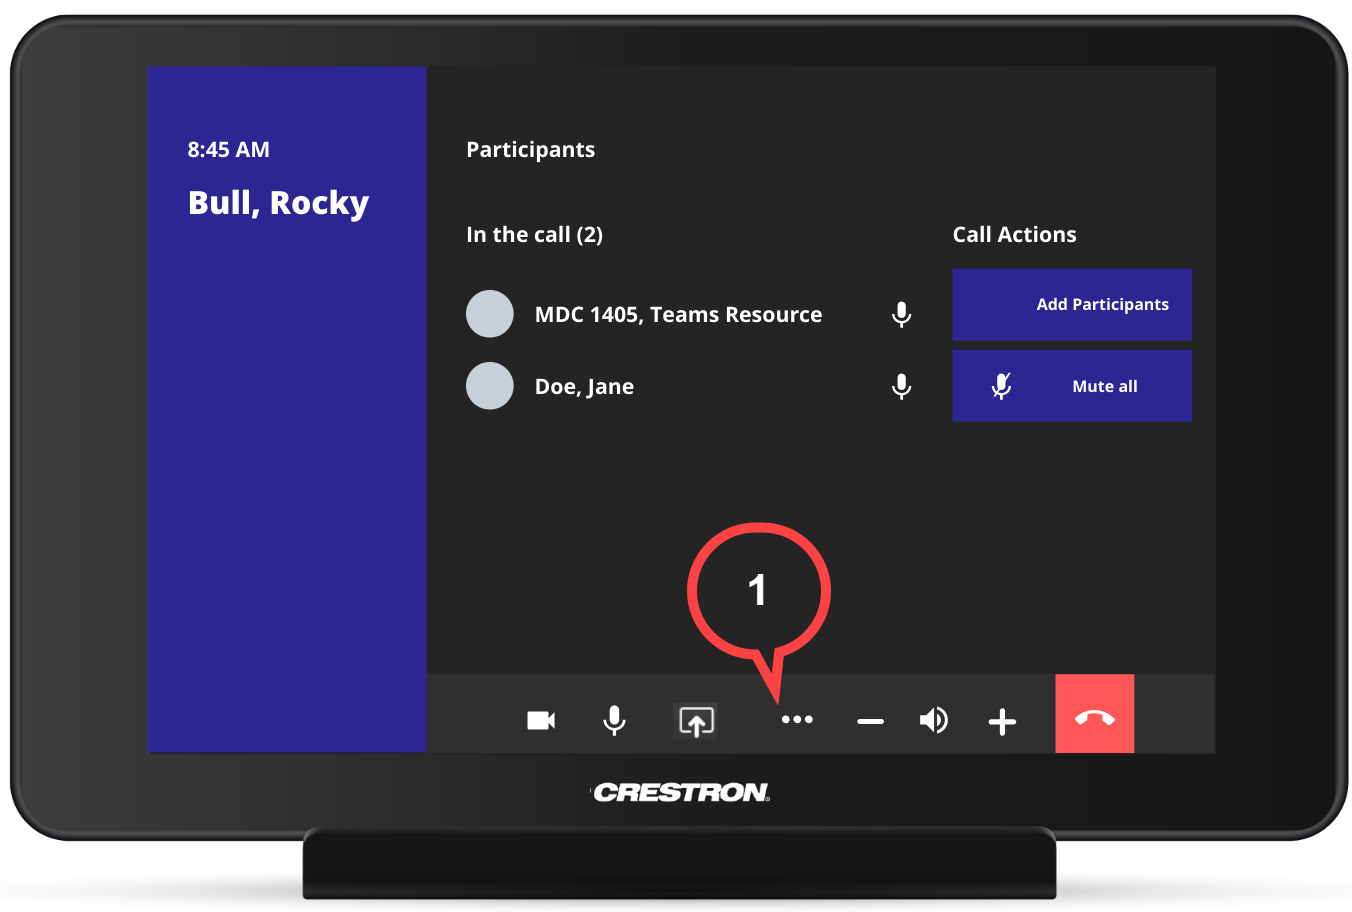
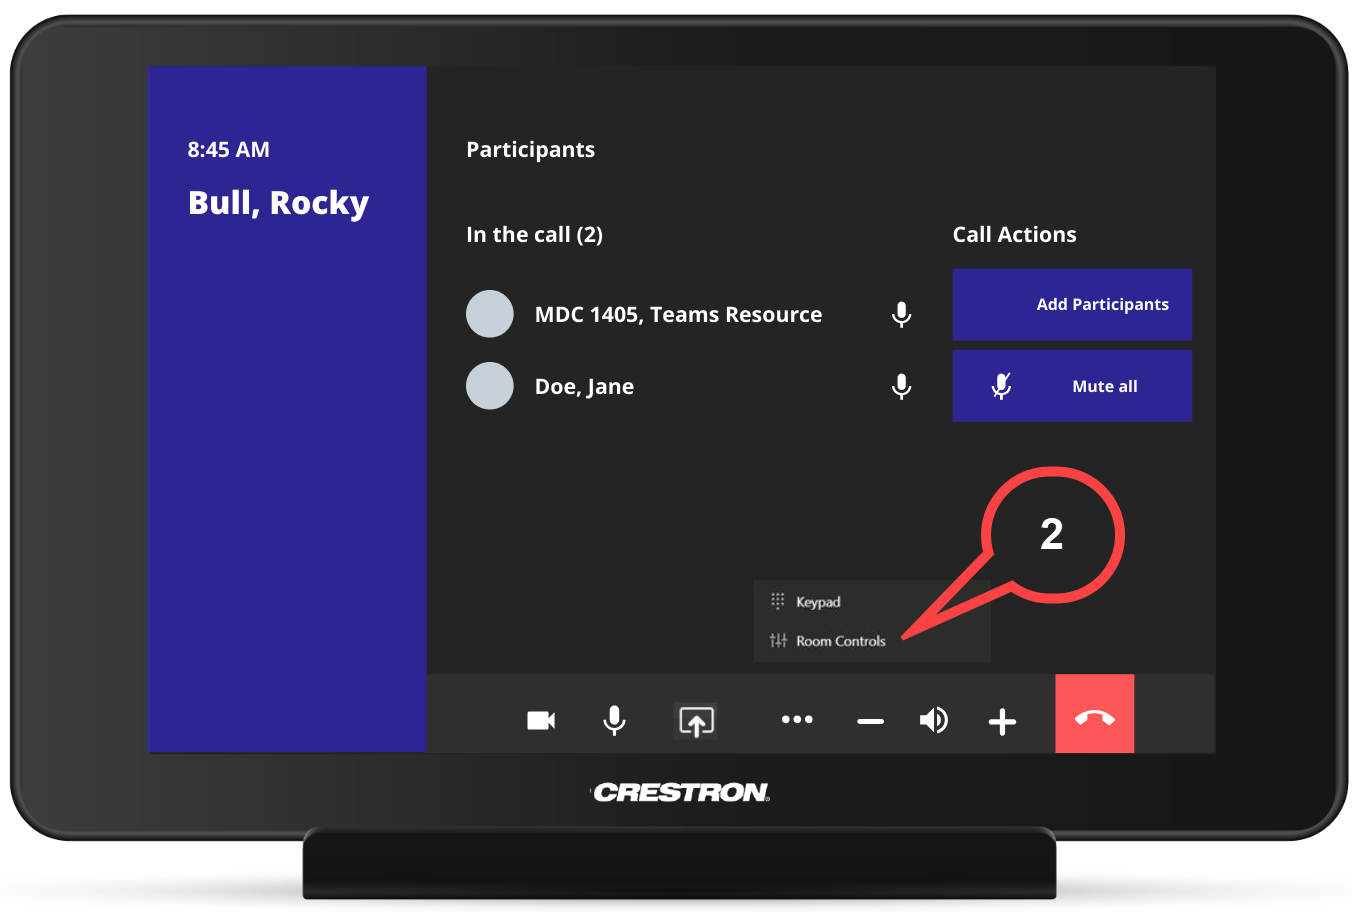
Meeting Dashboard Features
Click image to enlarge
Tap Mute All to mute remote participants.
Once Mute All is enabled, participants will need to individually unmute themselves on their own devices, as seen below:

Click image to enlarge
Help Button
From the Home screen
- Tap the Slider icon on the lower right hand side of the screen (see image below)
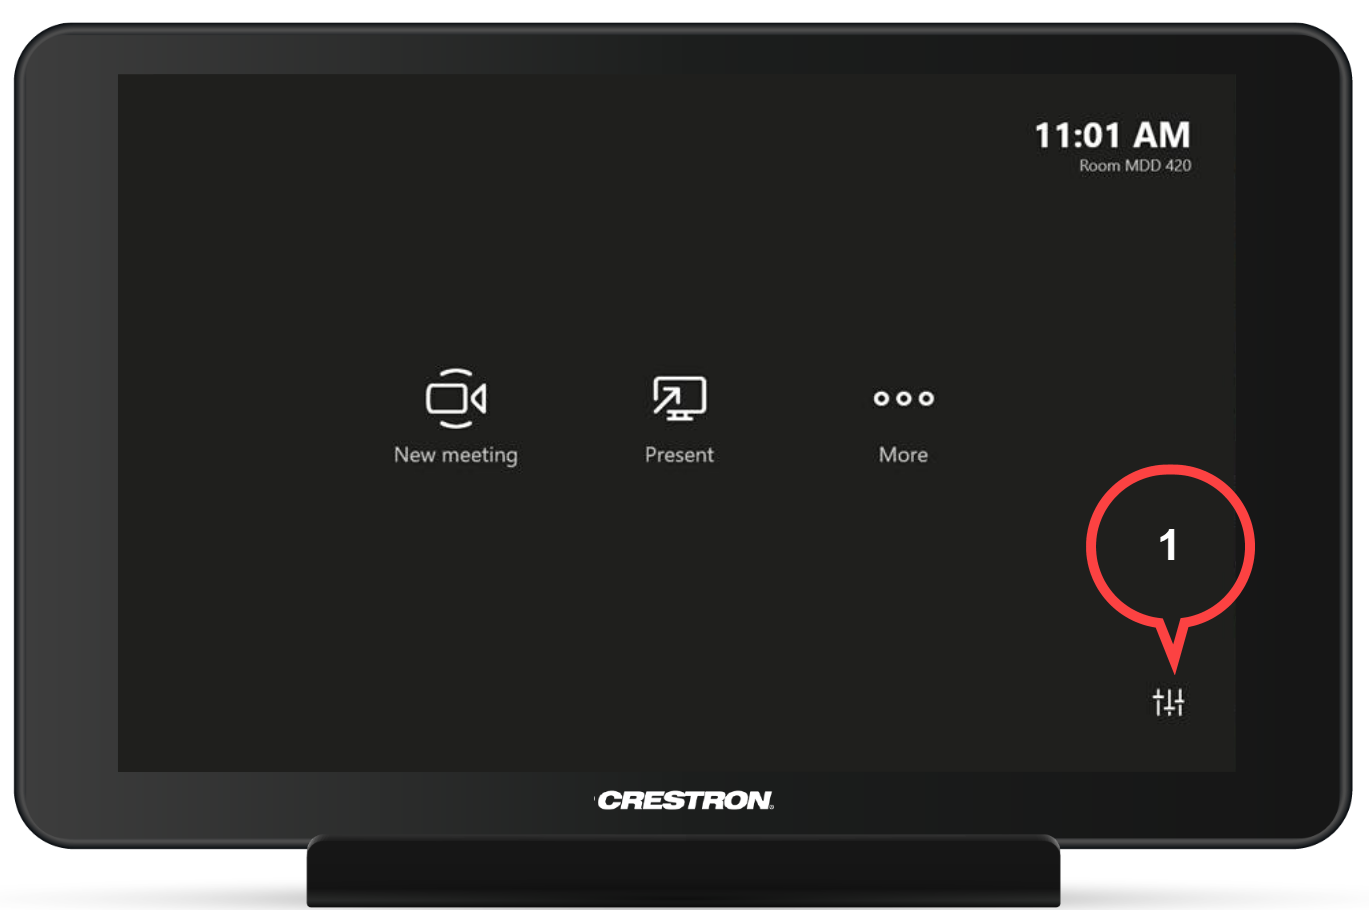
- Tap Press to Start
- Tap Help button

Tap AV Emergency if you need help right away
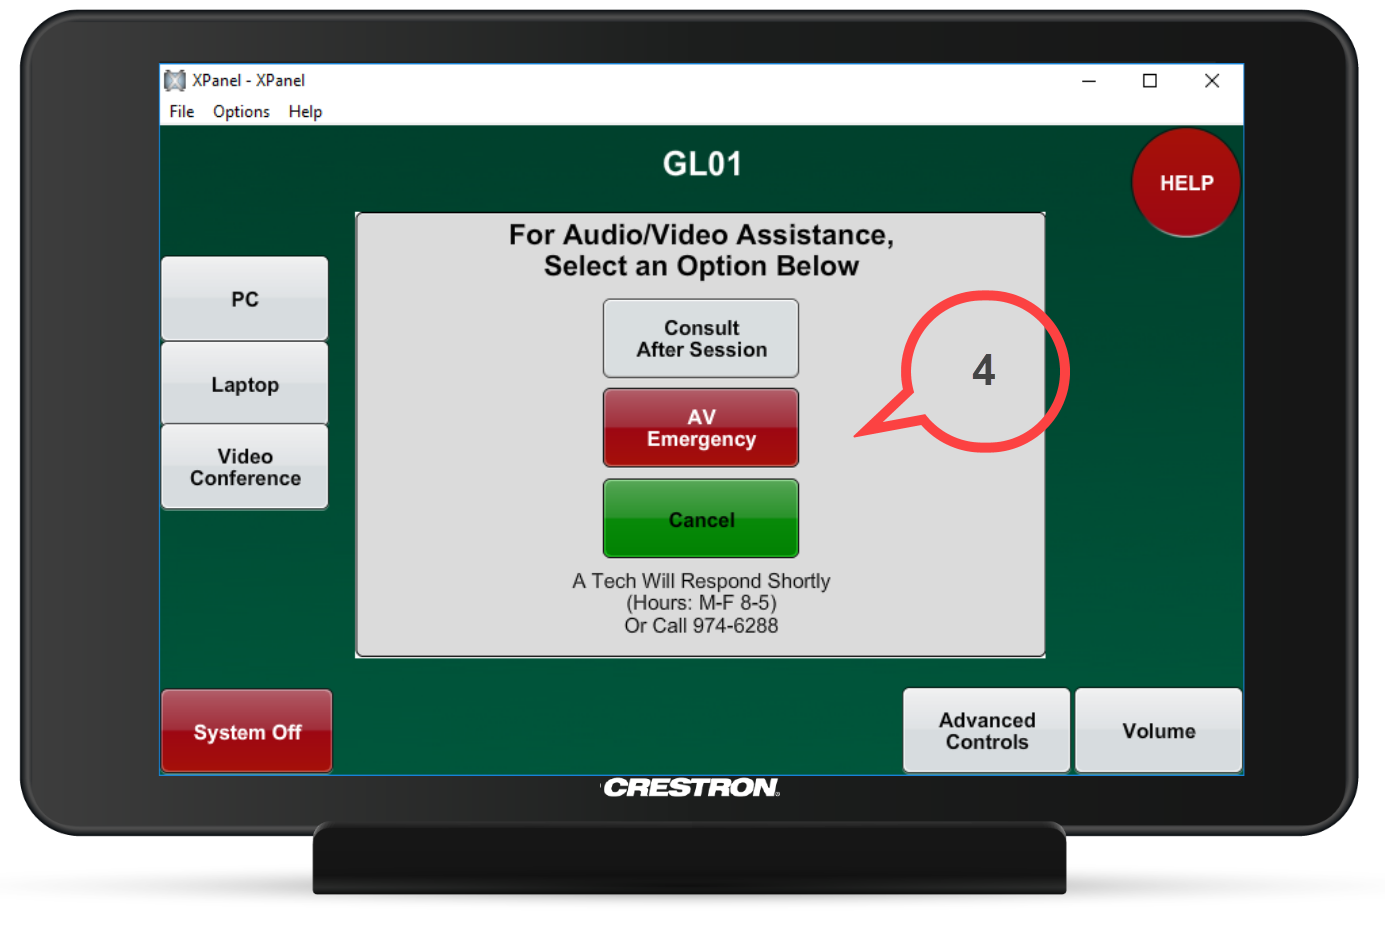
You can also tap Consult After Session (to get help after a meeting) or Cancel