Overview
The Remote Desktop Gateway (RDG) is used to access your on-campus Windows computer from another remote computer. It provides additional security for our connections with university computing resources.
If your job duties require a RDG or other remote access solution, please contact the USF IT Service Desk while on campus and in front of the machine you will be connecting to for setup and configuration.
Please call 813-974-4357 or visit https://itchat.usf.edu to have this the setup and configuration done for you.
Finding your computer's name
You will need to know the computer’s name.
In Windows 10:
- Click on the circle icon, next to the Windows icon, on your taskbar
- Type computer name into the search bar
- Hit the Enter key on your keyboard
- The name is displayed in the Device name field
Connecting from a Remote Computer
Once the USF IT Service Desk has configured your machine for Remote access, follow the below directions to establish a remote connection.
- Make sure your browser (Chrome, Firefox, Microsoft Edge) is the most recent version.
- The computer you are logging in remotely from must have an up-to-date version of Microsoft's Remote Desktop Connection.
- Macs with OSX 10.7 or later can get this app from the App Store, see the Mac instructions below.
If remoting into a recently deployed device using IT's Modern Endpoint Management, you will need to first log into VPN.usf.edu
Windows
- Go to http://usfweb.usf.edu/remote/
- Login with your NetID@usf.edu and password
- Enter the computer name or IP address you wish to connect to (pictured below)
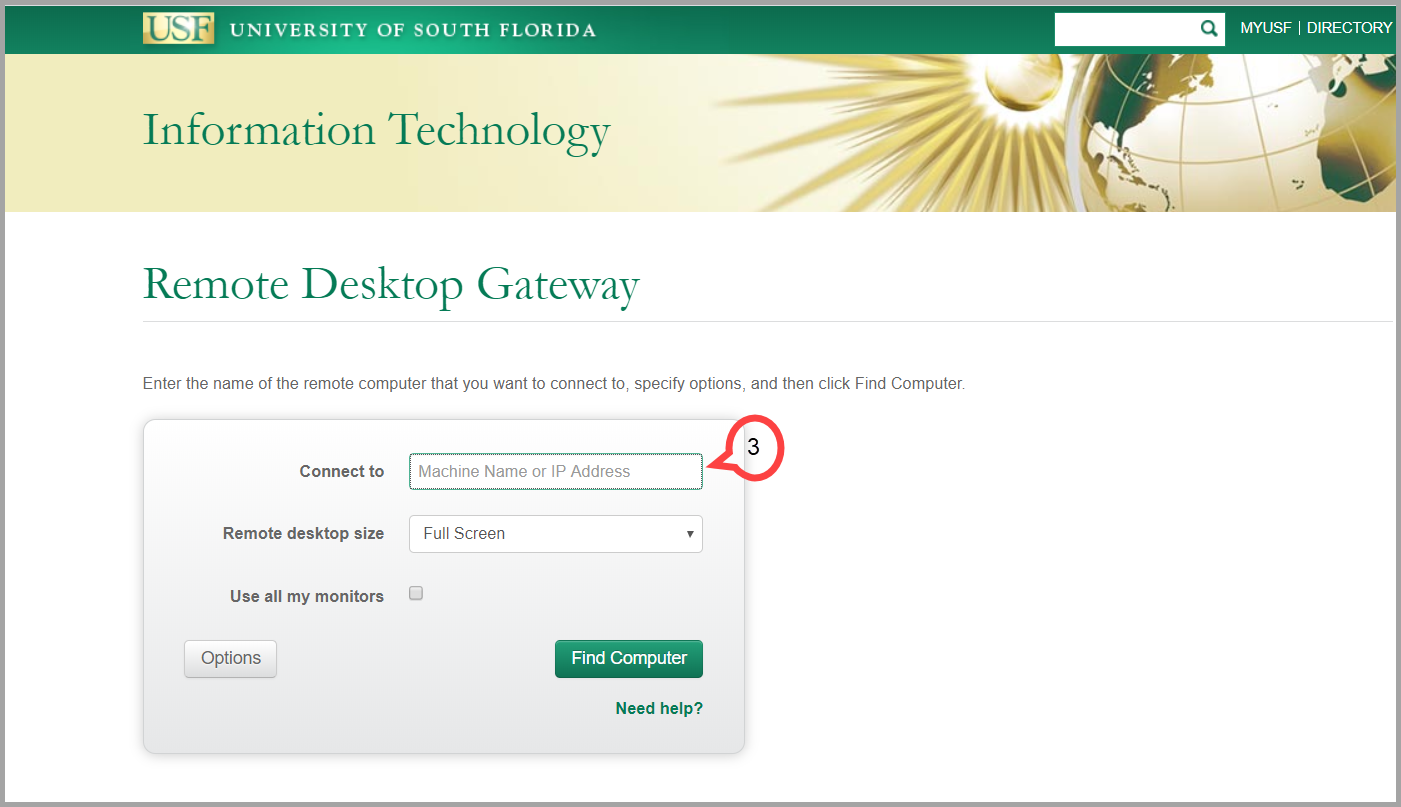
- Choose your remote desktop size
- Click the Find Computer button
RDG will go through a series of checks (computer is found, awake, and connection is solid) and display the results to you - Click the Connect button
RDG will download a ‘USFRemoteAccess.rdp’ file Execute USFRemoteAccess.rdp file
Security window popped up? Click ConnectLog in with your credentials
You are logging into your destination computerIf remoting into a new, recently deployed device, you must log in using AzureAD\<Netid>@usf.edu for your user name.
Note: Make sure you replace <NetID> with your NetID
Once you have completed this process, you will have a window to your destination computer and may use it as if you were sitting in front of it. When you are finished, you can simply log out of your remote computer and the window will close.
Mac
If you are using a Mac from home to connect to your newly deployed PC on campus, you must contact USF IT Remote Support to have an edit made to your work system.
This must be done on campus while logged into the newly deployed machine.
Please call 813-974-4357 or visit itchat.usf.edu to have this work done for you.
- Launch the App Store
- Search for the Microsoft Remote Desktop
- Click on Microsoft Remote Desktop
- Enter your credentials for your Apple account
- Launch Microsoft Remote Desktop
- Click on New in the upper left
- Choose Add gateway from the Gateway drop down menu (pictured below)
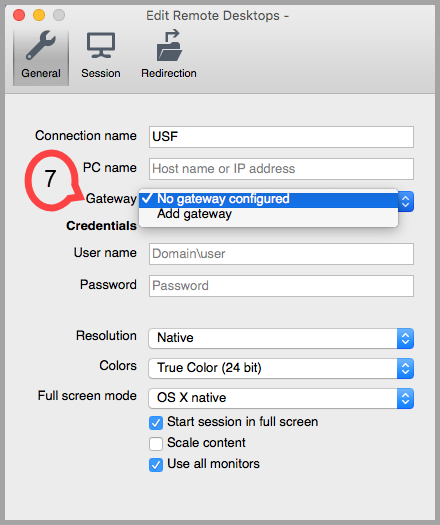
- Click on the Plus sign to add a gateway:
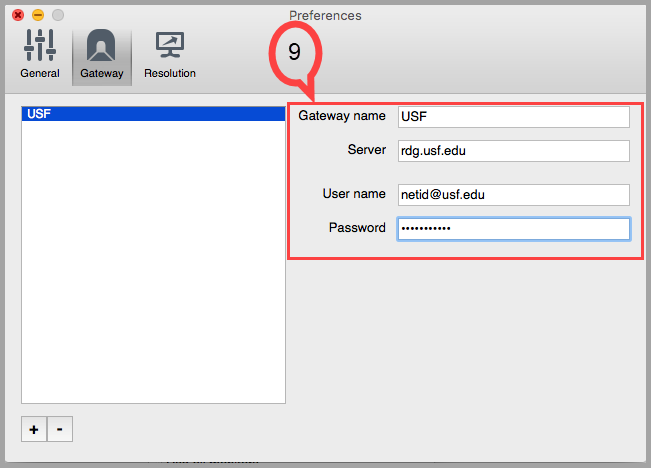
- Fill out the following fields (Pictured below)
- Gateway Name = USF
Server = rdg.usf.edu
User name = Your USF email or for newly deployed machines, you must log in using AzureAD\<Netid>@usf.edu for your user name.
Note: Make sure you replace <NetID> with your NetID- Password = Your NetID password
- Close the Preferences screen
- Choose USF from the Gateway drop down menu
- Enter your email address and password under Credentials
- Enter your computer name in the PC Name field
- Close out of the Edit Remote Desktops screen
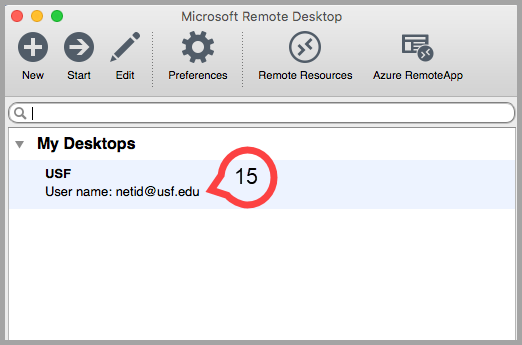
- Click on USF under My Desktops (pictured below)
- Click on Continue
You will be connected
iPad
- Tap on the App Store
- Search Microsoft Remote Desktop
- Tap on Get
- Tap on Install
- Open the Microsoft Remote Desktop app
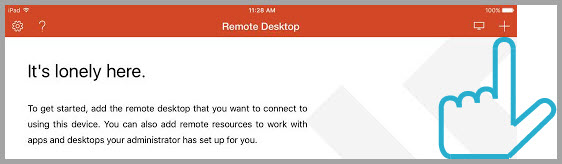
- Tap the Plus sign (pictured below)
- Tap Desktop
- Tap PC Name
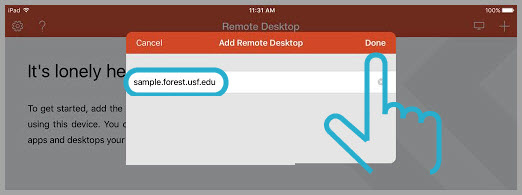
- Enter your computer's name (pictured below)
- Tap Done
- Tap the panel on the Remote Desktop main menu
Enter the credential you use on your machine
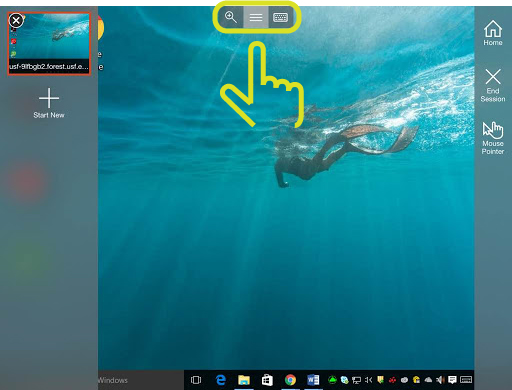
Tapping the controls at the top will allow you to zoom, switch between mouse, pointer, and touch functionality, bring up a keyboard, etc