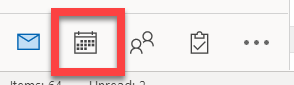
Desktop Application- With Outlook open, select the Calendar icon located at the bottom left.
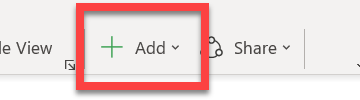
- Select Add located at the top right of the Calendars.
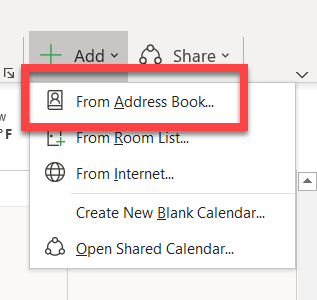
- From the drop down, select From Address Book.
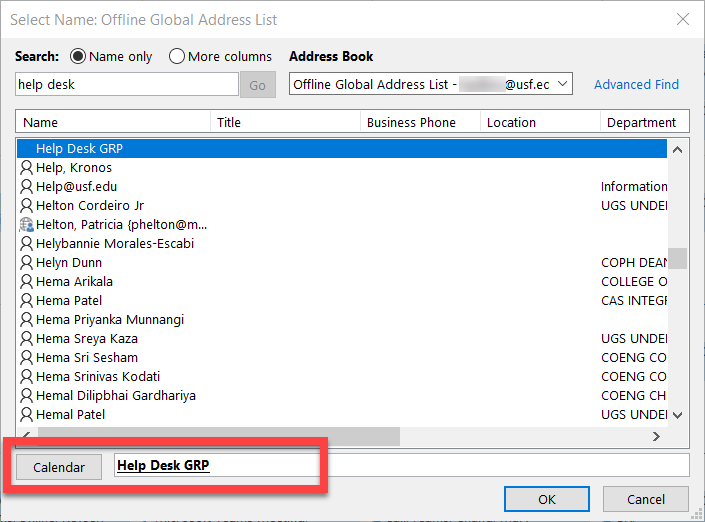
- Enter the name of the Shared Calendar you wish to add in the Search field and double click it.
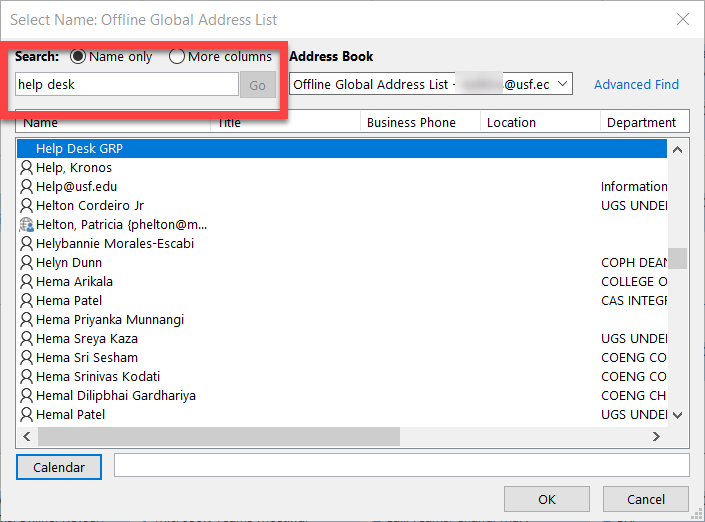
- Once the calendar is selected, you will see it at the bottom.
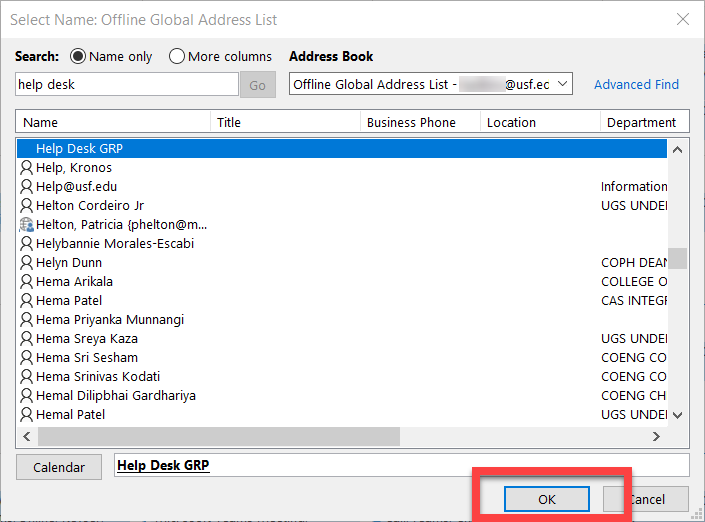
- Select OK.
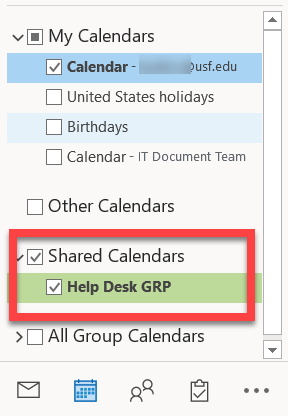
- Once the calendar has been added successfully, it will appear on the left bar of your Calendars tab.
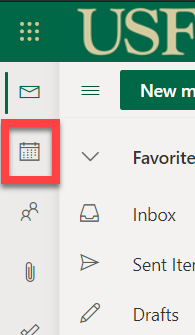
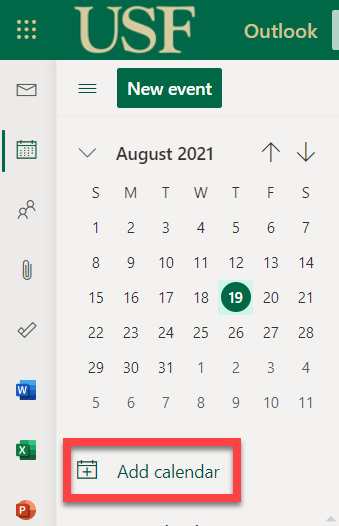
Back to top Web Application- After accessing your email through either MyUSF or https://outlook.office365.com/mail/inbox. Select the Calendar icon located on the left.
- Select Add calendar.
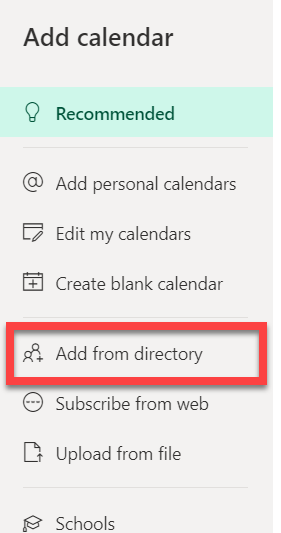
- Select Add from directory.
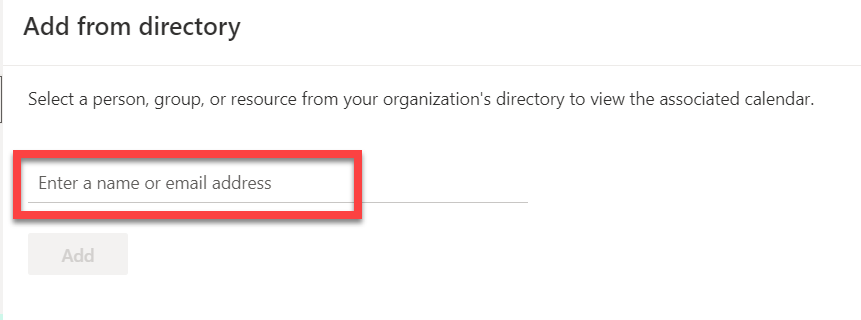
- Enter the name of the Shared Calendar you wish to add.
- Select Add.
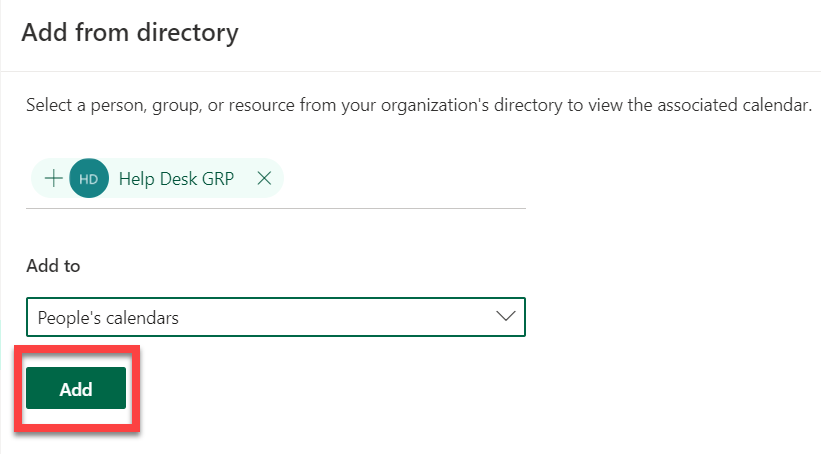
- Once the calendar is added, it will appear under Shared Calendars in the left column.
Back to top |