Skip to end of metadata
Go to start of metadata
You are viewing an old version of this page. View the current version.
Compare with Current
View Page History
Version 1
Next »
Overview
This guide is used to share folders from your mailbox to individuals you want to have access. These individuals you select will only have access to the specific folders you select, and not any others.
Sharing a folder in Outlook on the web
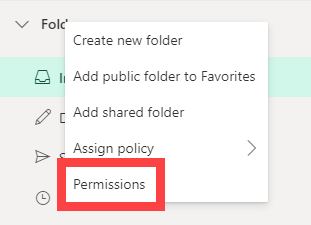
- Right click on the word "Folders" at the top of the left panel, and click "Permissions"
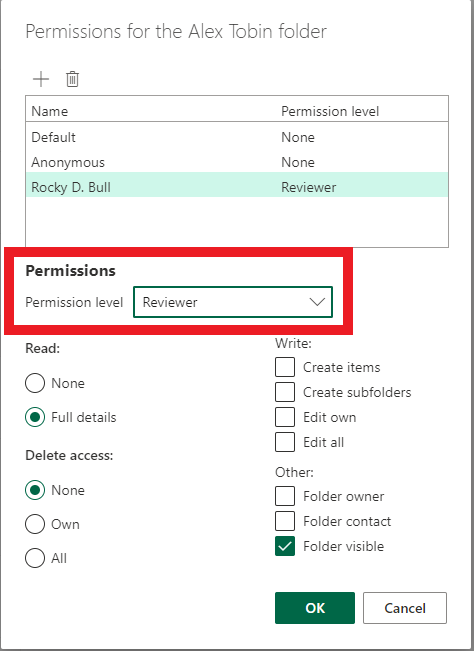
- Click the plus button and search for the person you want to have access to the folder(s) you'll give them access to later.
- Once added, set the permission level to "Reviewer". This will allow them to actually be able to add your mailbox at all to then see the folders you select. It does not allow them to see your whole mailbox.
- Click apply.
- On the folder you would like to share, right click and select "Permissions"
- Repeat the above to add and give the permissions level you would like them to have to this folder.
- You can find more information on permission levels here: https://support.microsoft.com/en-us/office/options-for-sharing-and-delegating-folders-in-outlook-for-mac-a8c46bdb-2f37-42be-9b34-5ac87caf8f3d - Repeat step 6 for every other folder you'd like to share.
- The user who has been added should wait 2 hours, and then use the "Add a shared mailbox" guide, which is found here: https://usfjira.atlassian.net/wiki/spaces/UHID/pages/10940581247/Outlook+-+How+to+Add+a+Shared+Mailbox
Once added, they will only be able to see the folders you allowed them to.
Back to Top
Sharing a folder in Outlook Desktop
- Right click on your own email address at the top of the left panel, and click "Folder Permissions"

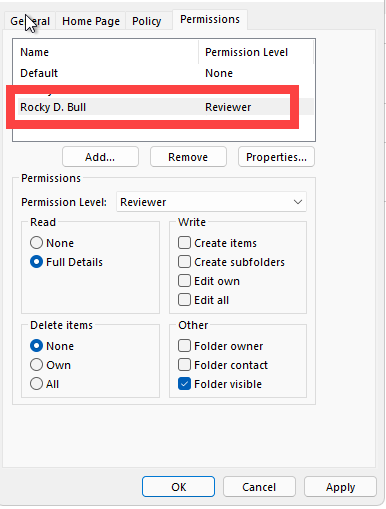
- Click "Add" and search for the person you want to have access to the folder(s) you'll give them access to later.
- Once added, set the permission level to "Reviewer". This will allow them to actually be able to add your mailbox at all to then see the folders you select. It does not allow them to see your whole mailbox.
- Click apply.
- On the folder you would like to share, right click and select "Properties", then navigate to the "Permissions" tab.
- Repeat the above to add and give the permissions level you would like them to have to this folder.
- You can find more information on permission levels here: https://support.microsoft.com/en-us/office/options-for-sharing-and-delegating-folders-in-outlook-for-mac-a8c46bdb-2f37-42be-9b34-5ac87caf8f3d - Repeat step 6 for every other folder you'd like to share.
- The user who has been added should wait 2 hours, and then use the "Add a shared mailbox" guide, which is found here: https://usfjira.atlassian.net/wiki/spaces/UHID/pages/10940581247/Outlook+-+How+to+Add+a+Shared+Mailbox
Once added, they will only be able to see the folders you allowed them to.
Back to Top