Overview
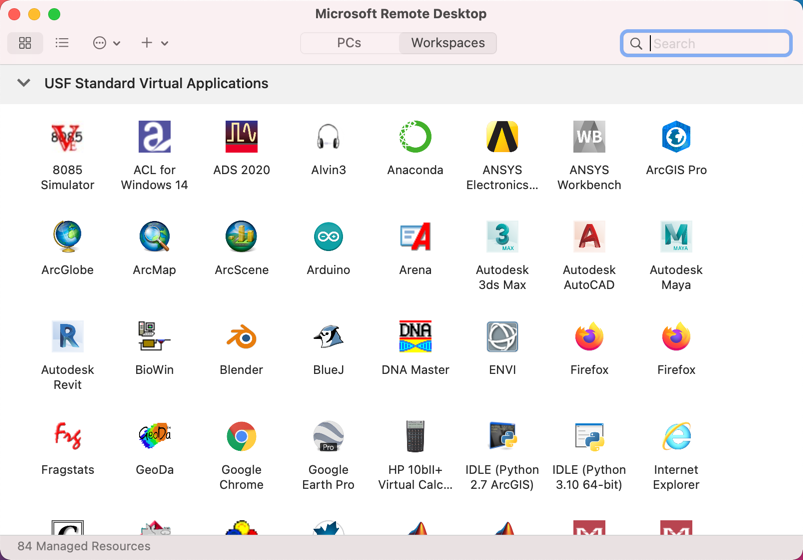
The Remote Desktop client for Windows Desktop allows users to access USF's Windows apps applications and desktops remotely from a different Windows device.
This program replaces the old Application Gateway accessed through Citrix.
| Info | ||||
|---|---|---|---|---|
| ||||
(for most systems this will be Windows 64-bit)
Get started with the Windows Desktop client | Microsoft Docs

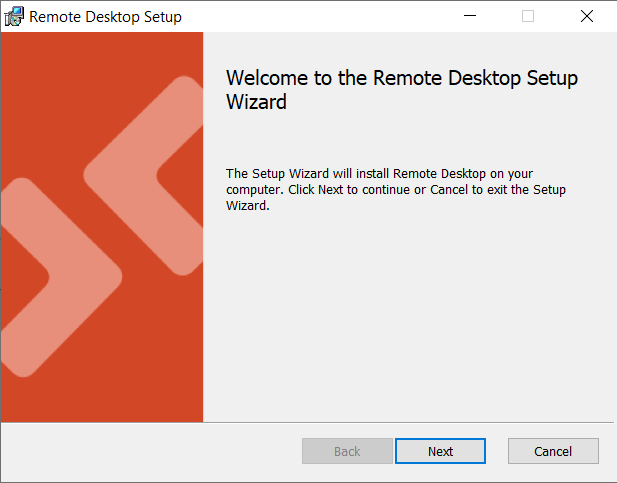
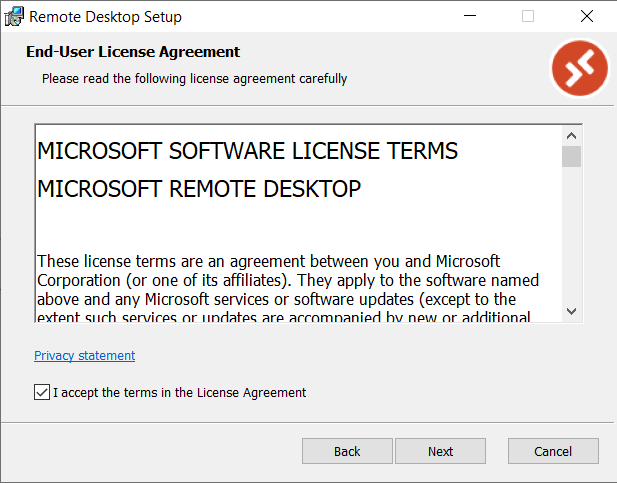
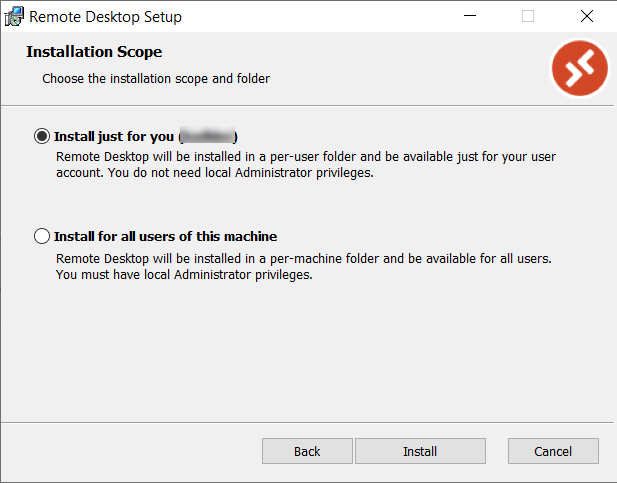
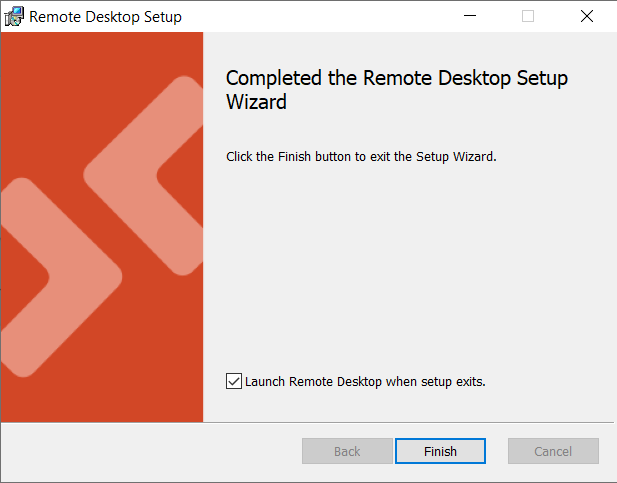
Run RemoteDesktop.msi and complete the installation process.

After installation is complete, navigate to the Start Menu and open Remote Desktop.

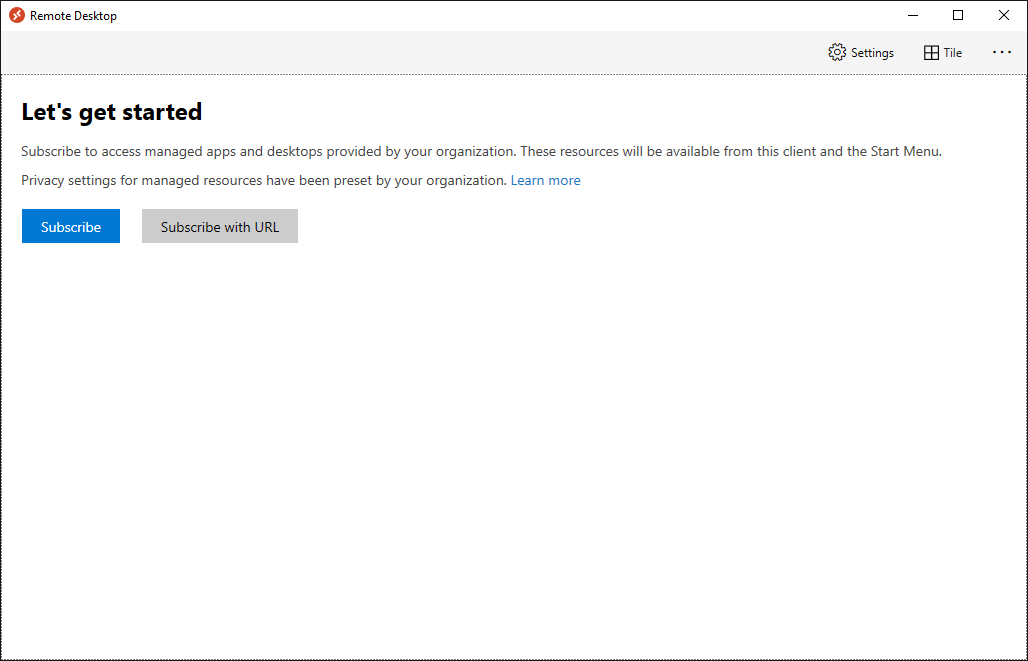
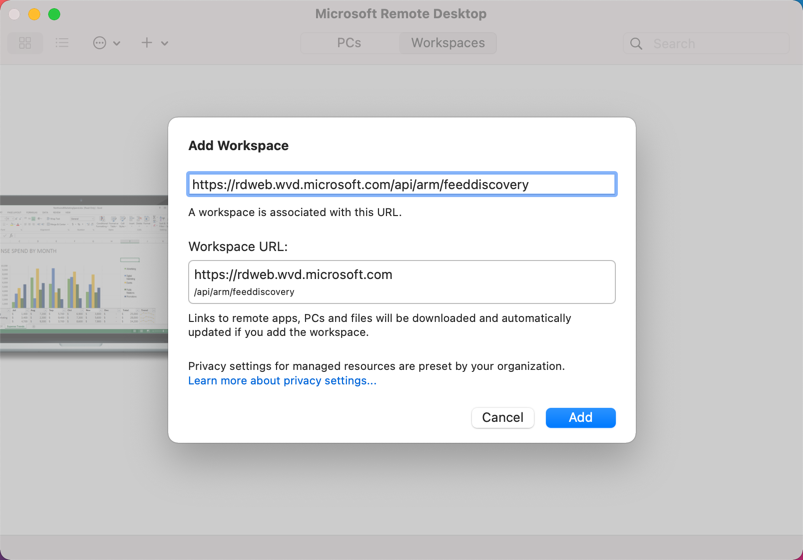
Subscribe
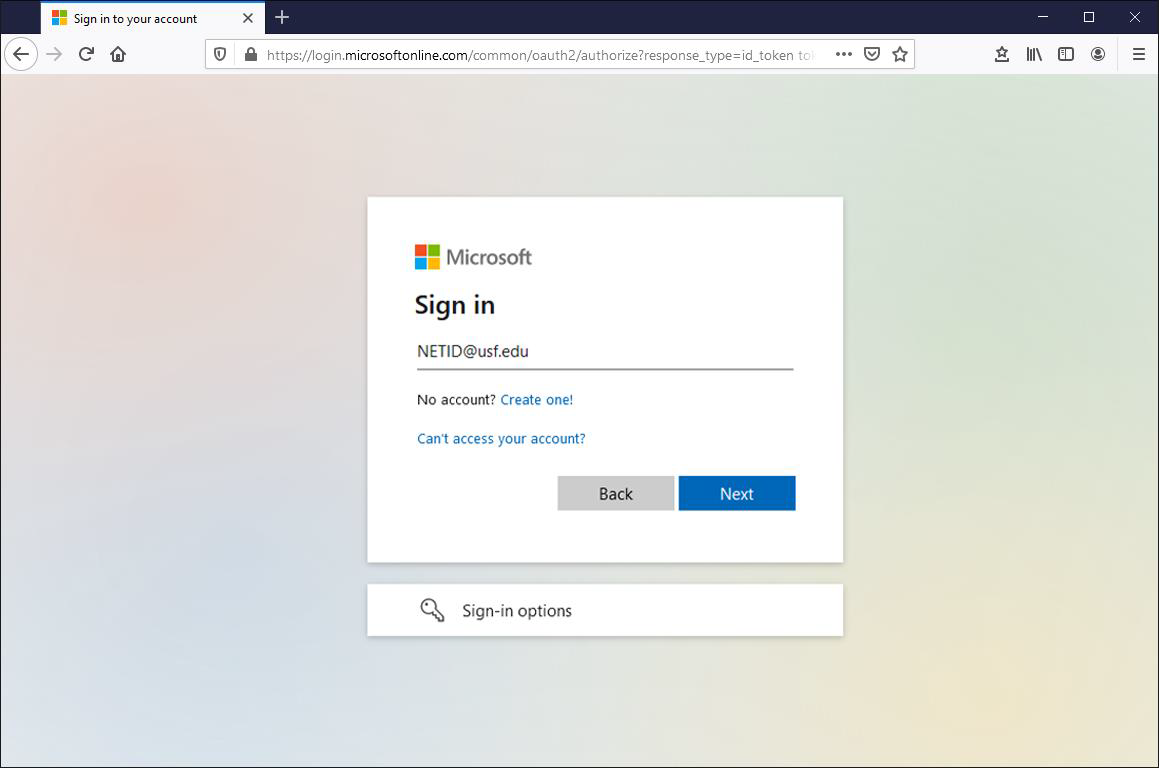
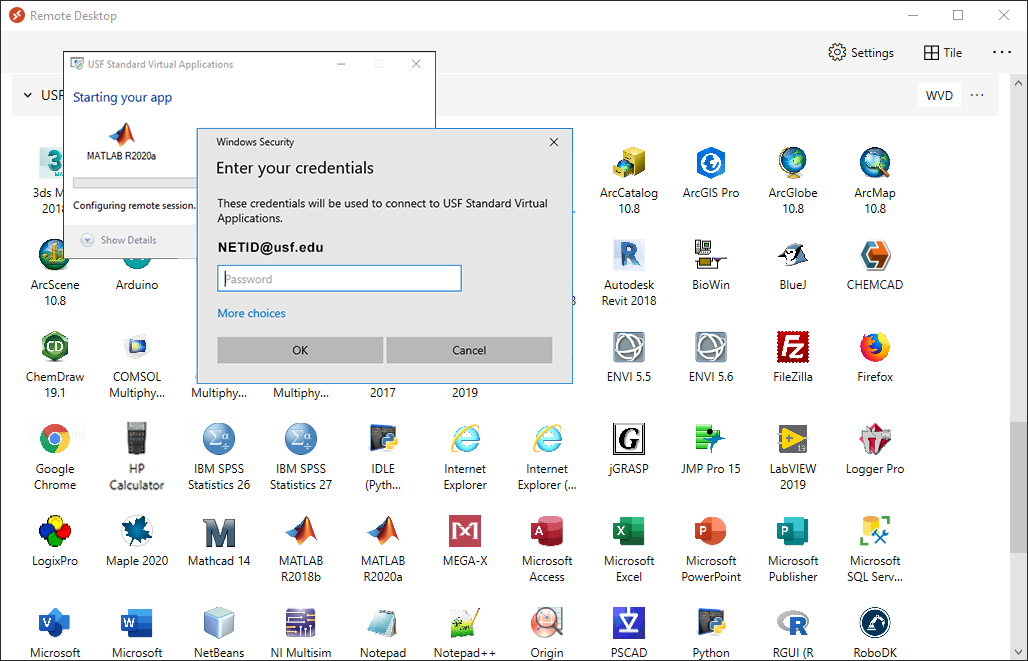
Within the Remote Desktop application, click Subscribe.
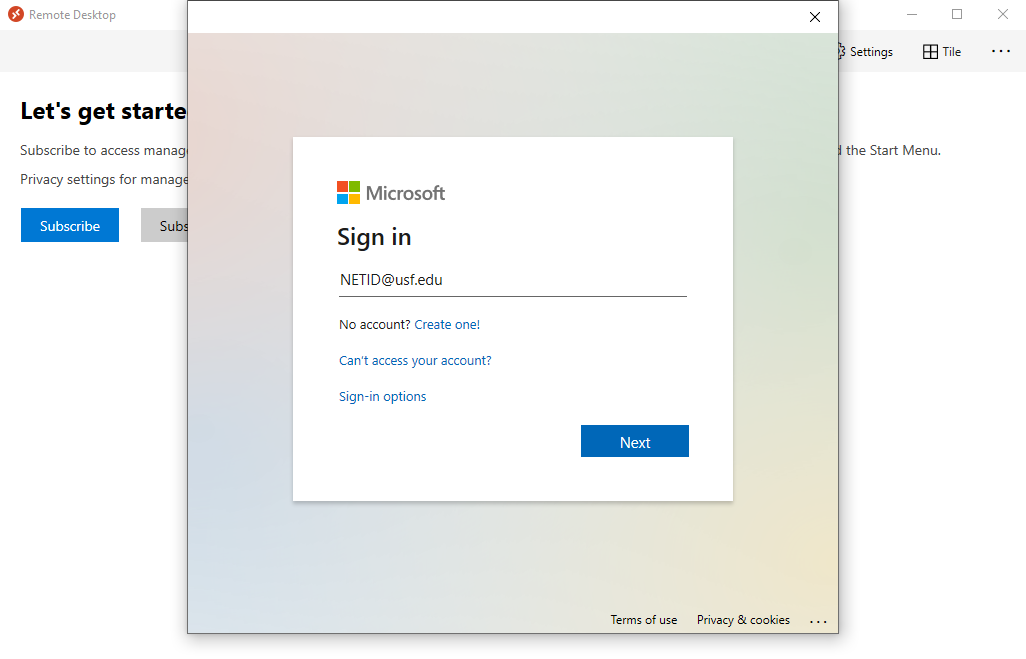
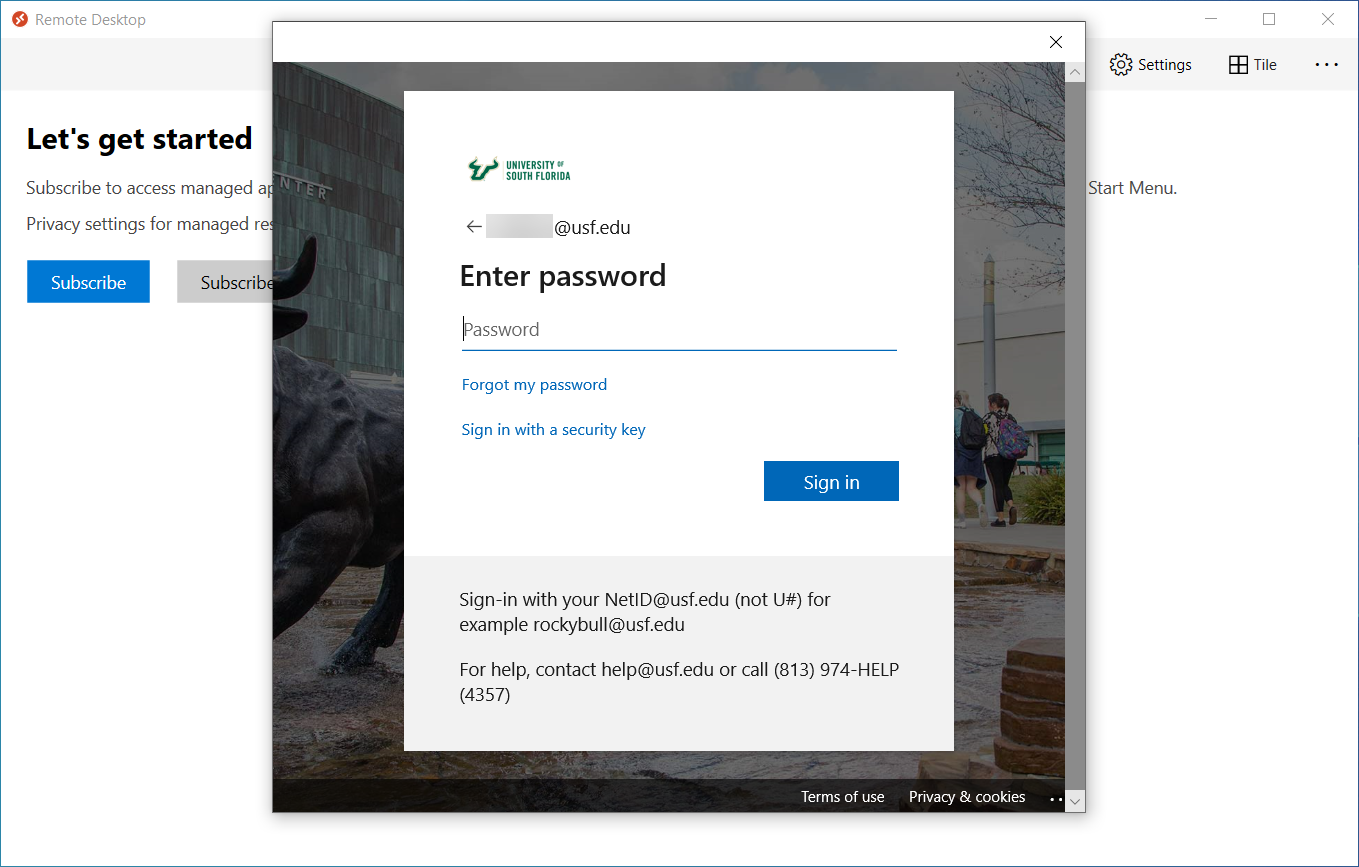
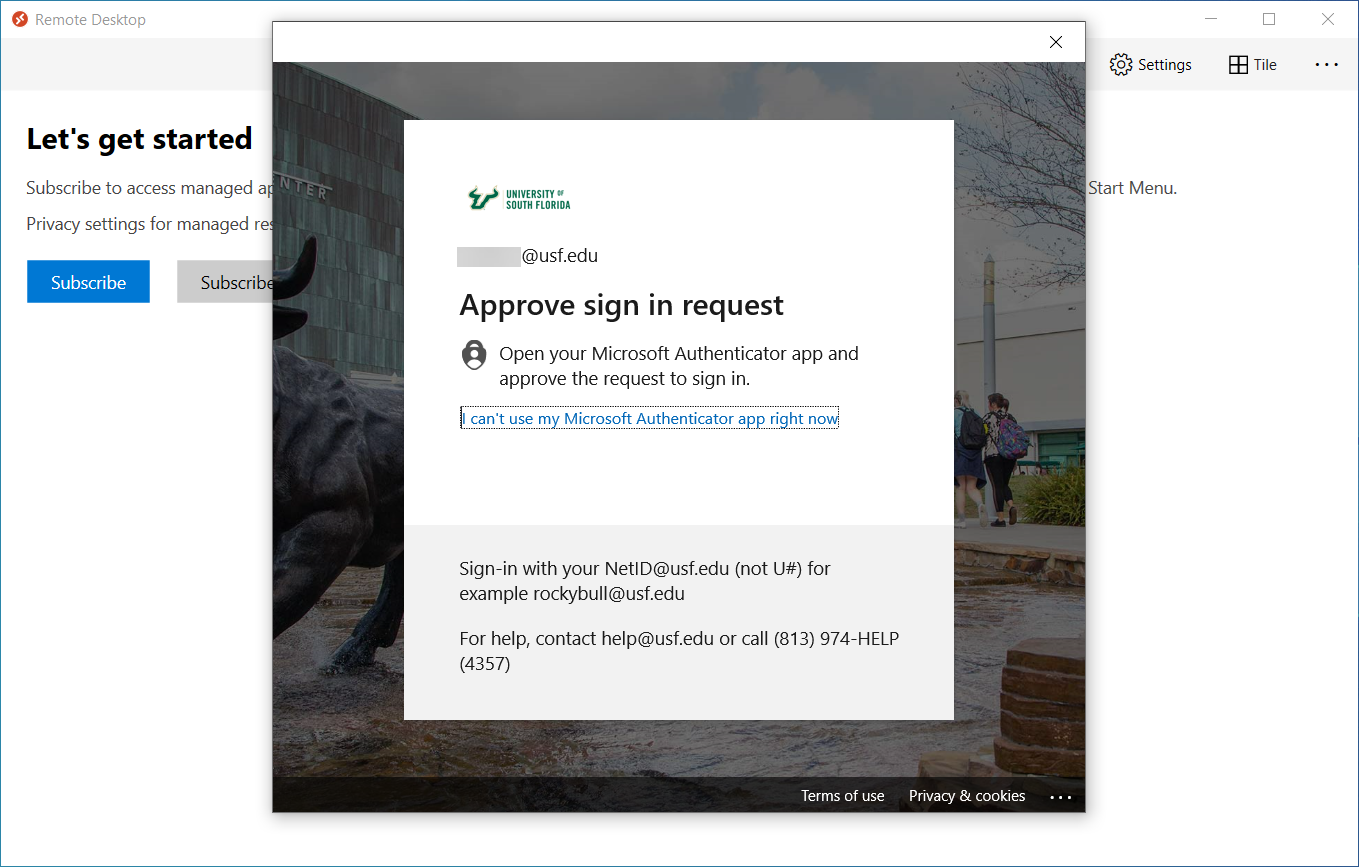
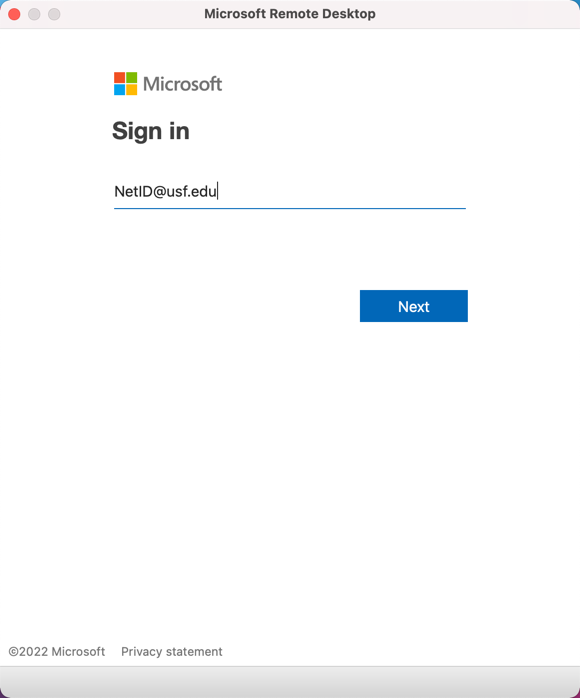
When prompted, type your @usf.edu email address and click Next.

| Excerpt | |||||||||||||||||||||||||||||||||||||||||||
|---|---|---|---|---|---|---|---|---|---|---|---|---|---|---|---|---|---|---|---|---|---|---|---|---|---|---|---|---|---|---|---|---|---|---|---|---|---|---|---|---|---|---|---|
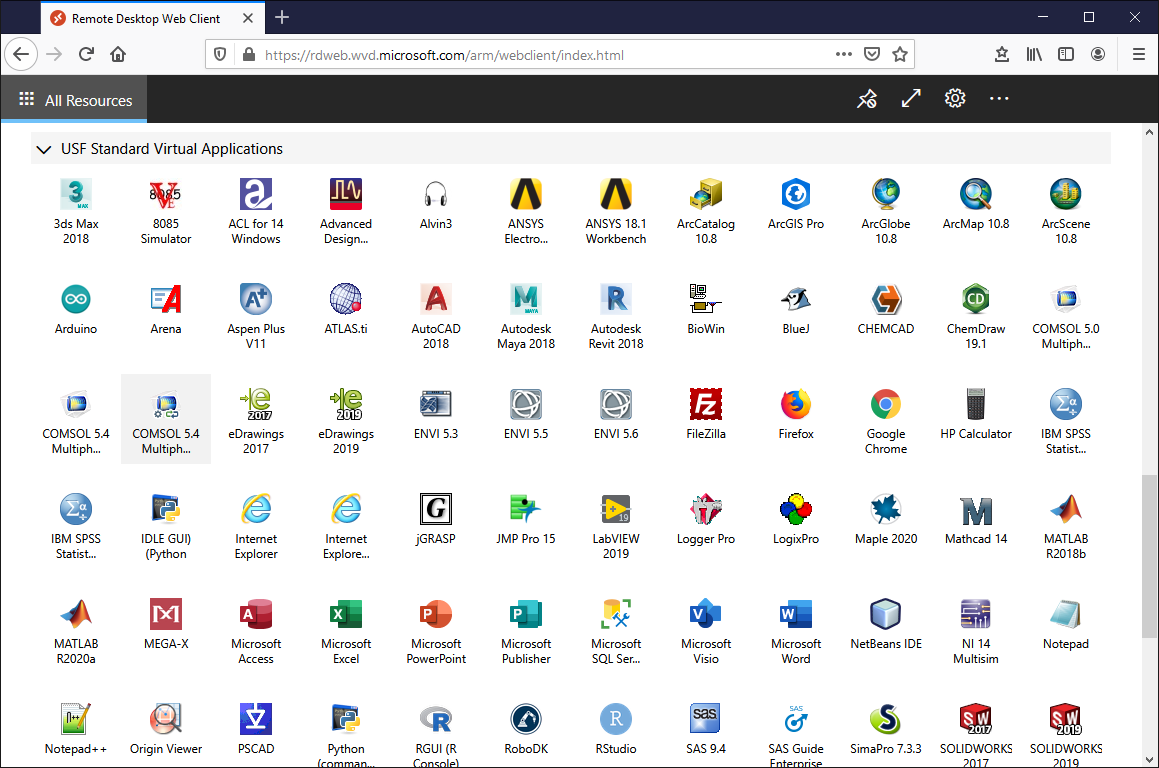
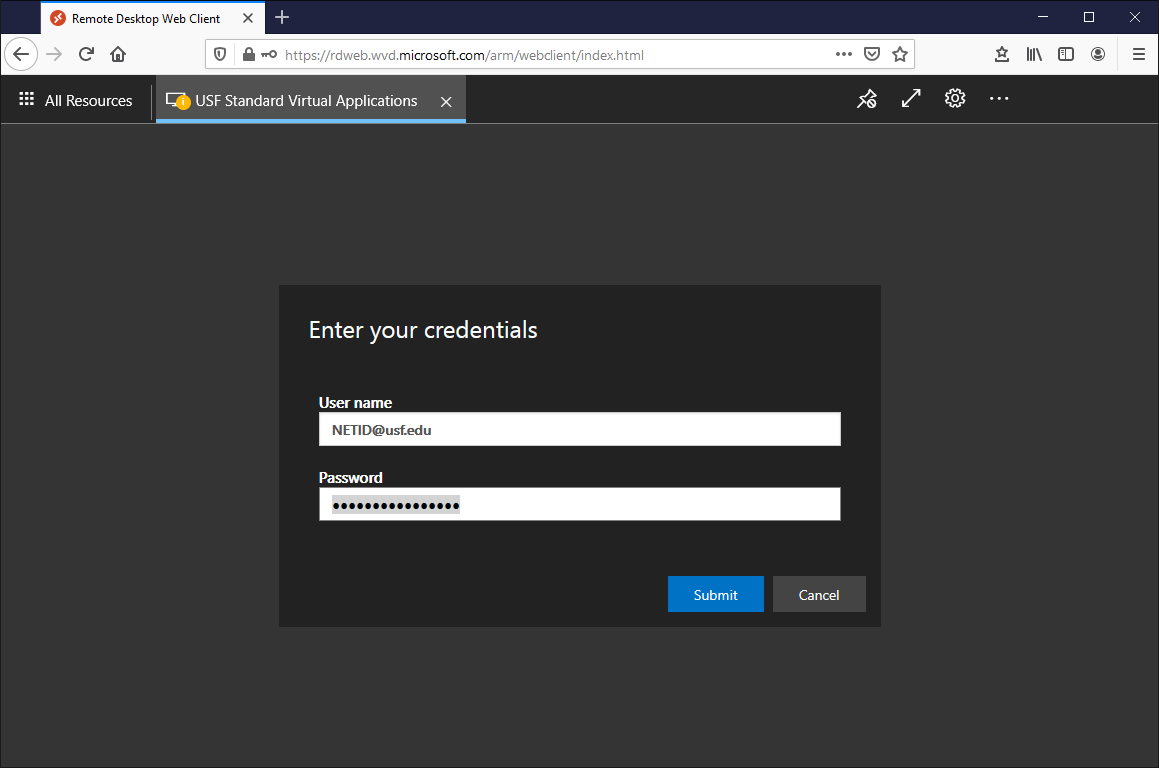
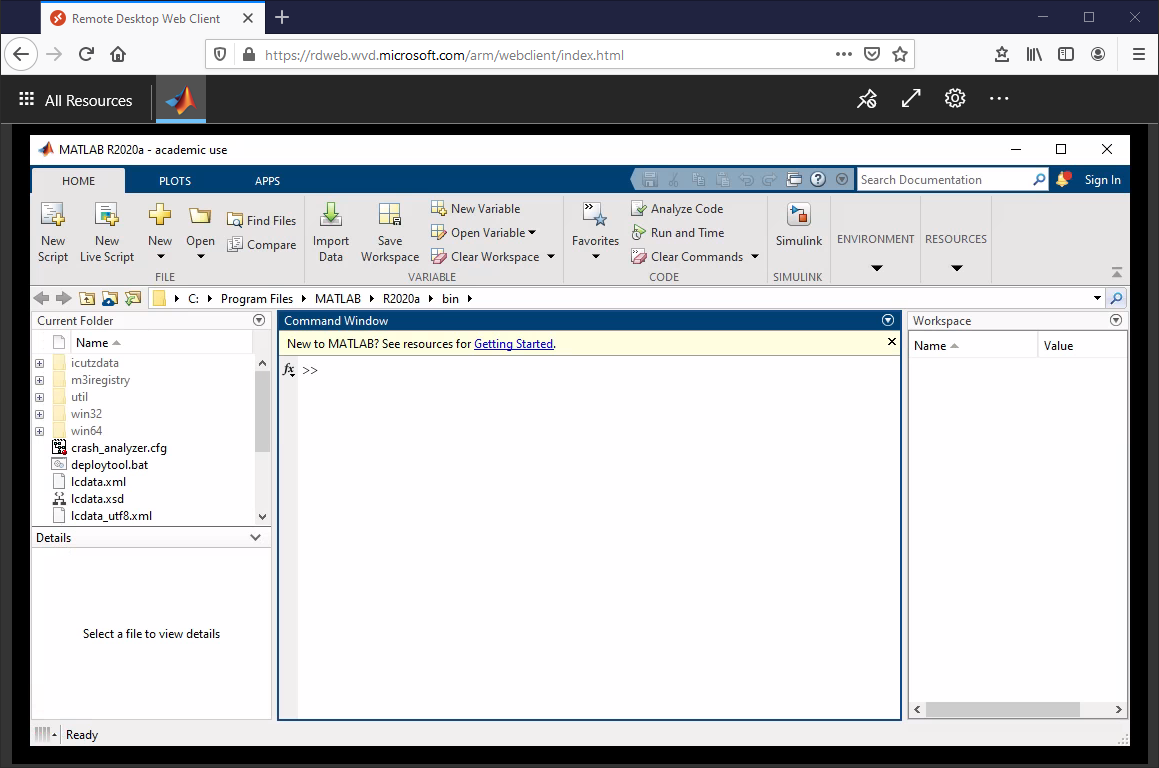
Web Client Access
Uploading and Downloading Files to Remote SessionIf you do not have OneDrive installed on the computer you are currently on, download and installation instructions can be found on OneDrive - Download and Installation of Desktop App.
Download and Installation of the Windows Remote Desktop Client
| |||||||||||||||||||||||||||||||||||||||||||
| Info | |||||||||||||||||||||||||||||||||||||||||||
If you are unable to solve your issue with this knowledge article you can contact the IT Service Desk by calling (813) 974-HELP (4357) or emailing help@usf.edu.If you find any errors or omissions on any knowledge base page, please send an email to the 'DocTeam' at ITDocTeam@usf.edu.
Subscribe
|


| Insert excerpt | ||||||
|---|---|---|---|---|---|---|
|