VPN - Palo Alto GlobalProtect
- Kimberly Adkins
- Patrick Kluge (Deactivated)
- Alyssa Wahlsmith
Overview
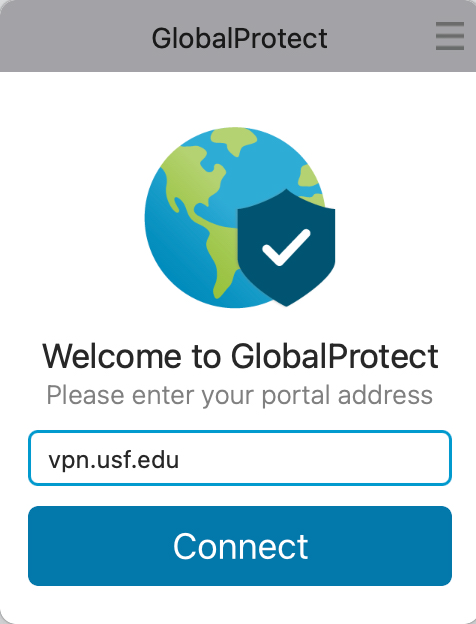
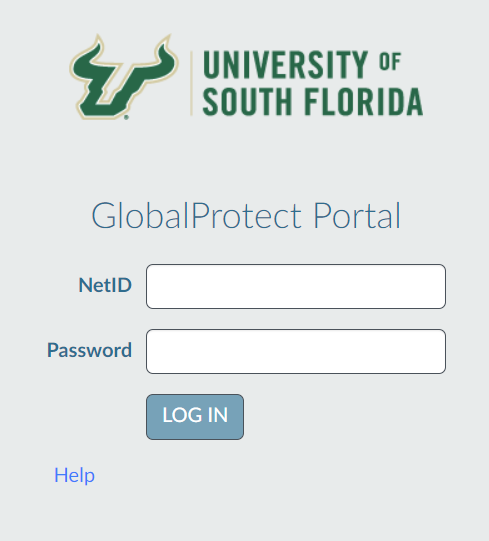
Palo Alto GlobalProtect is USF's virtual private network that is used for secure connections to on-campus resources. This guide will assist with the installation and launching of Palo Alto GlobalProtect for Windows and macOS.
To run GlobalProtect app 5.0, Windows endpoints require Visual C++ Redistributables 12.0.3 for Visual Studio 2013. If you have not already installed any redistributable packages on your endpoint, the GlobalProtect app installs Visual C++ Redistributables 12.0.3 automatically. If you have already installed Visual C++ Redistributables 12.0.2 or an earlier release, you must either uninstall the existing redistributable packages from your endpoint or upgrade to Visual C++ Redistributables 12.0.3 prior to installing the GlobalProtect app.
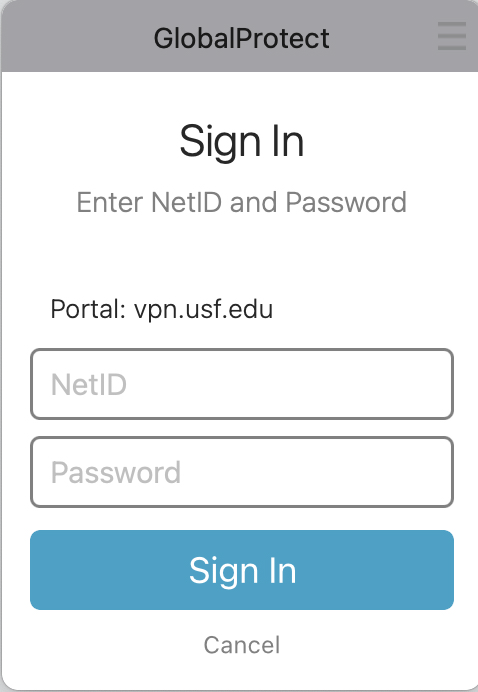
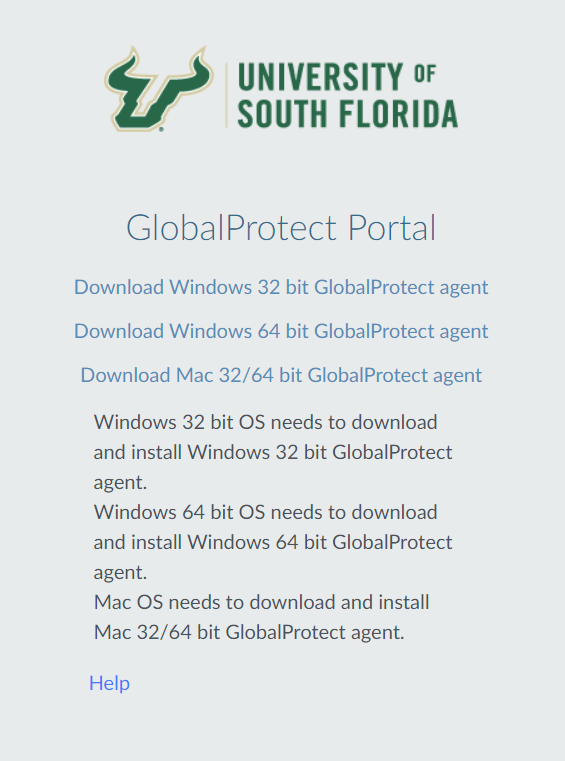
When logging into GlobalProtect, you will be required to verify your connection using MFA. You must have your MFA Sign-In Method set to Microsoft Authenticator - notification or Phone - call. To check or change your default method, follow the instructions here: How do I change my default sign in method. Select the download option for your computer's operating system. WindowsDownloading GlobalProtect
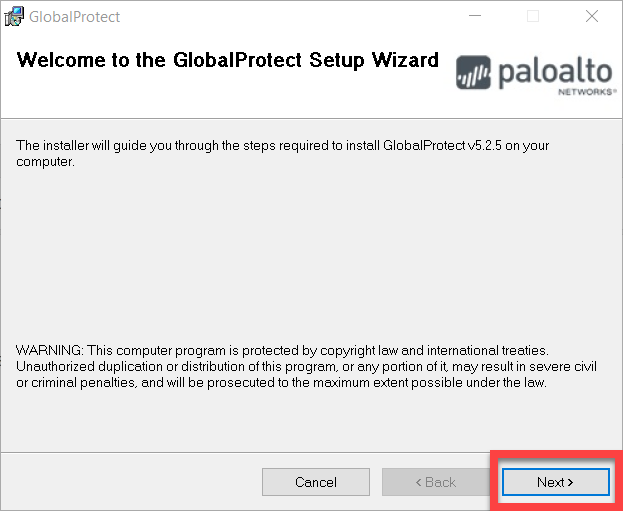
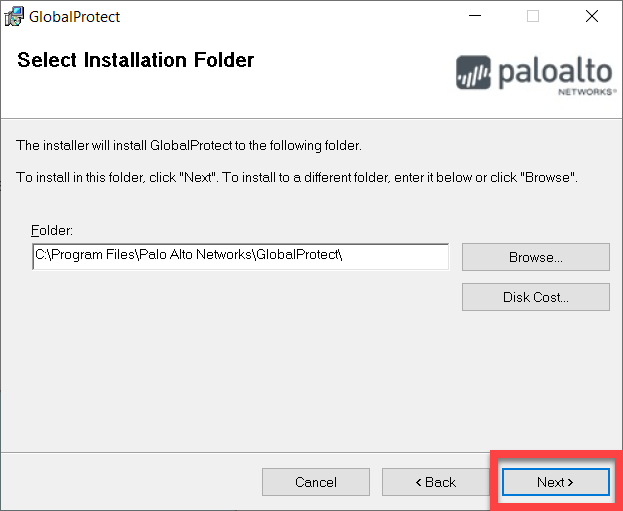
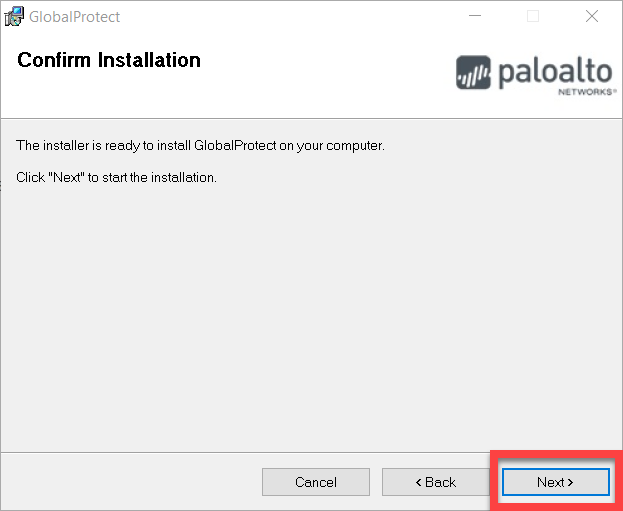
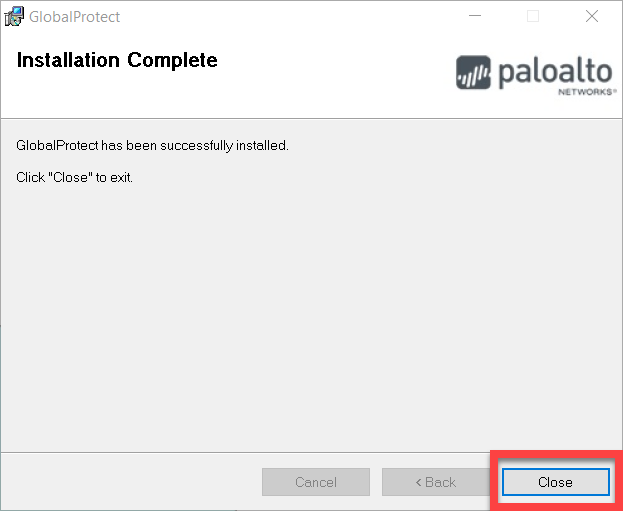
Installing GlobalProtect
Windows
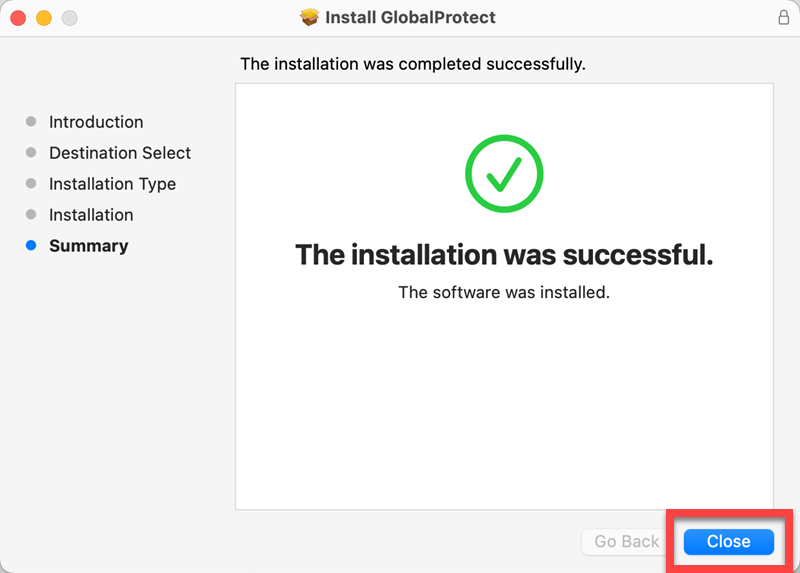
Mac
Launching and Logging into GlobalProtect
Windows
![]()

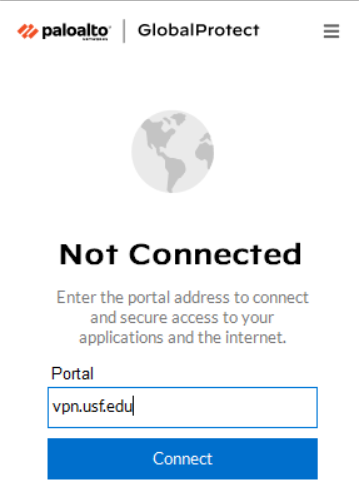

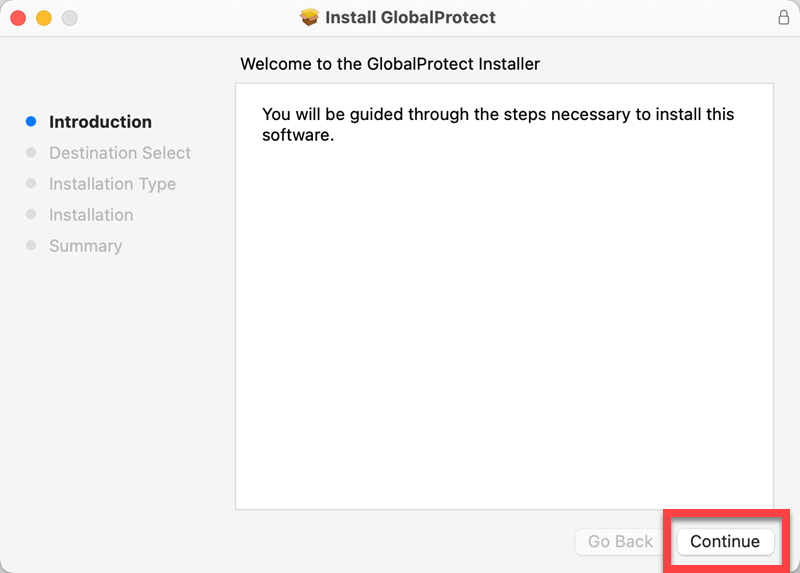
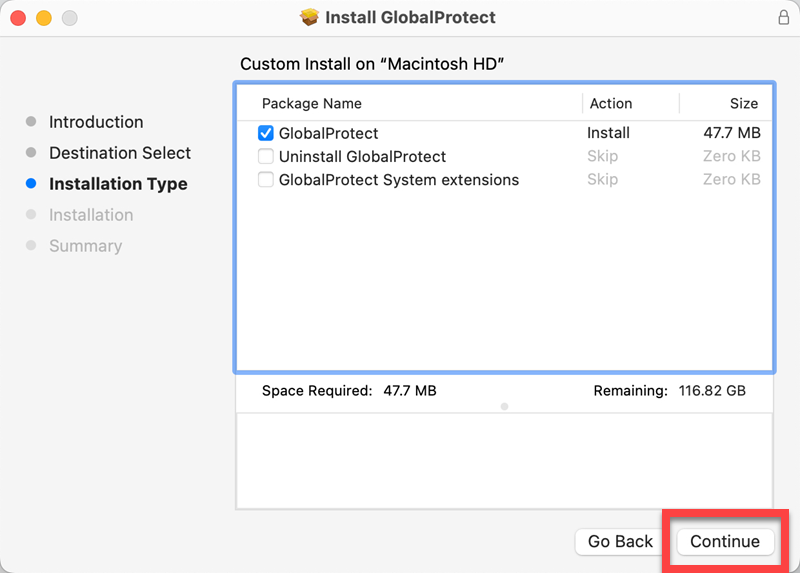
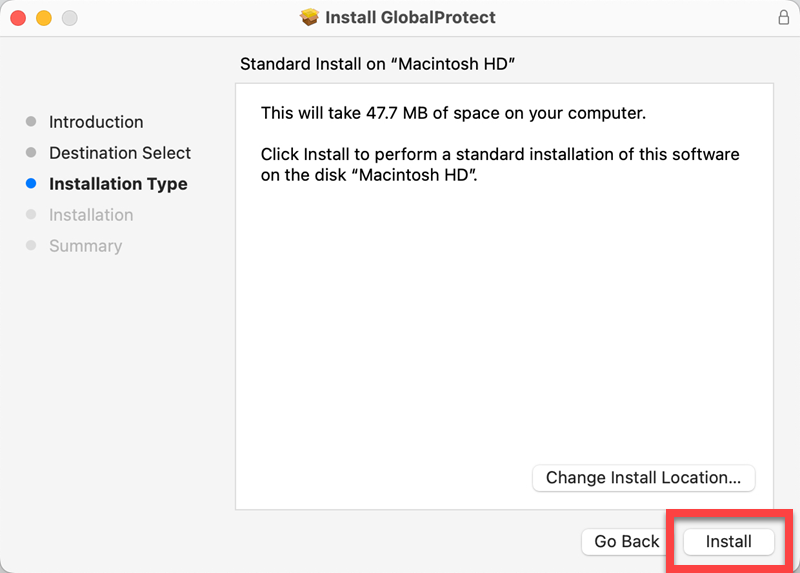
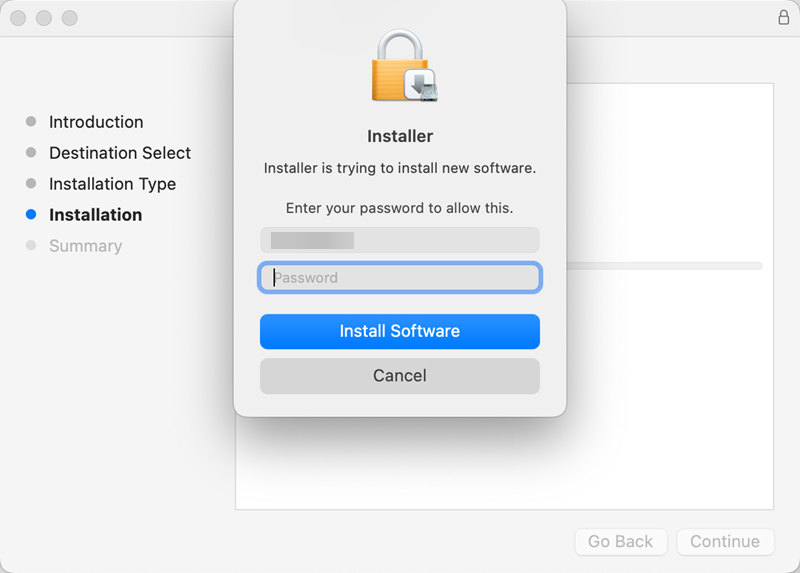
Mac