MyWeb - Azure for Students

Overview

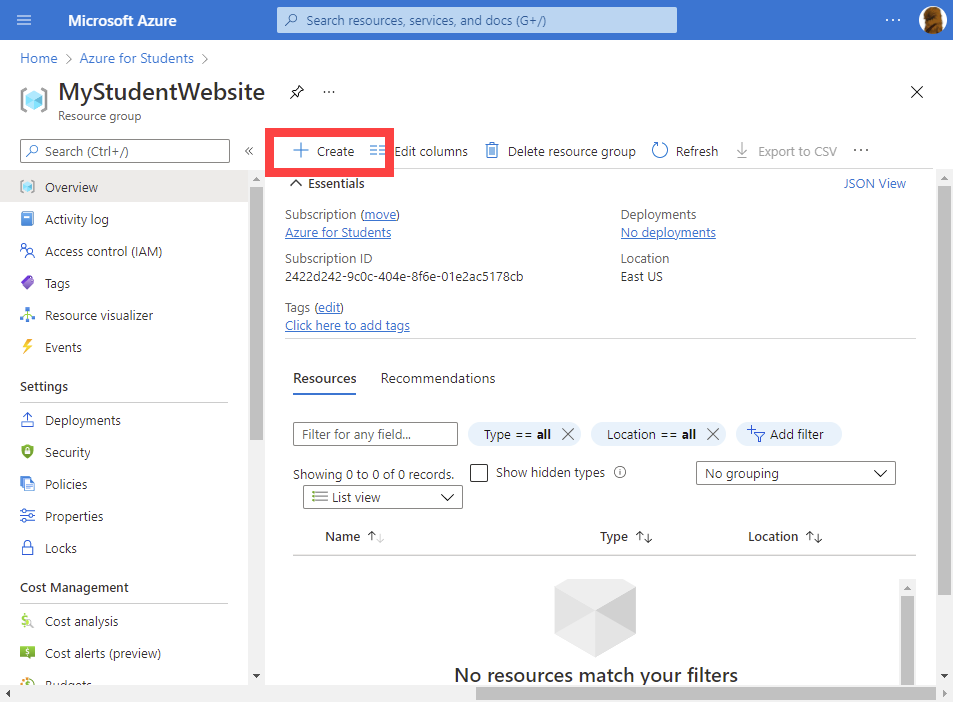
The following will walk you through how to create, configure, and upload your website within Azure for Students.

Table of Content

Creation of MyStudentWebsite

  1. Open a browser and navigate to https://portal.azure.com

  2. Sign in using your USF email address and password.

  3. Once at the Azure Homepage, select Subscriptions.


  4. In the top search field, enter and select Azure for Students under Resources.


  5. In the left column, select Resource Groups.


  6. Select Create in the top banner.


  7. Under Resource group, enter MyStudentWebsite to name the group.


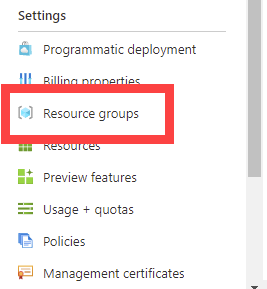
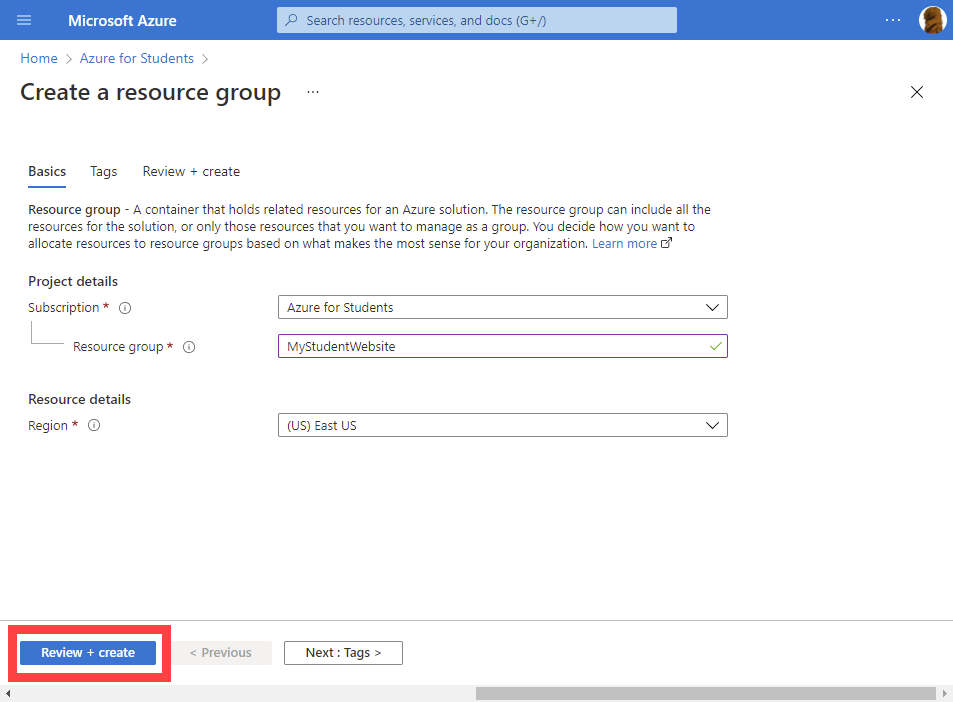
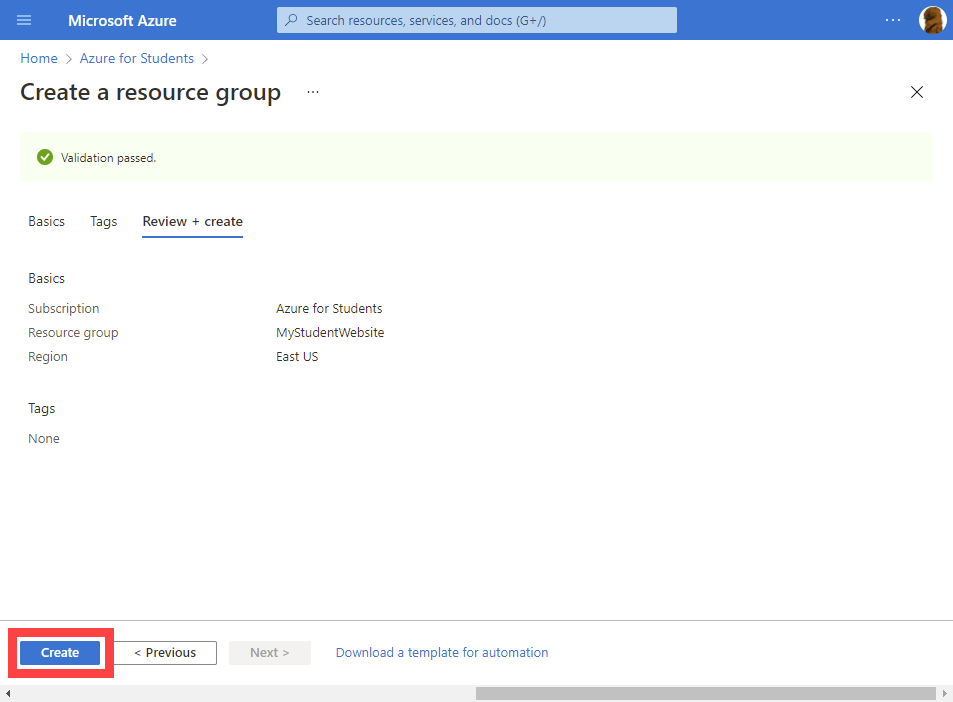
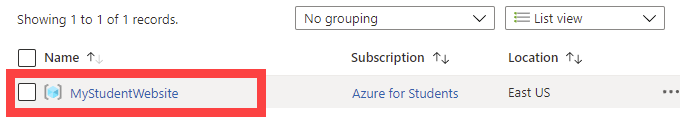
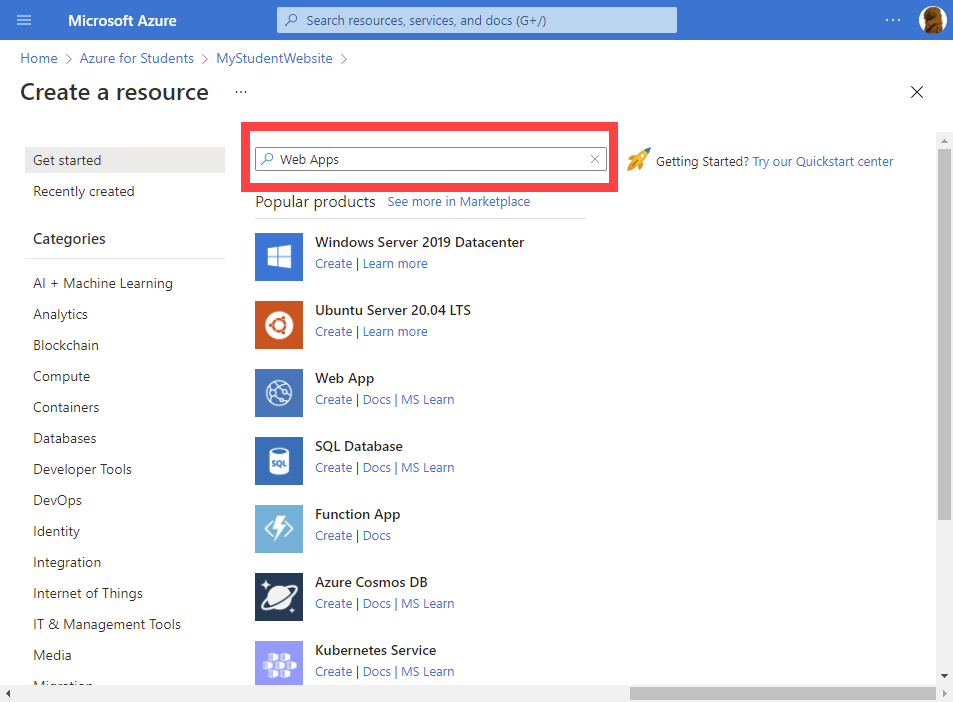
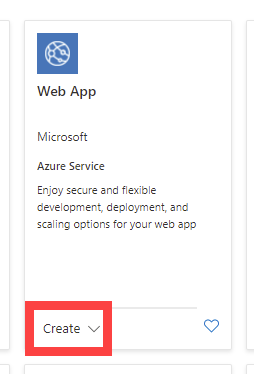
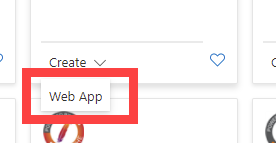
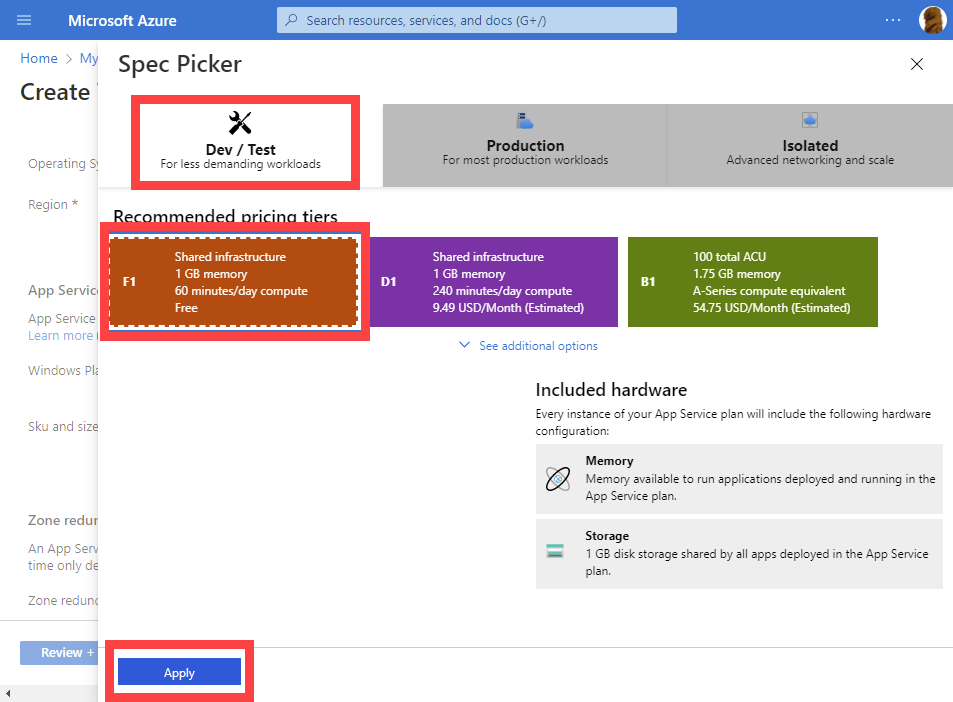
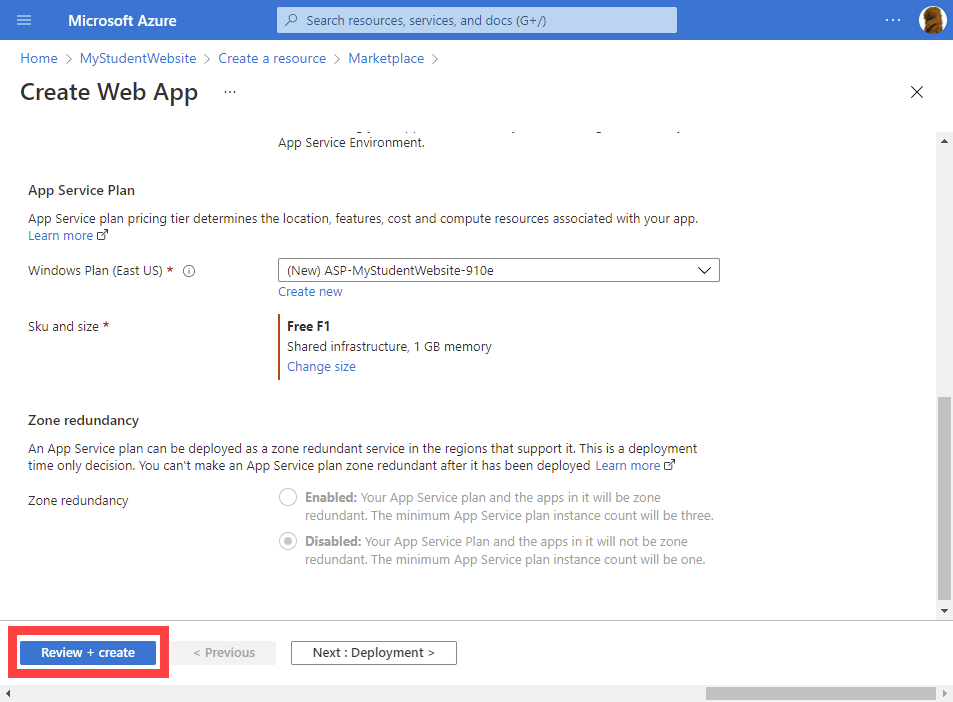
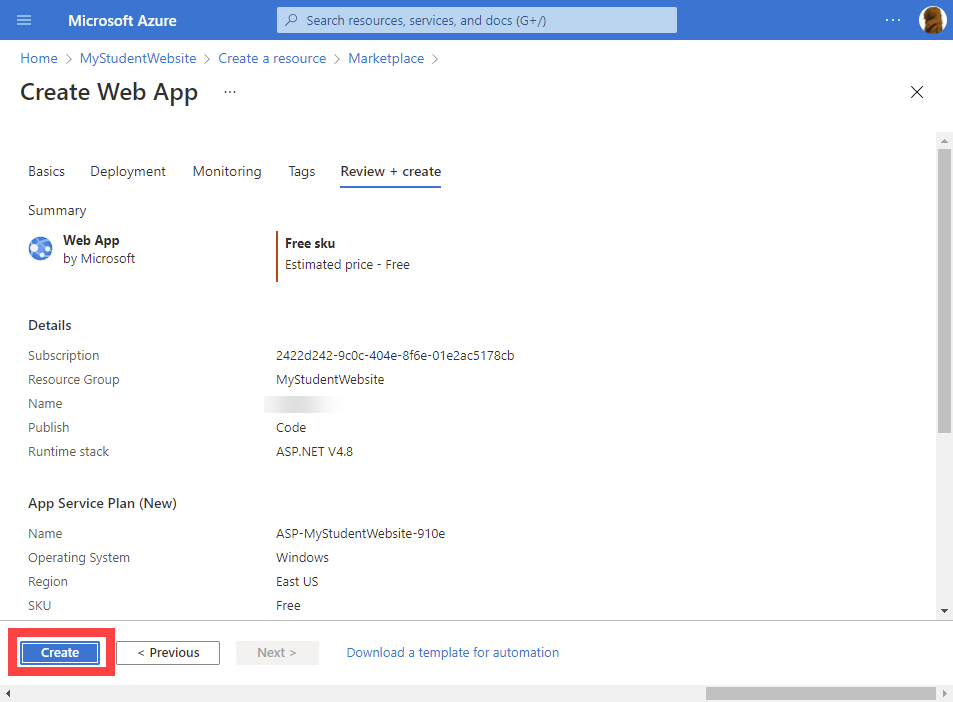
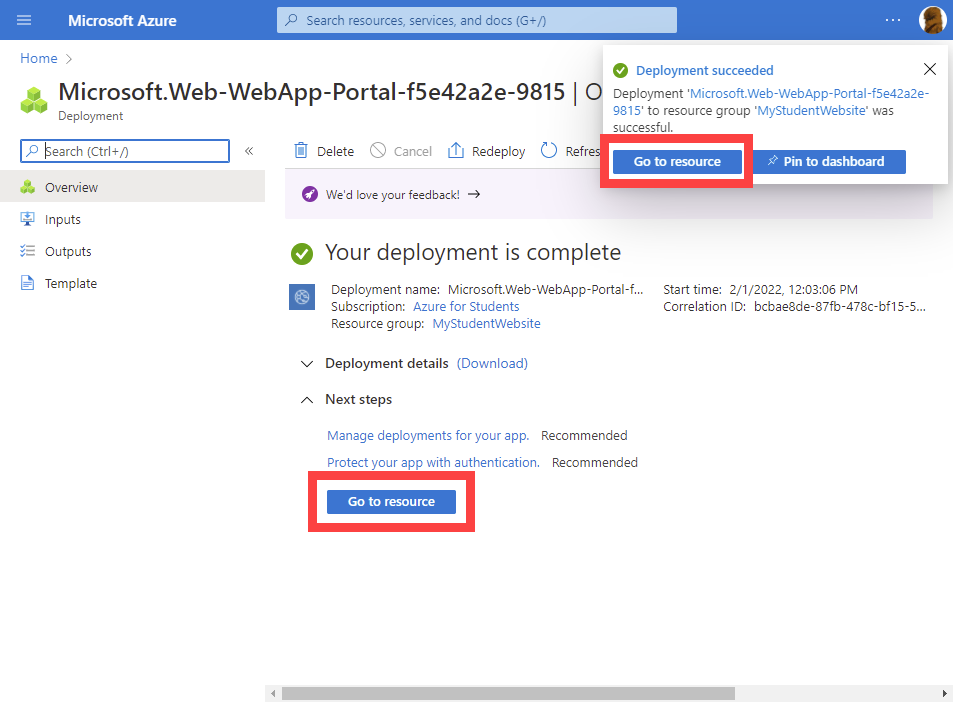
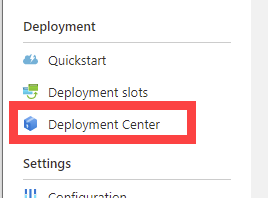
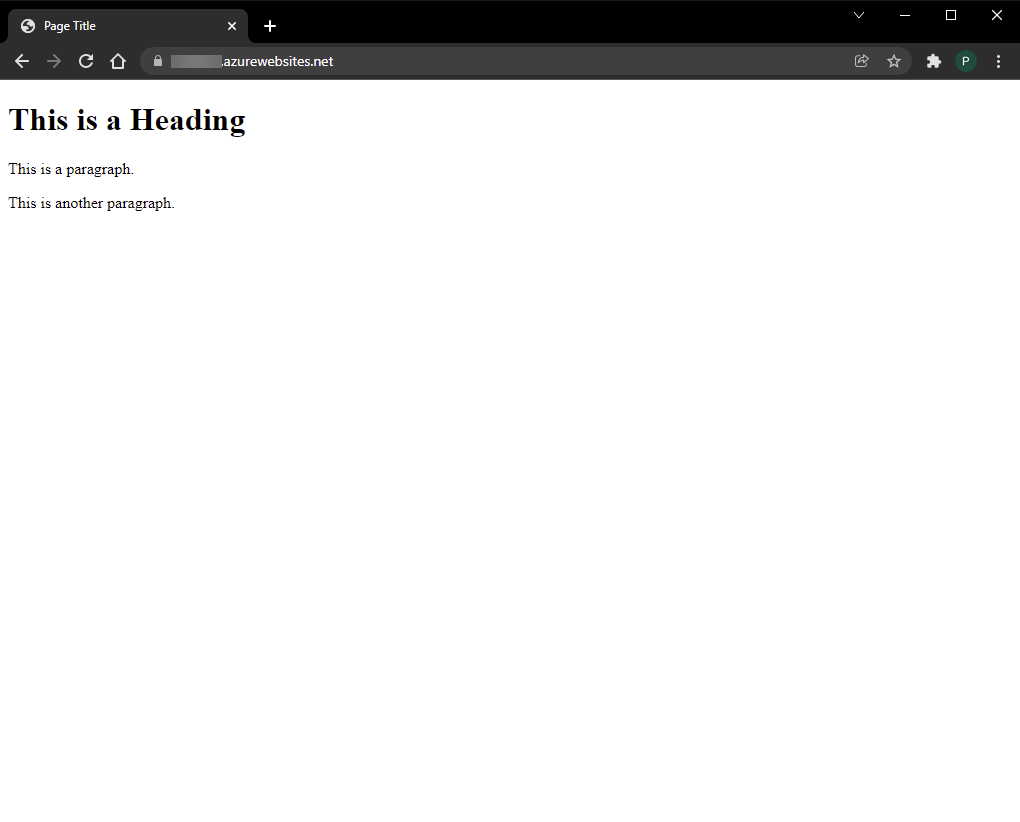
  8. Select Review+Create to the bottom left.

    Make sure that Region is set to (US) East US.

  9. Select Create.

Back to top

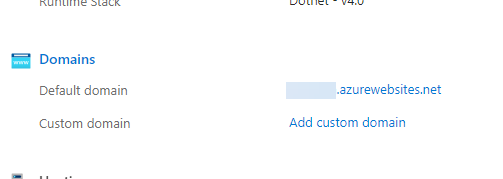
Configuration of MyStudentWebsite

  1. Once the Resource group is created, select the group from the list provided.


  2. Select Create in the top banner.


  3. In the search field, enter Web Apps.


  4. Once the search is completed, select Create dropdown under Web App.


  5. Select Web App.


  6. Under Instance Details, you will need to name your Web App. In the Name field, enter your NetID.


  7. Under the Runtime Stack drop down, select ASP .NET V4.8 or the desired current version of ASP.NET.


  8. Under Region, select East US.


  9. Under Pricing plan, if it is not already set to 'Free F1(Shared infrastructure)', select Explore pricing plan.


    1. In the right column labeled Spec Picker, select Dev/Test.
    2. Select F1 Standard subscription (Free Version).
    3. Select Apply.


  10. Select Review+Create at the bottom left.


  11. Select Create. There can be a short wait time before you can proceed.


  12. Select Go to resource


  13. Default Domain will list what your website will be called. It should be called https://<your netid>.azurewebsites.net

Back to top

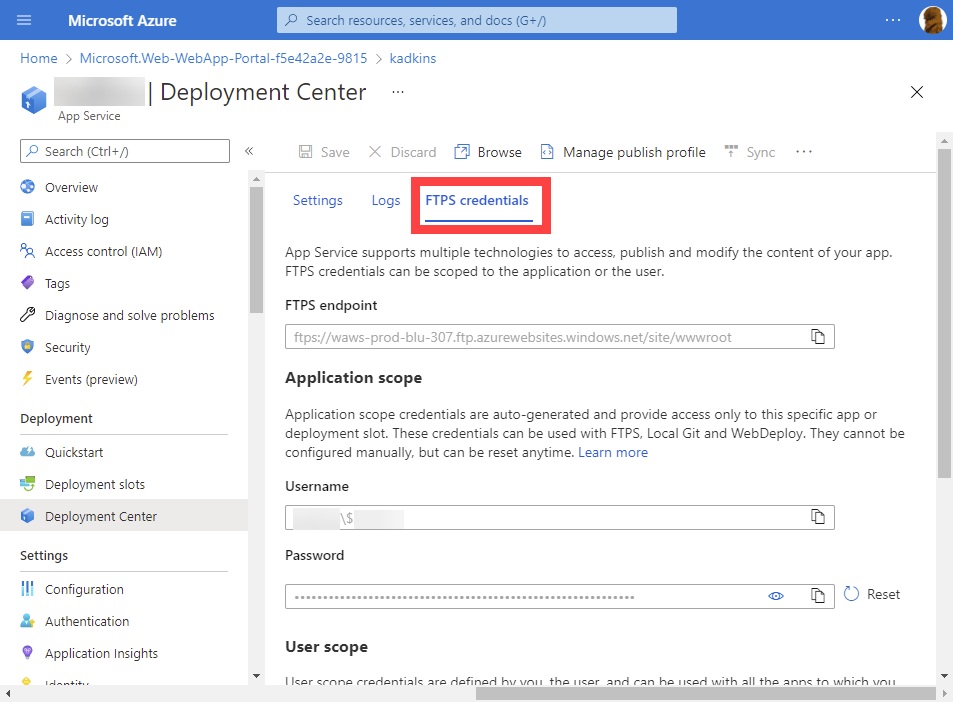
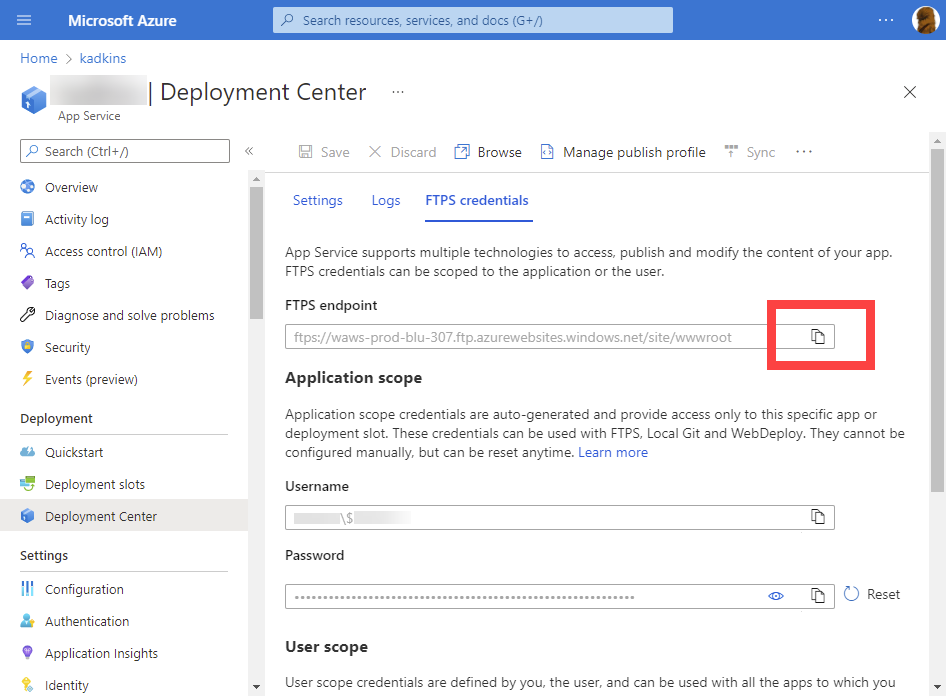
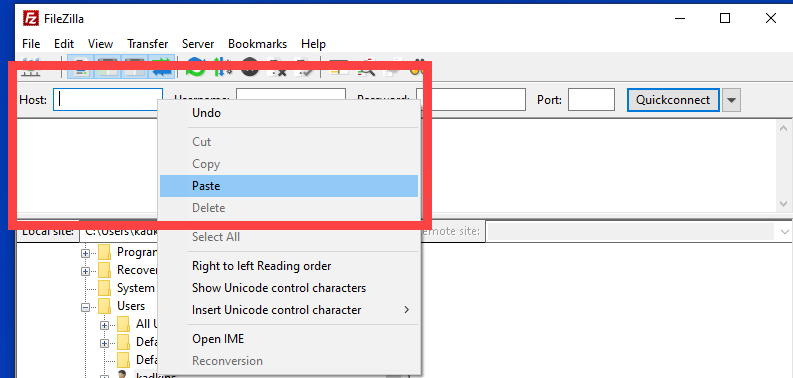
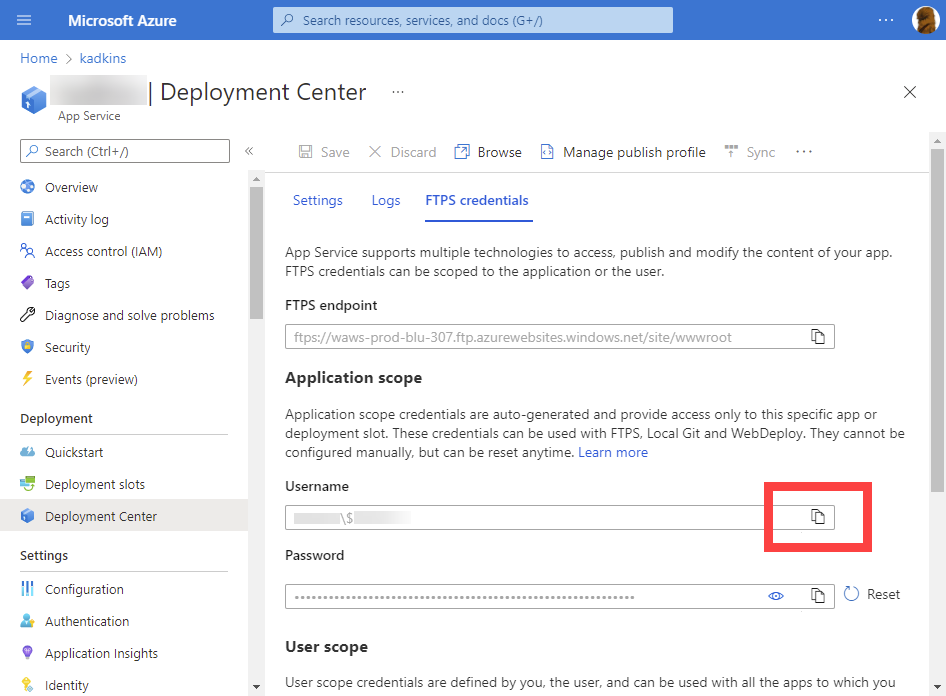
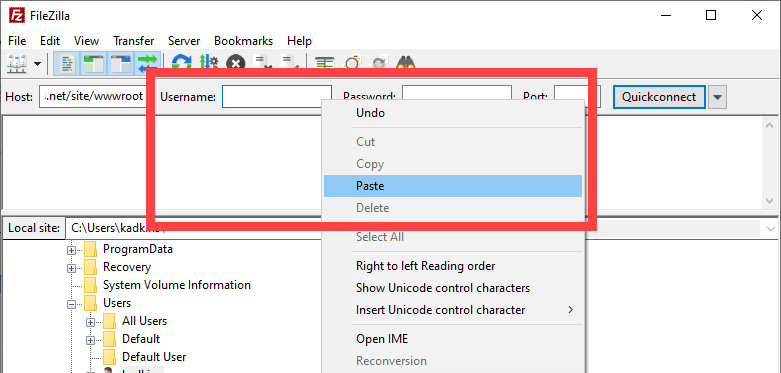
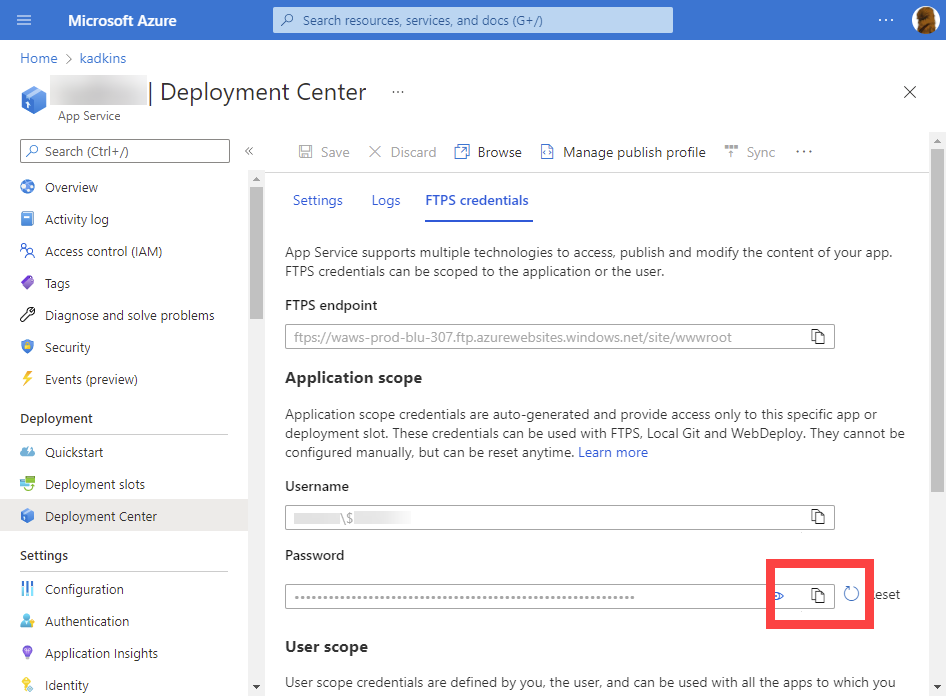
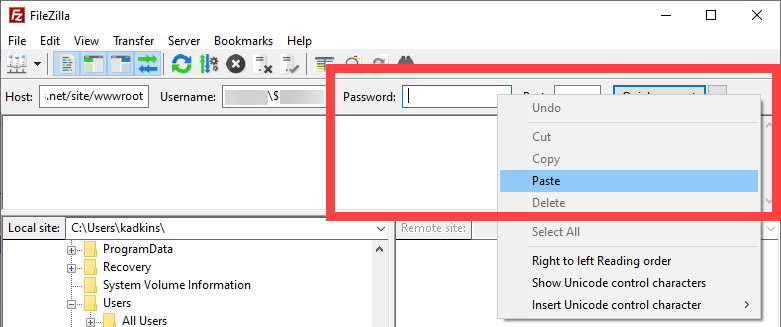
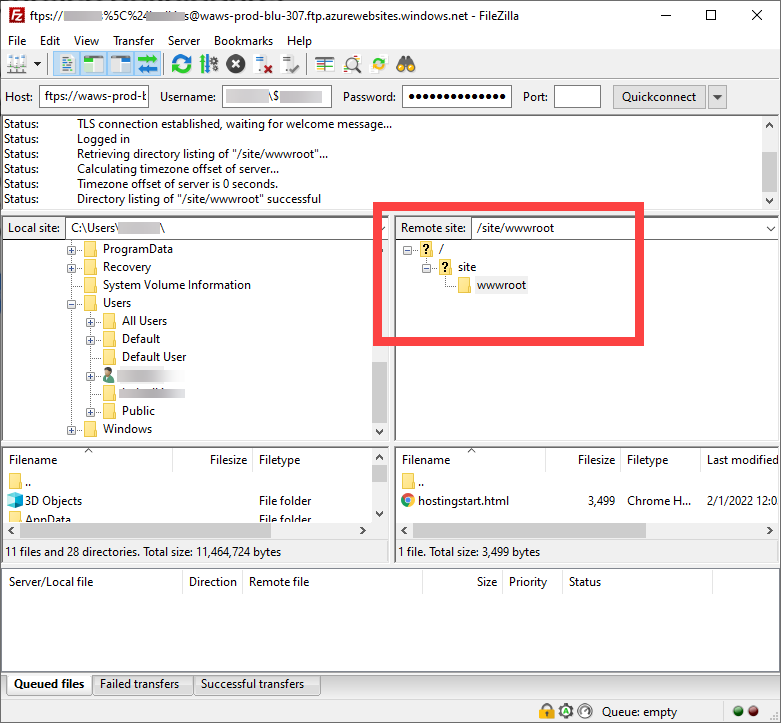
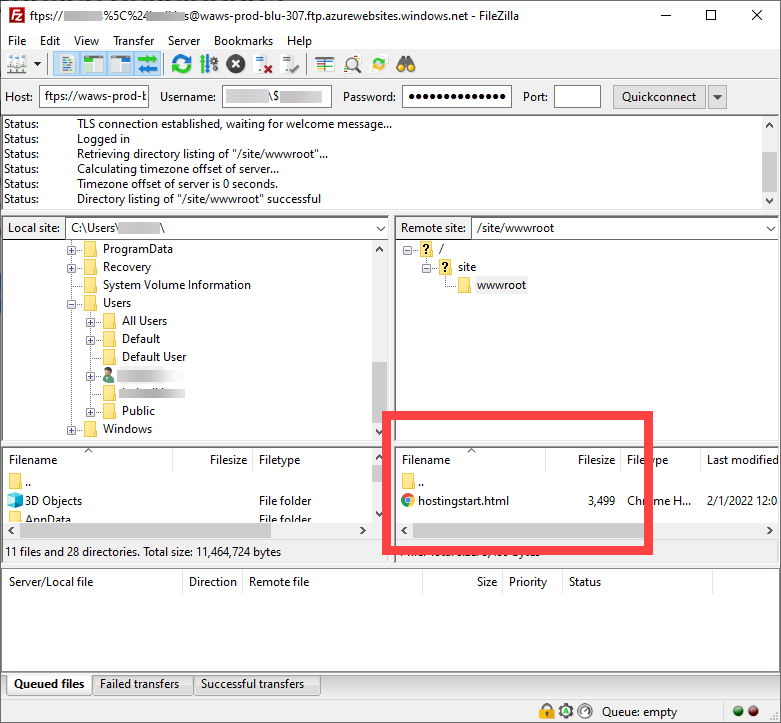
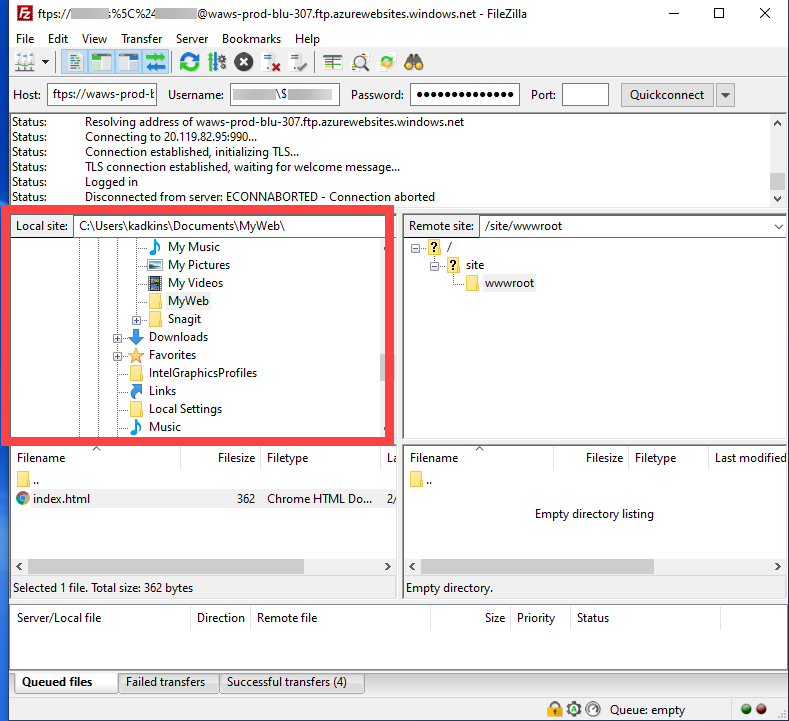
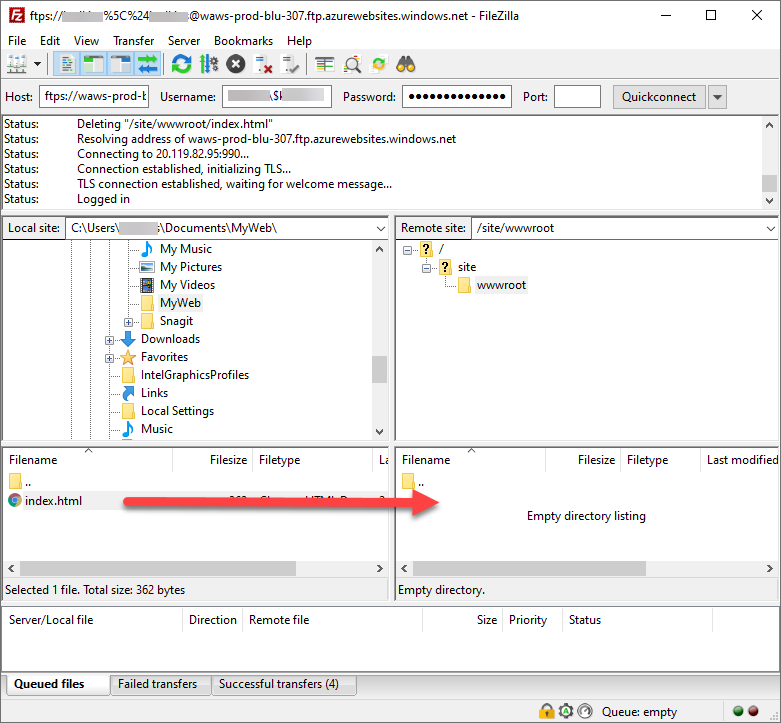
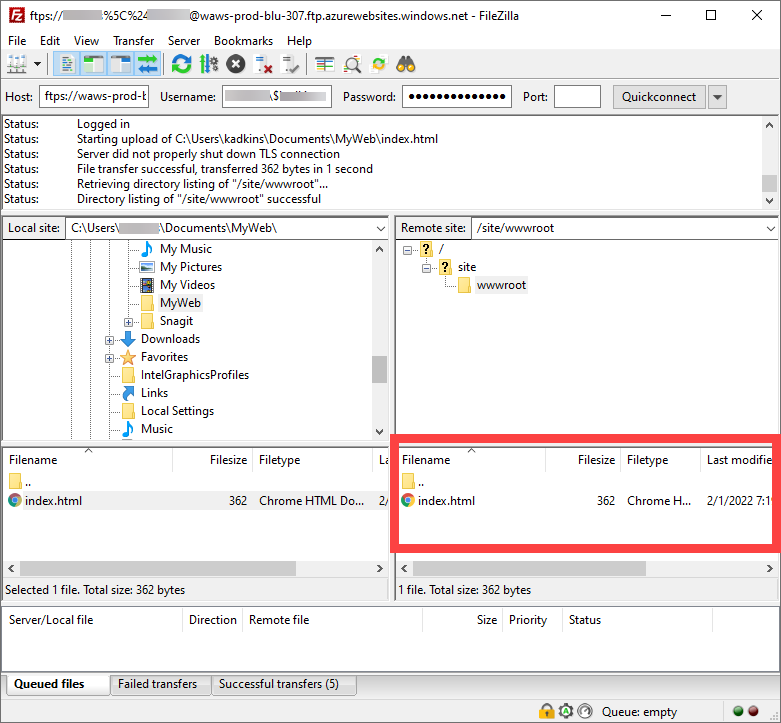
Uploading Your Website

Once the creation has been completed, a pop up will occur in the upper right of the browser to let you know it is done.

It is required to use a FTP client to upload your website. It is recommended to use FileZilla. This can be downloaded from https://filezilla-project.org/download.php?type=client


  1. Select Deployment Center in the left column.


  2. Select FTPS Credentials.


  3. Open FileZilla

  4. In the Deployment Center, select the copy icon to the right of the FTPS endpoint.


  5. In FileZilla, right-click in Host and select Paste.


  6. In the Deployment Center, select the copy icon to the right of the Username.


  7. In FileZilla, right-click in Username and select Paste.


  8. In the Deployment Center, select the copy icon to the right of Password.


  9. In FileZilla, right-click in Password and select Paste.


  10. Leave the Port blank.

  11. Select Quickconnect.


  12. Once it is completed the connect, you will see the wwwroot under Remote Site.


  13. Delete hostingstart.html from under the Filename under Remote Site.


  14. In the left columns, locate your html you wish to upload to your Azure Website under Local site.


  15. Drag your .html file into the wwwroot file where you deleted the hostinstart.html
      

  16. Open a web browser and navigate to the your MyStudentWebsite URL (https://<your netid>.azurewebsites.net) to see the website live.

Back to top


If you are unable to solve your issue with this knowledge base article, please contact the USF IT Service Desk by using Chat at itchat.usf.edu, calling (813) 974-HELP (4357) or emailing help@usf.edu. 

If you find any errors or omissions in any knowledge base article, please contact and inform the USF IT Service Desk by calling (813) 974-HELP (4357) or emailing help@usf.edu.