Sitecore - Adding an Image
- Alyssa Wahlsmith
- Jessica Marshall
- Christina Freeman
- Sandra Meadows
Adding an Image
This page of the user guide will help Sitecore Contributors add and resize images. Images are uploaded and stored in the Media Library which can be found within the Rich Text Editor. Recommended image types are jpgs and pngs.
How to Add an Image
- Click an area inside the Rich Text Editor where you would like an image to be added. (see image below)

Click the Insert Sitecore Media button. (see image above)
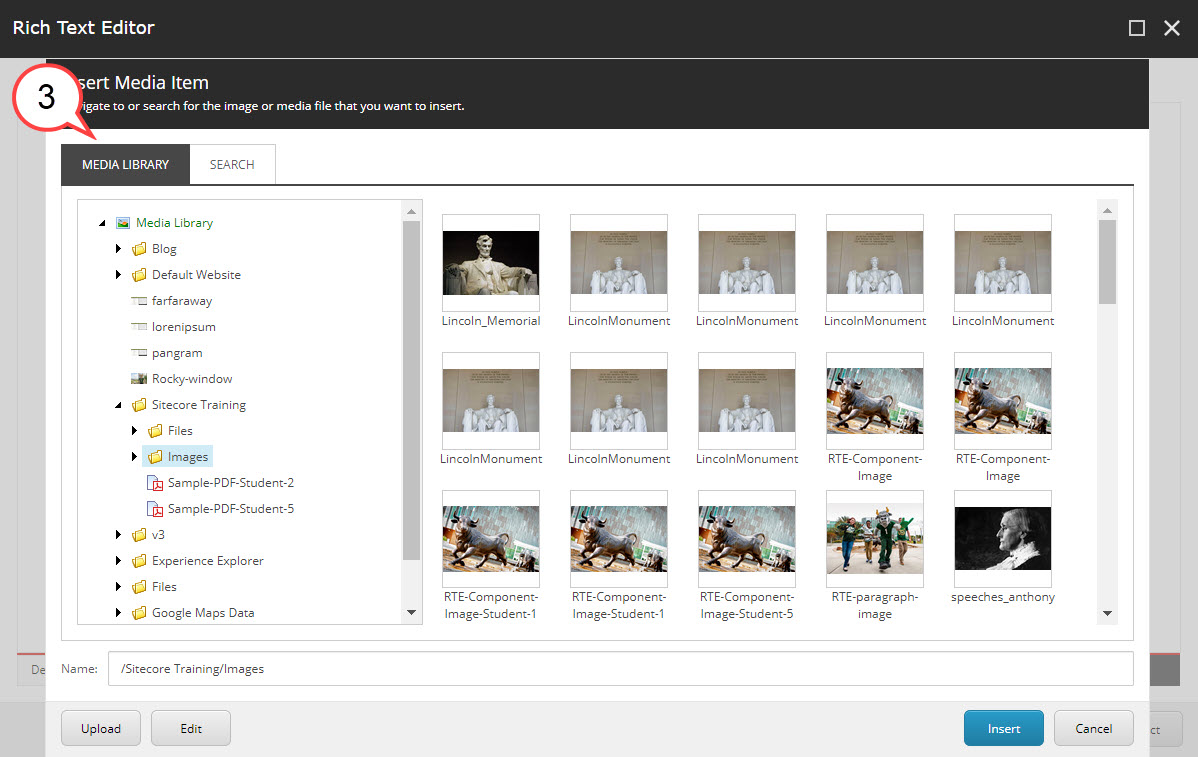
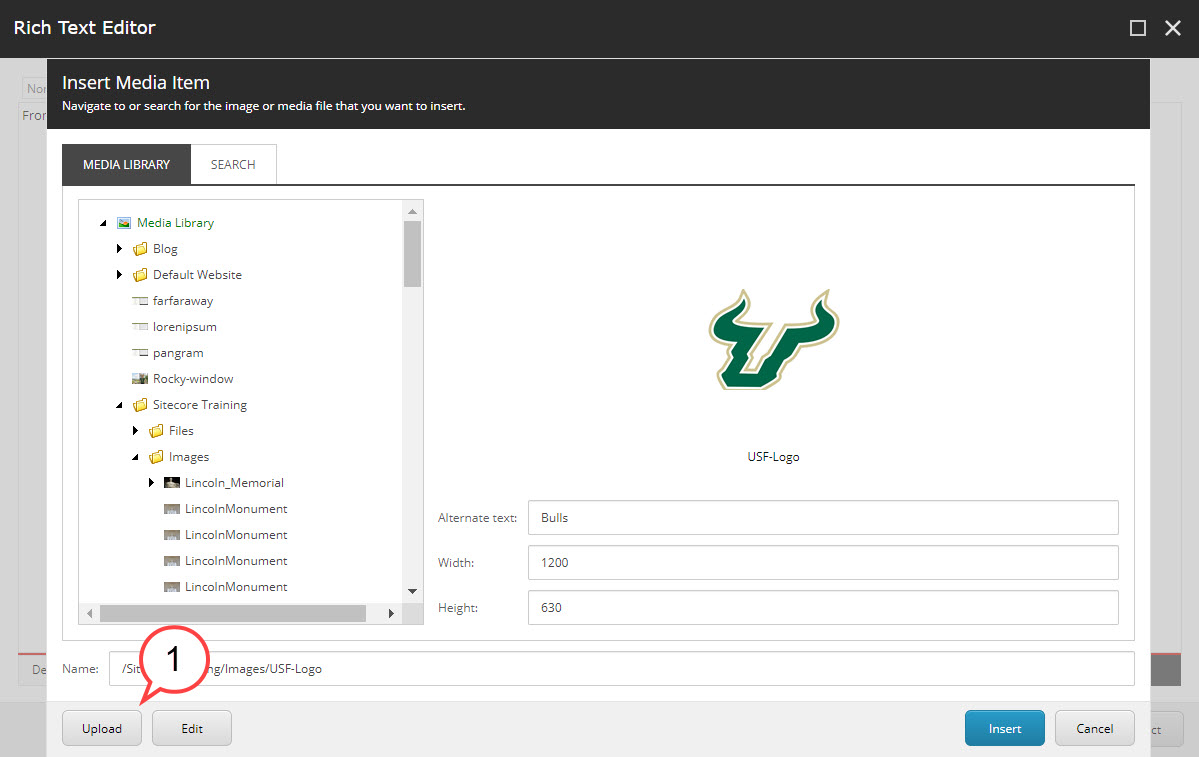
Make sure the Media Library tab is selected. (see image below)
Sitecore students that do not have Contributor access yet:
1. Click the arrow to expand the Sitecore Training folder. (see image below)
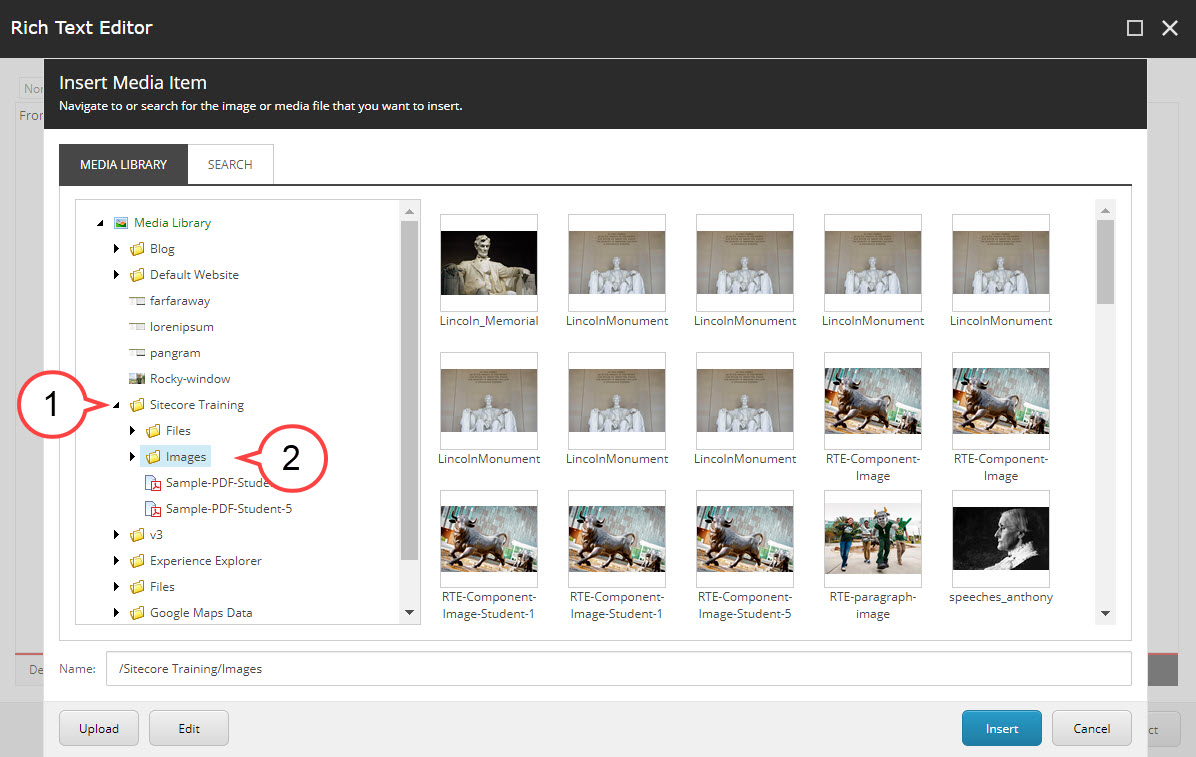
2. Click the Images folder. (see image above)
3. Skip steps 4 and 5 below. Continue on to Step 6.
Click the arrow to expand the Images folder. (see image below)
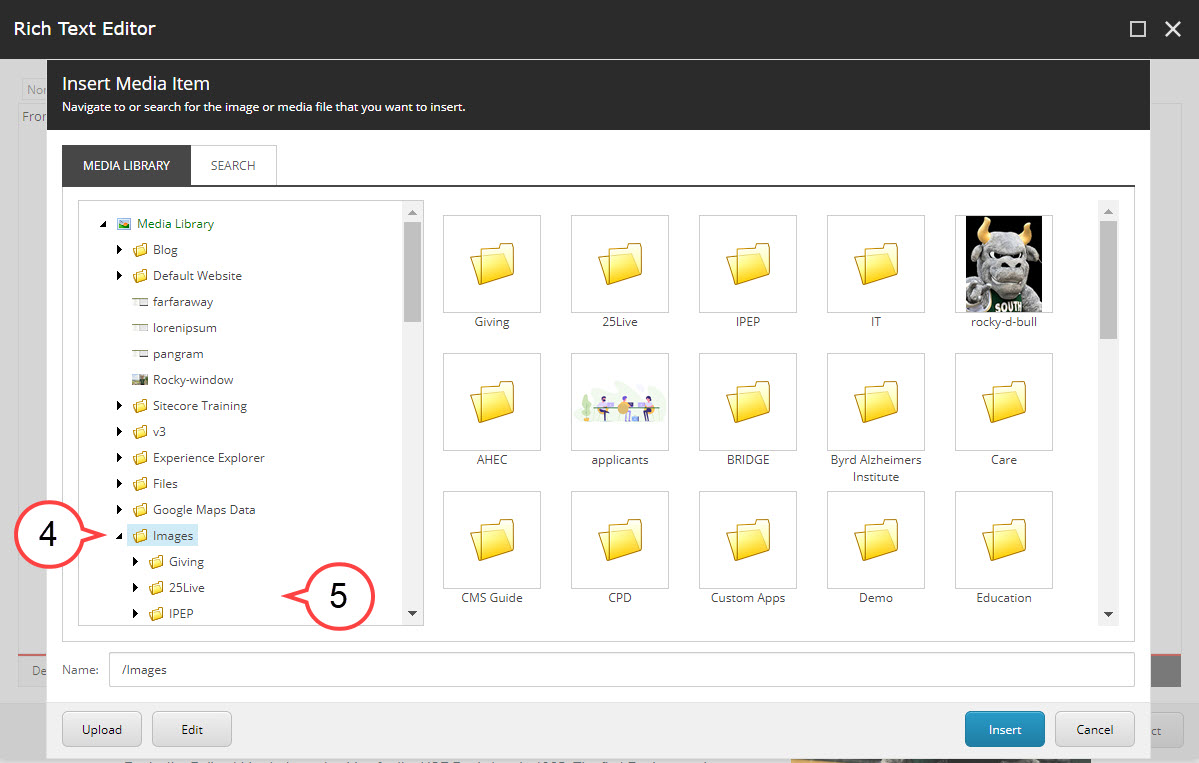
Click on your department's folder. (see image above)
Add an image.
Best Practices for Images
- Avoid using images that contain a lot of text. Images with a lot of text do not align with accessibility standards. (see example image below)

- Avoid using images that are too casual, informal, or suggestive in nature.
- Avoid using 3rd party logos. Exceptions may be made for NIH, CDC - USF affiliates that have received approval from the department and organization. Example: A Chick-fil-A logo on a website as a sponsor for a departmental event.
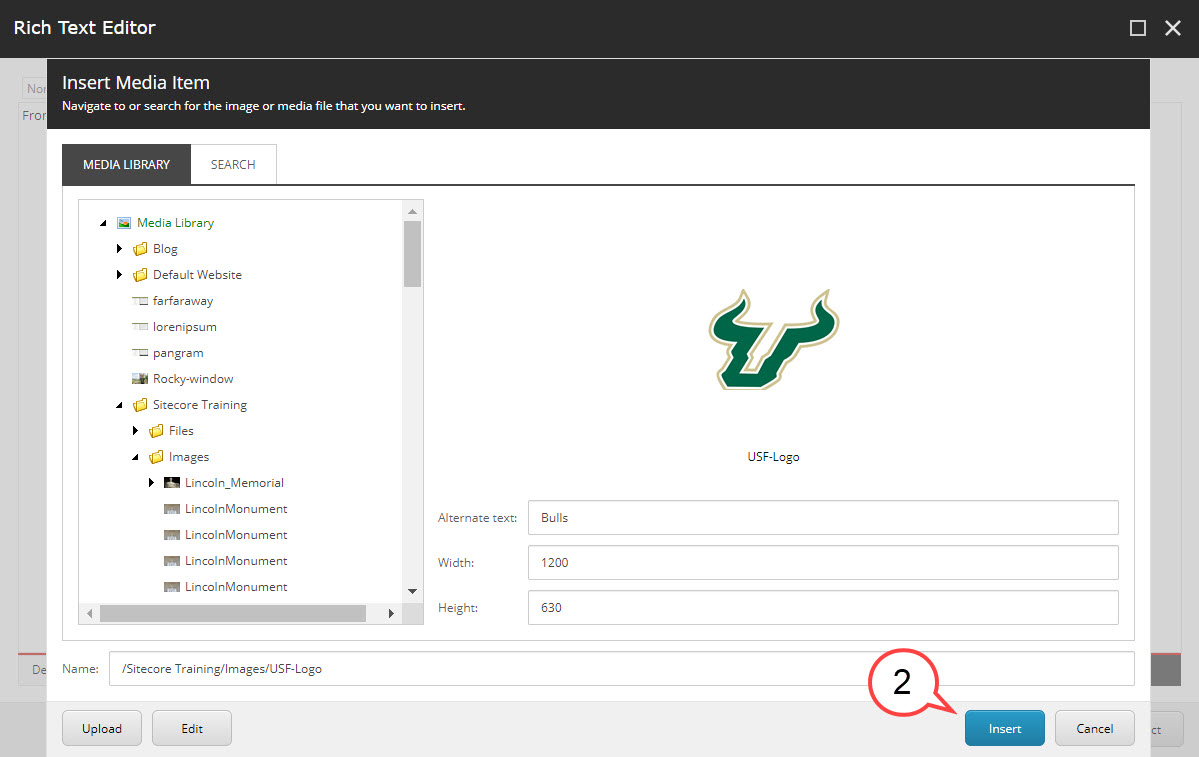
To add an image, choose between:
1. Click on the image you would like to add from the Media Library.
2. Click Insert. (see image below)
1. Click Upload. (see image below)
2. Click Choose File. (see image below)
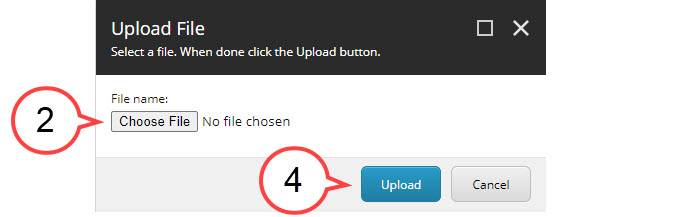
3. Navigate to the image you would like to upload and click Open.
4. Click Upload. (see image above)
5. Add AltText. (see image below)
'Alt' Text: Providing a short description of the photo is important for Search Engine Optimization (SEO) and screen readers.
SEO helps search engines such as Google identify information within a website for better search results.
Screen Reader software is assistive technology that is sometimes used by persons who have a difficult time seeing or reading a screen. Providing 'Alt' text provides a description of the photo that the screen reader can read out loud to the user.
For more information pertaining to alt text, click here.
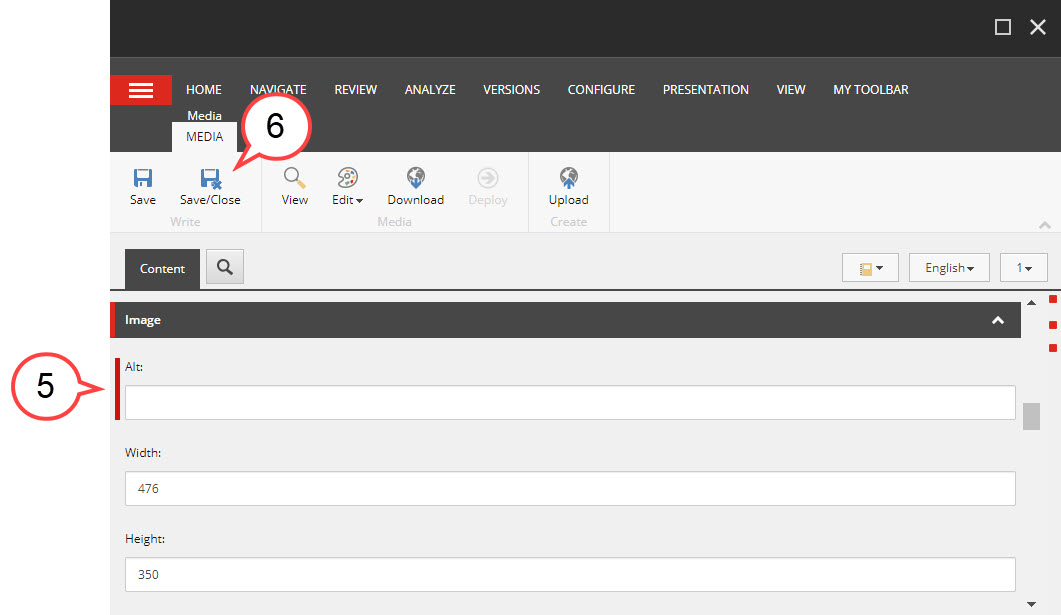
6. Click Save/Close. (see image above)
7. Click Insert. (see image below)

NOTE: If the upload button is not functional, make sure you have clicked on the folder you have permission to access.
- Avoid using images that contain a lot of text. Images with a lot of text do not align with accessibility standards. (see example image below)
Trouble Uploading a Photo?
Sitecore only allows images to be uploaded with a maximum size of 800KB. Click here for tips on how to resize a photo.
Resizing an Image
Right click on the image and select Properties. (see image below)
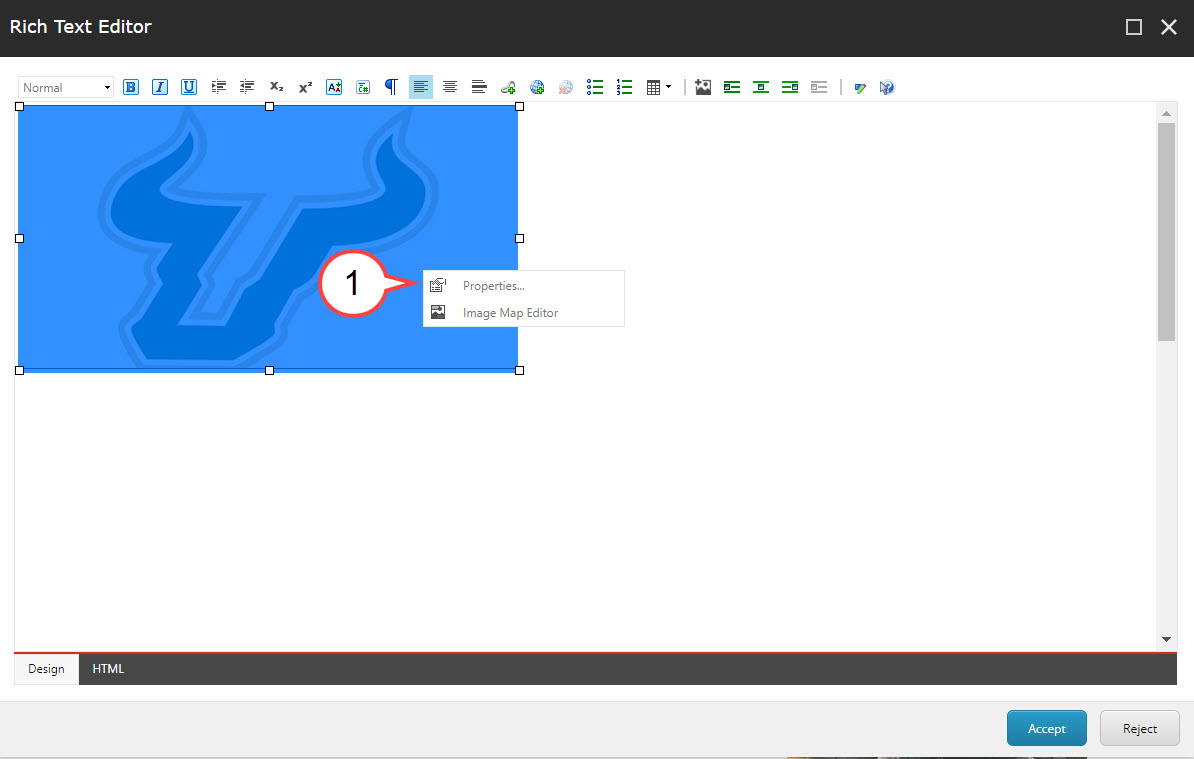
- Make sure the chain link is closed. (see image below)
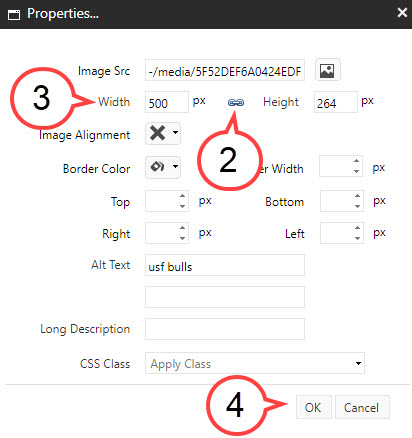
- Click inside the Width or Height properties box and type in a new value. (see image above)
Click OK. (see image above)
Next: Adding a Box Share Link and Using Hyperlinks