Microsoft Teams Transcription and Live Caption
- Kimberly Adkins
- Johnathan Keyser
- Alyssa Wahlsmith
- Sandra Meadows
Overview
Teams offers transcription, and live captions services during meetings. The difference being, transcription will transcribe and record the words spoken so that they can be downloaded after the meeting is complete. Live captions are not saved.
Transcription starts automatically
Note that a Transcription is automatically started if you choose Start Recording. If you do NOT wish to have a transcription of your meeting, you will need to turn off the Transcription manually.
Transcription
Transcribes the conversion of spoken words into written language. This can only be turned on during meetings AND is turned on automatically if Start Recording is selected. Recordings can not be done during 1:1 calls.
Once the recording has started, Transcription can be turned off manually.
Turn Transcription On
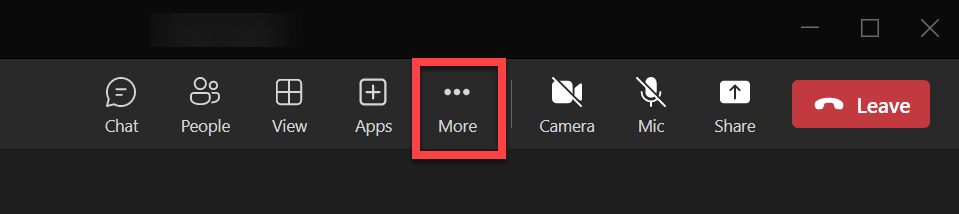
- Select ... More
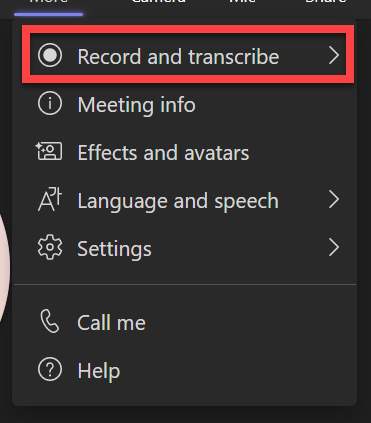
- Select Record and transcribe.
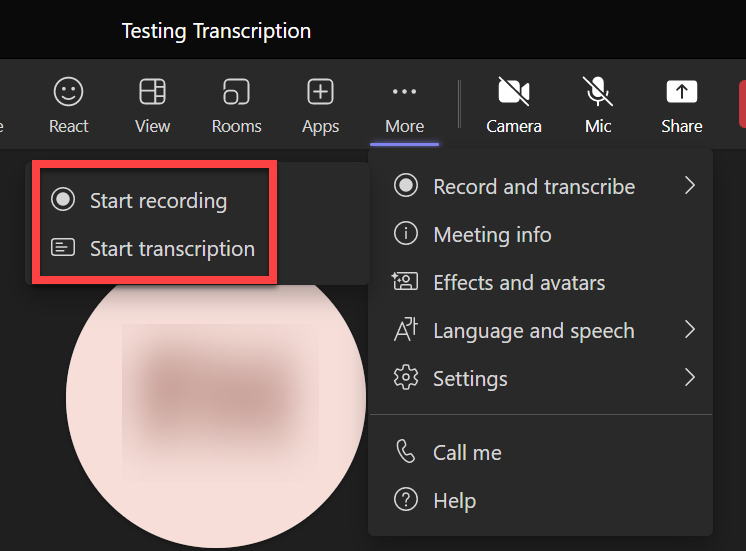
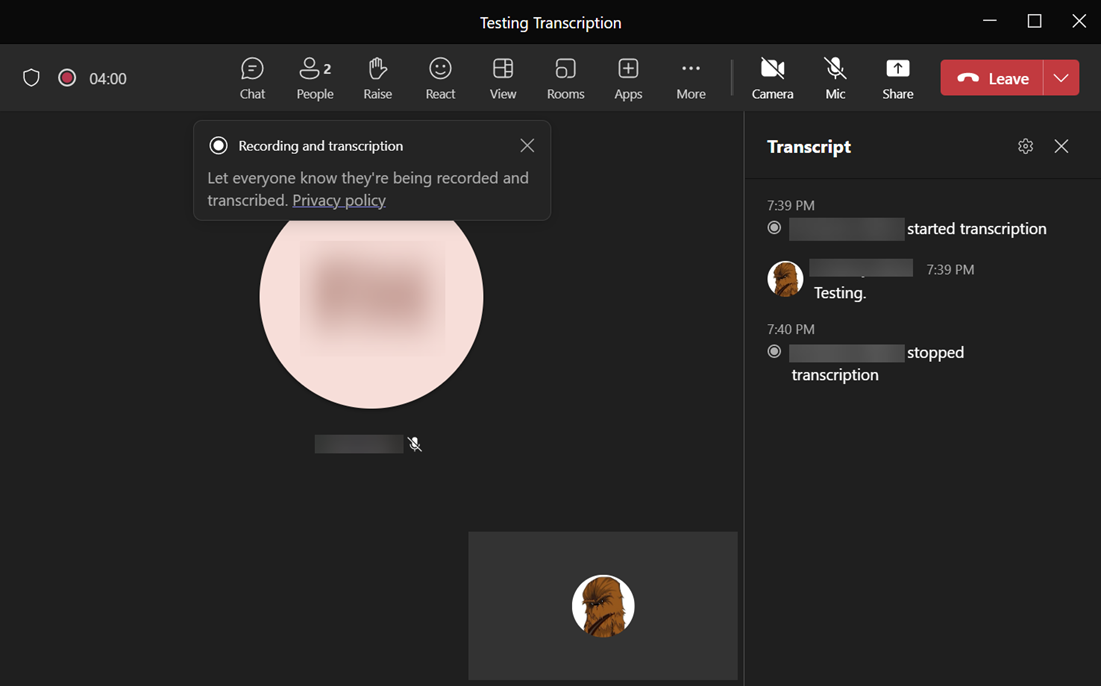
- Select either Start recording or Start transcription. Start recording will automatically begin a transcription but transcription can subsequently be turned off if desired.
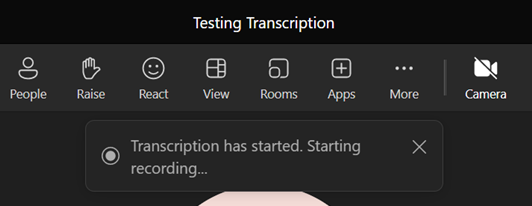
- Once the transcription has started, it will appear on the right of the meeting window.
Turn Transcription Off
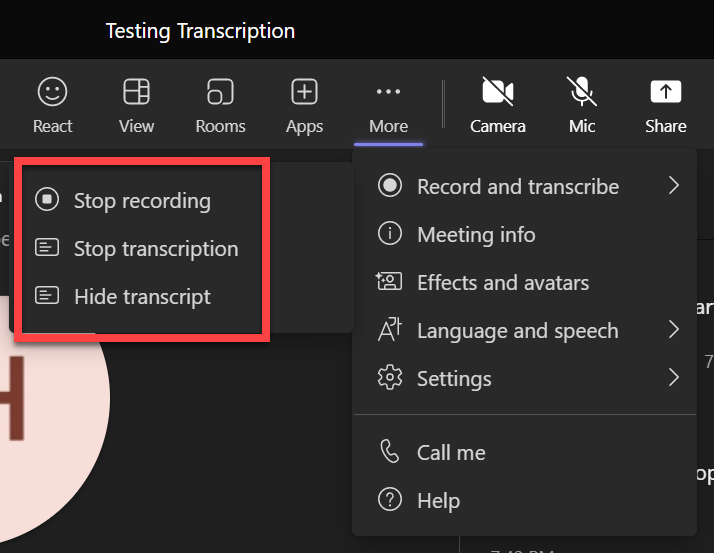
- Select ... More

- Select Record and transcribe.

- Select the option you wish to perform. Stopping the recording will also stop the transcription.
Viewing Transcripts
- Locate and select the Meeting under Chat.
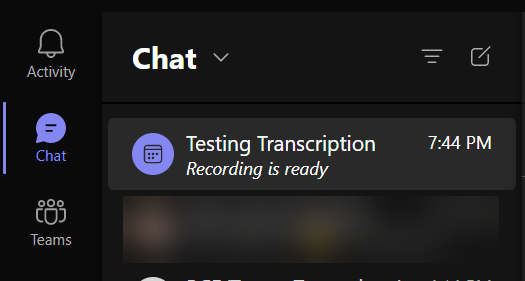
- Once the Record and/or Transcript is ready, select one of them.
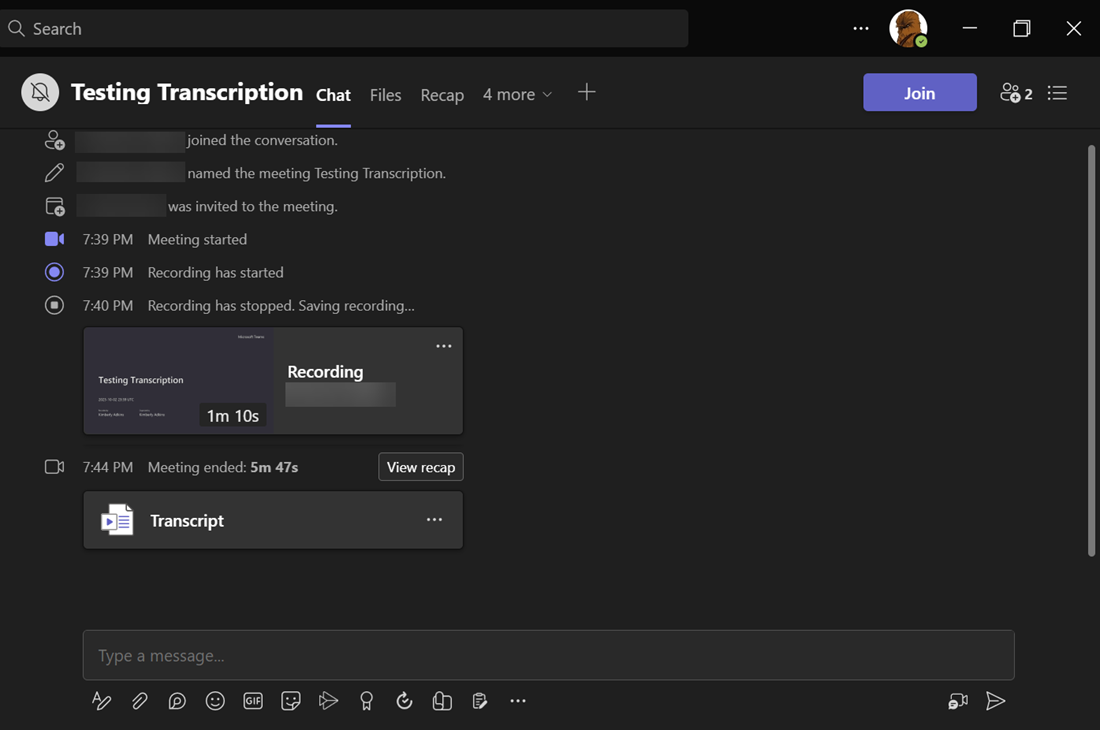
- You will be able to view the recording (if one is done).
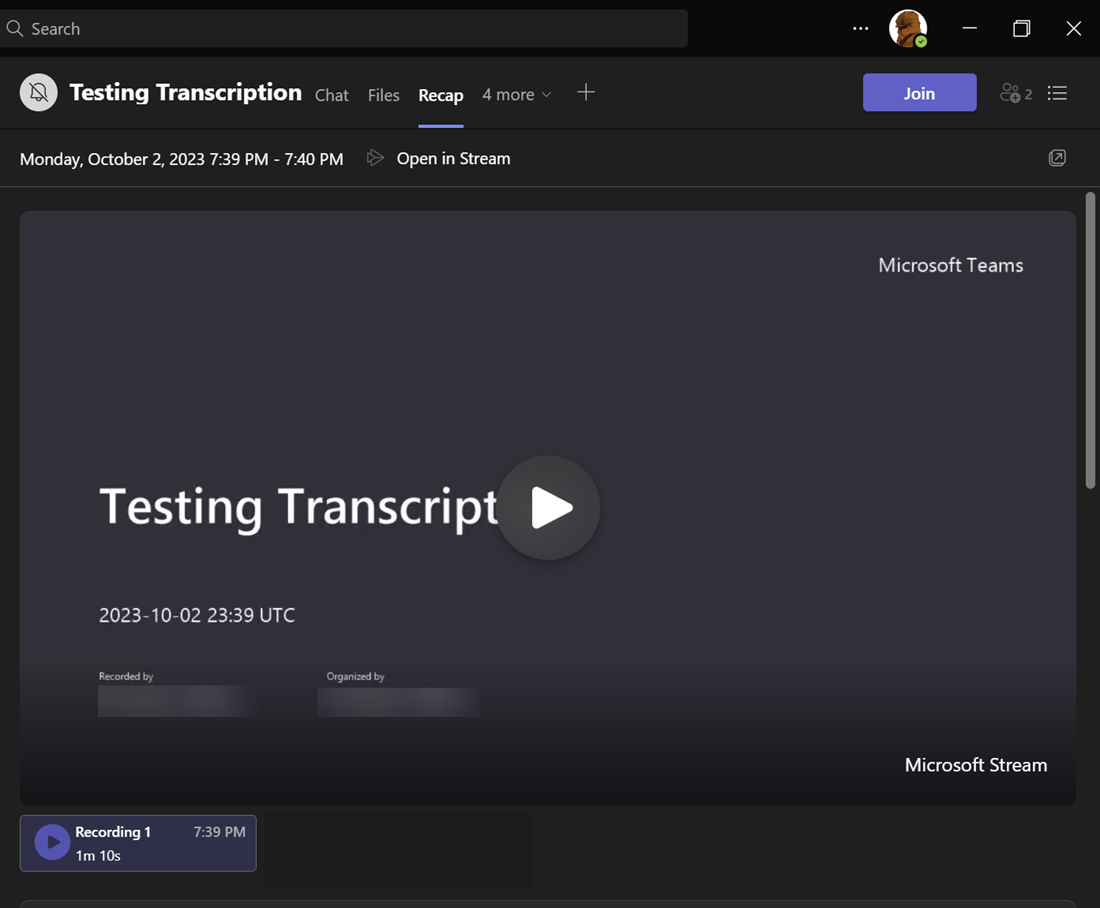
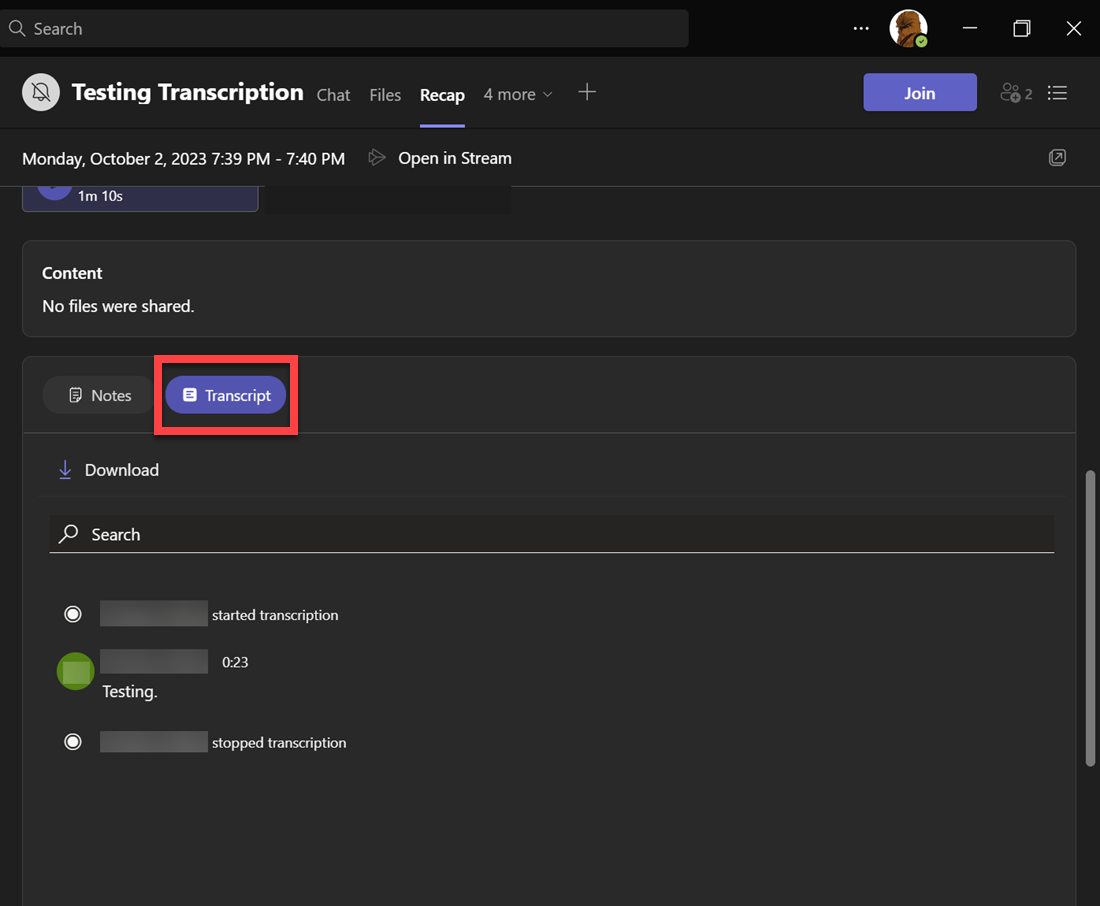
- Scroll down and select Transcript. If you wish to download the transcript, select Download.
Live Captions
Live Caption is a real-time transcription or translation of spoken language in live streaming or other live video content, displayed as a text overlay on the lower part of the screen. Remember that live captions are not recorded and are not available for viewing after the meeting has ended.
Turn Live Caption On
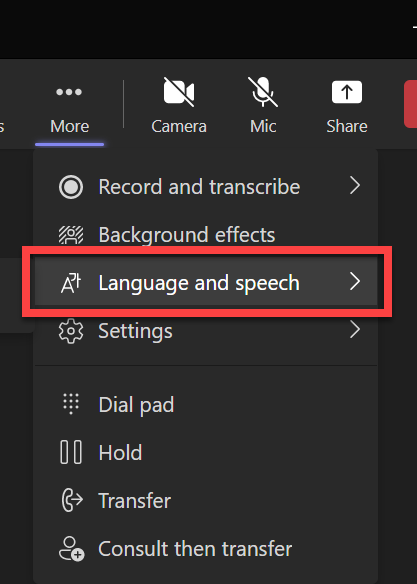
- Select the ... More
- Select Language and speech.
- Select Turn on live captions.
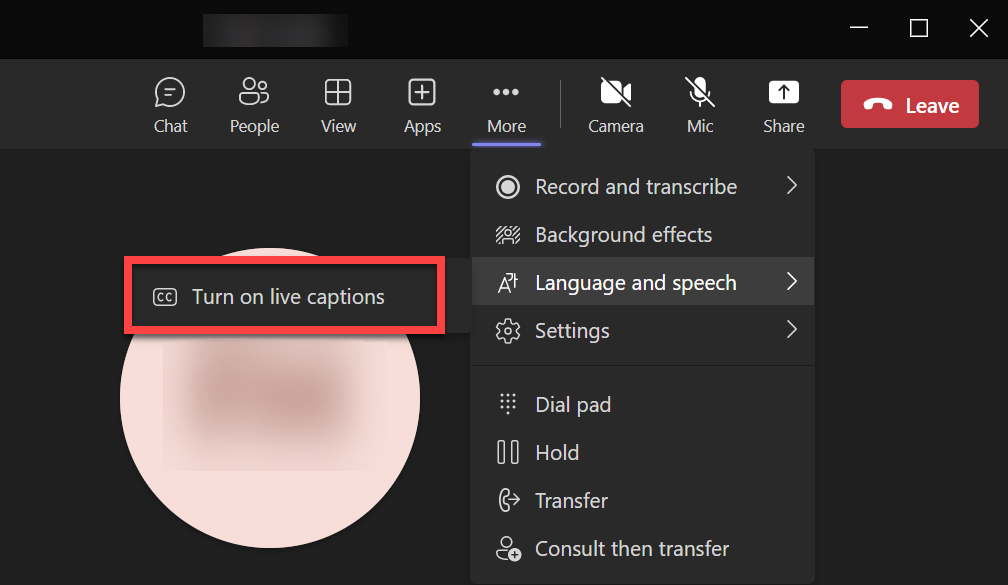
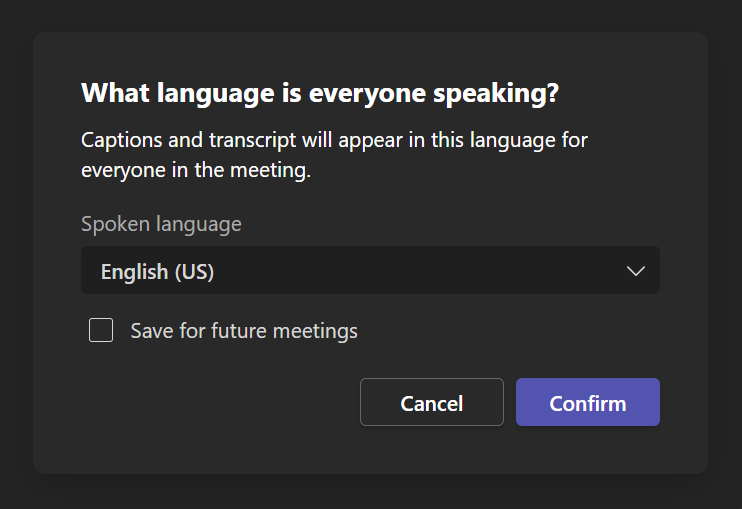
- Select whatever language is appropriate for your meeting - a checkbox allows this choice to be saved for all future meetings. After making your choices, select Confirm.
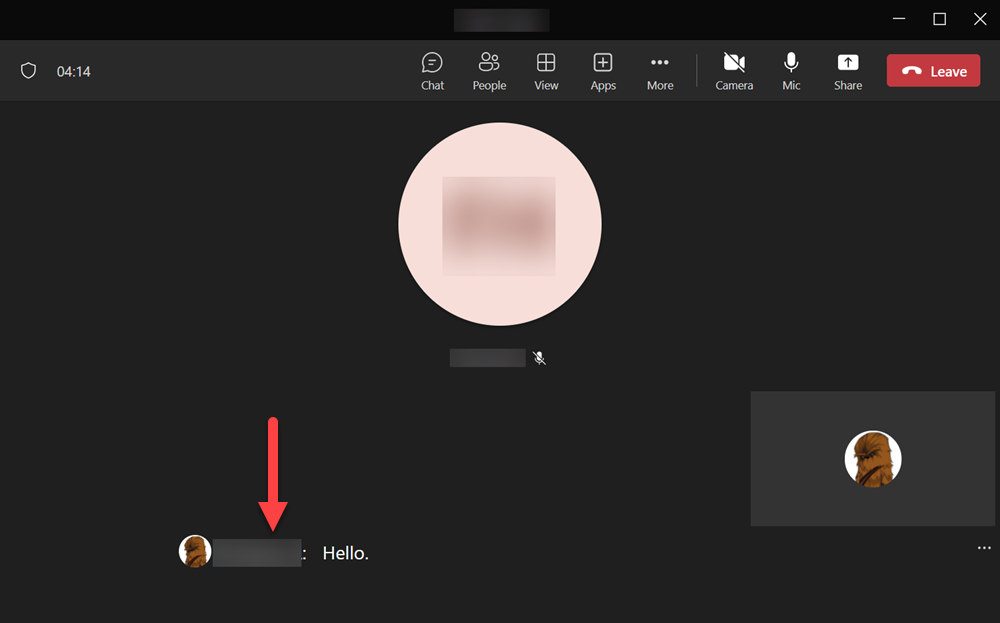
- Captions will begin to appear at the bottom of the meeting window.
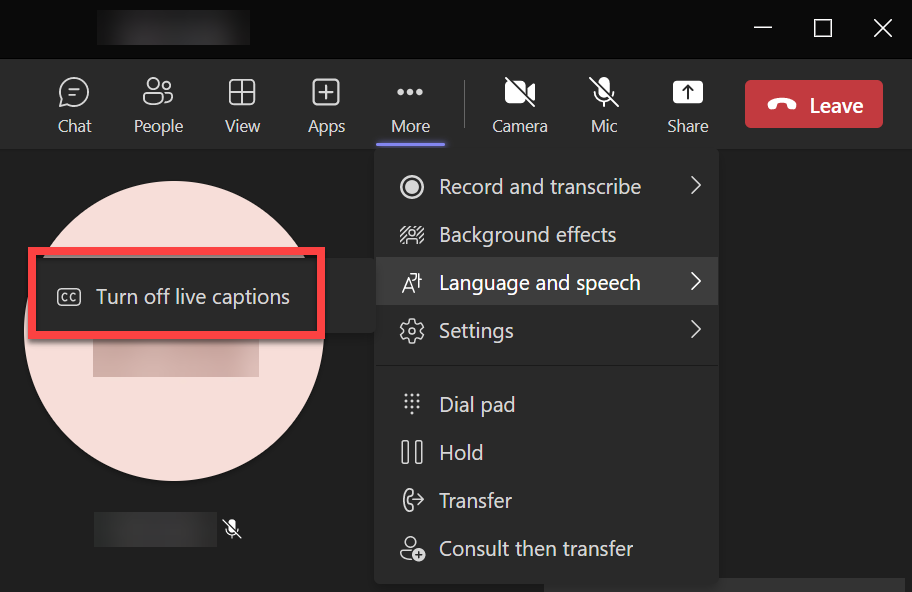
Turn Live Caption Off
- Go back to Language and speech and select Turn off live captions.
If you are unable to solve your issue with this knowledge base article, please contact the USF IT Service Desk by using Chat at itchat.usf.edu, calling (813) 974-HELP (4357) or emailing help@usf.edu.
If you find any errors or omissions in any knowledge base article, please contact and inform the USF IT Service Desk by calling (813) 974-HELP (4357) or emailing help@usf.edu.