Outlook - How to Add a Shared Mailbox
- Kimberly Adkins
- Patrick Kluge (Deactivated)
- Jessica Marshall
Overview
The following will guide you through adding a shared mailbox via the Outlook Web App and the Desktop Application.
Outlook on the Web and New Outlook
For New Outlook
Do not click on "Add Account" as this will not work for shared mailboxes.
Adding the account so that it stays in the same window as your primary account
- Right-click your primary mailbox on the left.
- Select Add Shared Folder or Mailbox
- Type the Email Address of the shared mailbox into the new dialog box.
- Select Add.
For Outlook on the Web: The account will display for you on the left-hand side of the page, below your primary account.
For New Outlook: The account will display for you on the left-hand side of the page, in a new folder under your primary mailbox called “Shared with me”, likely at the very bottom.
Adding the account in a new window (Outlook on the Web Only)
- Click on your name located on the Outlook Web navigation bar at the top.
A list will appear. - Select Open Another Mailbox from the list.
- Type the Email Address of the mailbox that you need to open.
It will open in a new window for you.
An alternative way to access shared email mailbox:
Type the address below and replace "MailBox@usf.edu" with the email address of the shared mailbox
Outlook Classic
Adding an account with send as abilities
- Open Outlook.
Select File.
Click Account Settings.
Highlight your email account.
Select New.
- Type in the email address of the shared mailbox into the E-mail Address field. Leave all other fields blank.
- Click Next.
Outlook will search for the account. You will be prompted for credentials. Enter your @usf.edu email address and your NetID password.
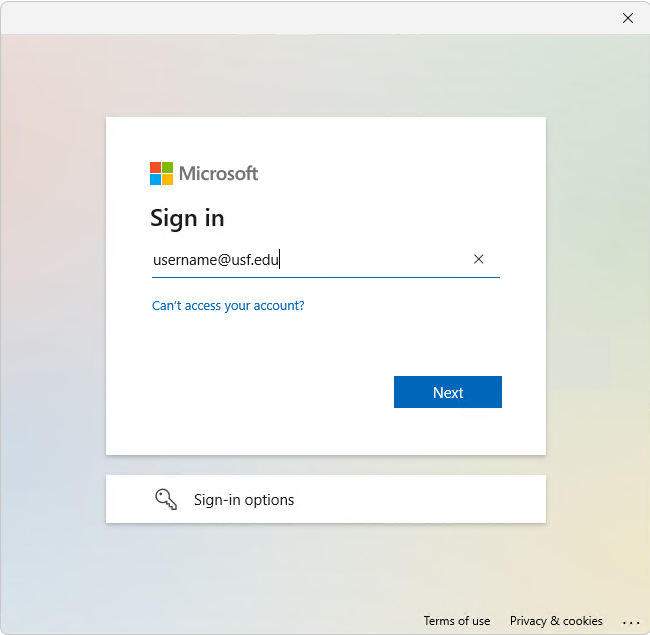
If the login address is the address of the shared mailbox, you will need to replace it with your own. If it’s greyed out and you instead see "sign in with another account", click that and log in as yourself there.
If your credential window does not appear similar to the one pictured, make sure you're entering the address correctly. If it's still not working, please visit remote support for further assistance
The account will then appear on the left-hand side of Outlook.